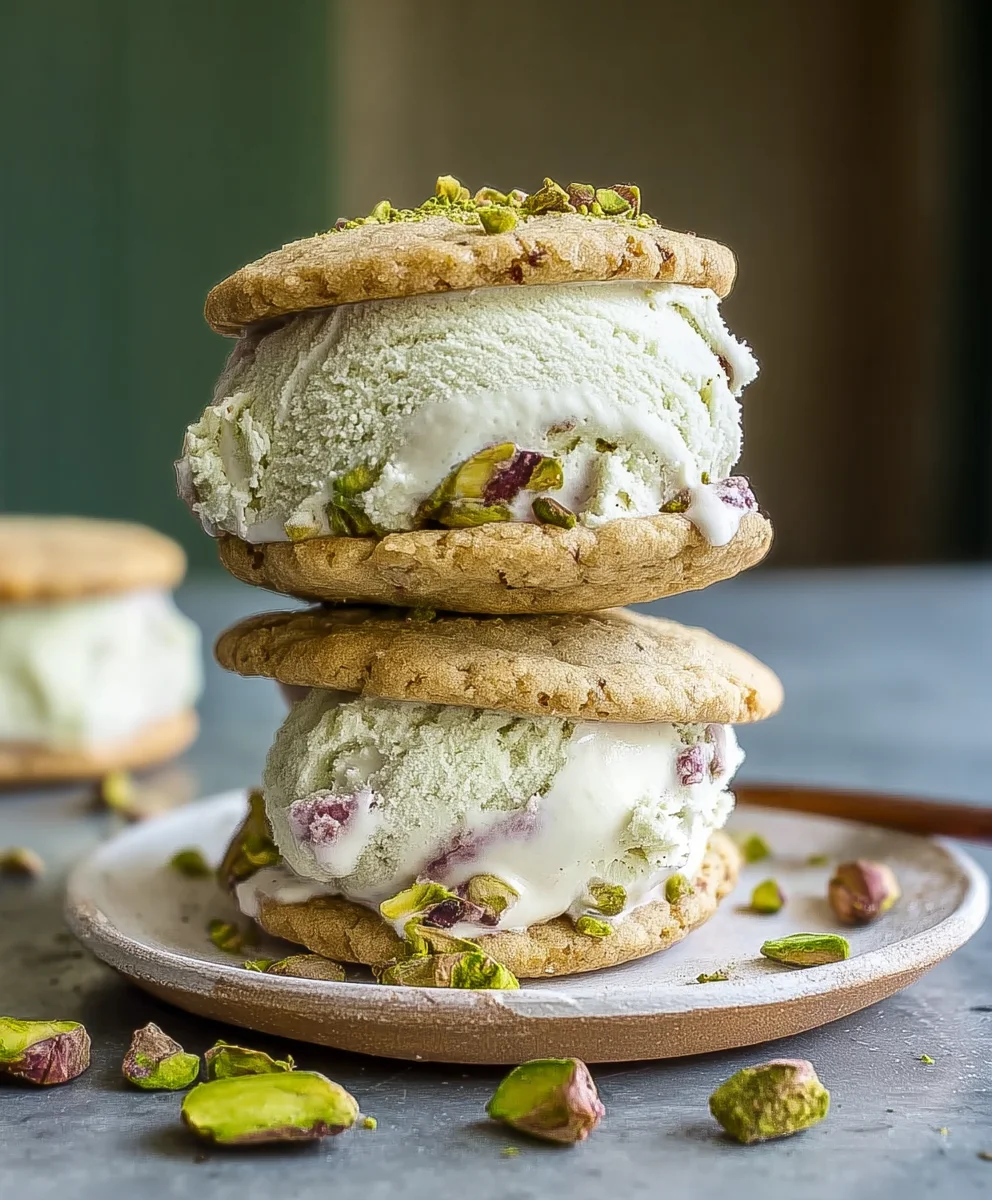
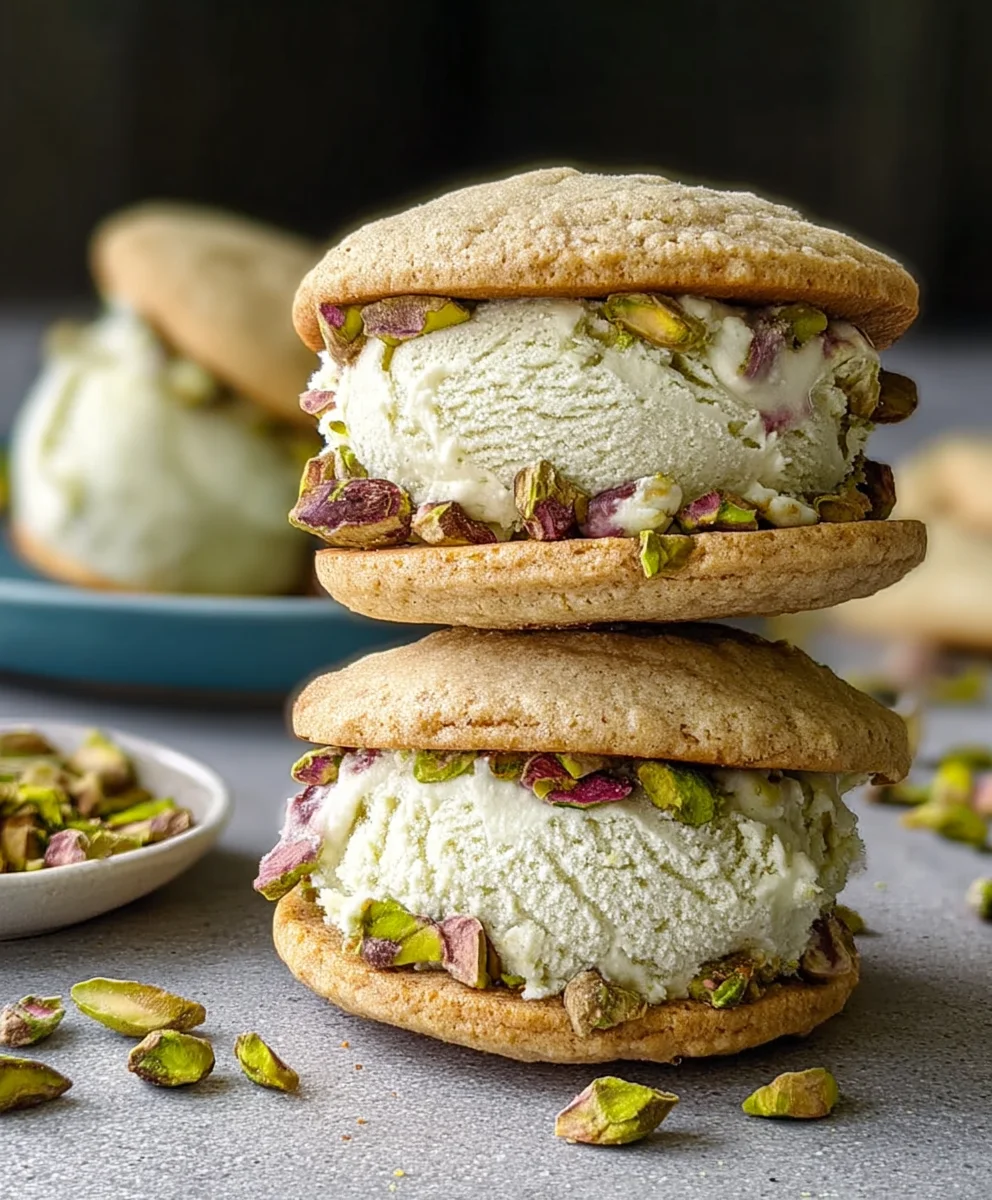
Pistachio Cookie Ice Cream Sandwiches-Easy Recipe
Pistachio Cookie Ice Cream Sandwiches are the ultimate summertime indulgence, a delightful fusion of textures and flavors that’s guaranteed to impress. Imagin extracte biting into a perfectly chewy, slightly crisp cookie, bursting with the nutty, earthy goodness of finely ground pistachios, only to discover a cool, creamy core of your favorite ice cream. It’s this harmonious contrast, the warm embrace of the cookie against the refreshing chill of the ice cream, that makes these treats so utterly irresistible. We all love a good cookie, and we all adore ice cream, but combining them into a sophisticated, yet incredibly easy-to-make, dessert elevates the experience to a whole new level. What truly makes these Pistachio Cookie Ice Cream Sandwiches so special is the vibrant green hue and the subtly sweet, almost floral aroma of the pistachios, which adds an unexpected elegance to this classic handheld dessert. They’re not just a snack; they’re a miniature work of art that brings smiles to faces, perfect for backyard barbecues, birthday parties, or simply a treat-yourself moment on a sunny afternoon. Get ready to make your new favorite frozen delight!
Ingredients:
- 1 cup unsalted butter, softened
- ¾ cup granulated sugar
- 1 large egg
- 1 teaspoon vanilla extract
- 2 cups all-purpose flour
- ½ cup finely ground pistachios
- ¼ teaspoon salt
- 2 cups vanilla ice cream, slightly softened
- ¼ cup chopped pistachios (for rolling)
Preparing the Pistachio Cookie Dough
Creaming the Butter and Sugar
The foundation of any good cookie lies in the creaming process, and these pistachio cookies are no exception. We’ll start by ensuring our 1 cup of unsalted butter is properly softened. This means it should yield to gentle pressure from your finger, but not be melted or greasy. In a large mixing bowl, combine the softened butter with ¾ cup of granulated sugar. Using an electric mixer, or a sturdy whisk and some elbow grease, cream these two ingredients together until the mixture is light and fluffy, and the color has pnon-alcoholic aled significantly. This process, often called “creaming,” incorporates air into the butter and sugar, which will contribute to the cookie’s texture and lift. Aim for a consistency thanon-alcoholic aleooks like pale yellow, airy whipped cream. This typically takes about 3 to 5 minutes on medium speed with an electric mixer.
Adding Wet Ingredients
Once the butter and sugar are well combined and aerated, it’s time to add the other wet ingredients. Crack 1 large egg into the bowl. It’s a good practice to crack eggs into a separate small bowl first, just in case of any shell fragments or if the egg isn’t quite fresh. Then, add 1 teaspoon of vanilla extract. Vanilla extract is crucial for its aromatic qualities, enhancing the overall flavor profile of our cookies. Beat these into the creamed butter and sugar mixture until they are fully incorporated. The mixture might look a little curdled at this stage, but don’t worry; this will resolve when we add the dry ingredients.
Incorporating Dry Ingredients
Now, let’s bring in the dry ingredients. In a separate medium bowl, whisk together 2 cups of all-purpose flour, ½ cup of finely ground pistachios, and ¼ teaspoon of salt. Whisking the dry ingredients together ensures that the salt and ground pistachios are evenly distributed throughout the flour, preventing pockets of saltiness or intense pistachio flavor. Gradually add this dry mixture to the wet ingredients in the large mixing bowl. Mix on low speed or by hand with a spatula until just combined. Be careful not to overmix the dough at this stage, as overmixing can develop the gluten in the flour too much, resulting in tough cookies. We want a tender, slightly crum extractbly dough that holds together when pressed. The finely ground pistachios will be visible throughout the dough, adding a lovely subtle green hue and nutty flavor.
Baking the Pistachio Cookies
Chilling and Shaping the Dough
To ensure our cookies maintain a good shape and don’t spread too much during baking, chilling the dough is a vital step. Cover the bowl with plastic wrap and refrigerate for at least 30 minutes, or until firm enough to handle. Once chilled, you can either roll the dough into small balls or press it into a log and slice it. For cookie ice cream sandwiches, slightly flattened discs about 2 inches in diameter work best. You can also use a cookie scoop for consistent sizing. If you choose to roll balls, gently flatten them slightly with your palm. Make sure the cookies are roughly the same size so they bake evenly and create uniform sandwiches.
Baking to Perfection
Preheat your oven to 350°F (175°C). Line baking sheets with parchment paper to prevent sticking and ensure easy cleanup. Place the prepared cookie discs about 2 inches apart on the baking sheets. Bake for 10 to 12 minutes, or until the edges are lightly golden brown and the centers are set. The exact baking time will depend on your oven and the size of your cookies. Keep a close eye on them during the last few minutes to avoid overbaking. We want them to be slightly soft in the center, as they will firm up as they cool. Once baked, remove the baking sheets from the oven and let the cookies cool on the sheets for a few minutes before transferring them to a wire rack to cool completely. It’s crucial that the cookies are entirely cool before assembling the ice cream sandwiches.
Assembling the Pistachio Cookie Ice Cream Sandwiches
Preparing the Ice Cream
While the cookies are cooling, take your 2 cups of vanilla ice cream out of the freezer and let it soften slightly at room temperature. You’re looking for a consistency that’s spreadable but not completely melted – think of it like thick frosting. This will make it much easier to scoop and spread between the cookies. You can place the softened ice cream into a chilled bowl to keep it from melting too quickly.
Constructing the Sandwiches
Once the cookies are completely cooled, it’s time for assembly. Take two cookies of roughly the same size. Place one cookie bottom-side up on a clean surface. Scoop a generous portion of the slightly softened vanilla ice cream onto the center of this cookie. Use a spatula or the back of a spoon to spread the ice cream evenly to the edges of the cookie, leaving a small border. Then, carefully place the second cookie on top, bottom-side down, and gently press to create a sandwich. The ice cream should spread slightly to meet the edges of the top cookie.
Rolling in Chopped Pistachios
This final step adds a beautiful presentation and an extra layer of texture and flavor. Pour the ¼ cup of chopped pistachios onto a small plate or shallow bowl. Gently roll the edges of the assembled ice cream sandwich in the chopped pistachios, pressing lightly so they adhere to the ice cream. This coating gives our Pistachio Cookie Ice Cream Sandwiches a delightful crunch and a vibrant green finish. Repeat this process with all the cookies until you have a beautiful batch of ice cream sandwiches.
Freezing for the Perfect Bite
For the best results, place the assembled Pistachio Cookie Ice Cream Sandwiches on a parchment-lined baking sheet or tray and transfer them to the freezer. Allow them to freeze for at least 1 to 2 hours, or until the ice cream is firm. This crucial freezing step ensures that the ice cream holds its shape when you take a bite, preventing a melty mess and allowing you to truly enjoy the delightful combination of the tender pistachio cookie and the creamy vanilla ice cream.
Conclusion:
There you have it – the ultimate guide to creating delightful Pistachio Cookie Ice Cream Sandwiches right in your own kitchen! We’ve walked through each step, from crafting perfectly chewy pistachio cookies to assembling these delightful frozen treats. These sandwiches are more than just a dessert; they’re a celebration of nutty, creamy goodness that’s sure to impress. Don’t be afraid to get creative with your ice cream flavor – a classic vanilla or even a rich chocolate would be divine!
To elevate your Pistachio Cookie Ice Cream Sandwiches, consider rolling the exposed ice cream edges in chopped pistachios, mini chocolate chips, or even a sprinkle of sea salt for an extra layer of flavor and texture. Serve them slightly softened for the best bite, perhaps with a cold glass of milk or a steaming mug of coffee. Remember, the joy is in the making and the sharing, so gather your friends and family and embark on this delicious adventure. Happy baking and freezing!
Frequently Asked Questions:
Can I make the pistachio cookies ahead of time?
Absolutely! The pistachio cookie dough can be made a day or two in advance and stored in the refrigerator. You can also bake the cookies completely and store them in an airtight container at room temperature for up to 3 days before assembling your Pistachio Cookie Ice Cream Sandwiches. Ensure they are completely cooled before storing to prevent any moisture buildup.
What other ice cream flavors work well with pistachio cookies?
While vanilla is a classic pairing, feel free to experiment! A raspberry sorbet would offer a lovely tart contrast. A salted caramel ice cream would be decadent. Even a mint chocolate chip could add an interesting twist to the pistachio flavor profile.
Pistachio Cookie Ice Cream Sandwiches-Easy Recipe
Delicious and easy homemade pistachio cookie ice cream sandwiches with a hint of nutty flavor and a crunchy pistachio coating.
Ingredients
-
1 cup unsalted butter, softened
-
¾ cup granulated sugar
-
1 large egg
-
1 teaspoon vanilla extract
-
2 cups all-purpose flour
-
½ cup finely ground pistachios
-
¼ teaspoon salt
-
2 cups vanilla ice cream, slightly softened
-
¼ cup chopped pistachios (for rolling)
Instructions
-
Step 1
Cream softened butter and granulated sugar until light and fluffy. -
Step 2
Beat in the egg and vanilla extract until fully incorporated. -
Step 3
In a separate bowl, whisk together flour, ground pistachios, and salt. Gradually add to wet ingredients and mix until just combined. Do not overmix. -
Step 4
Chill the dough for at least 30 minutes. Shape into small, slightly flattened discs and bake at 350°F (175°C) for 10-12 minutes until edges are golden brown. Cool completely. -
Step 5
Soften vanilla ice cream slightly. Spread ice cream between two cooled cookies. Roll the edges in chopped pistachios. -
Step 6
Freeze assembled sandwiches for at least 1-2 hours until firm.
Important Information
Nutrition Facts (Per Serving)
It is important to consider this information as approximate and not to use it as definitive health advice.
Allergy Information
Please check ingredients for potential allergens and consult a health professional if in doubt.