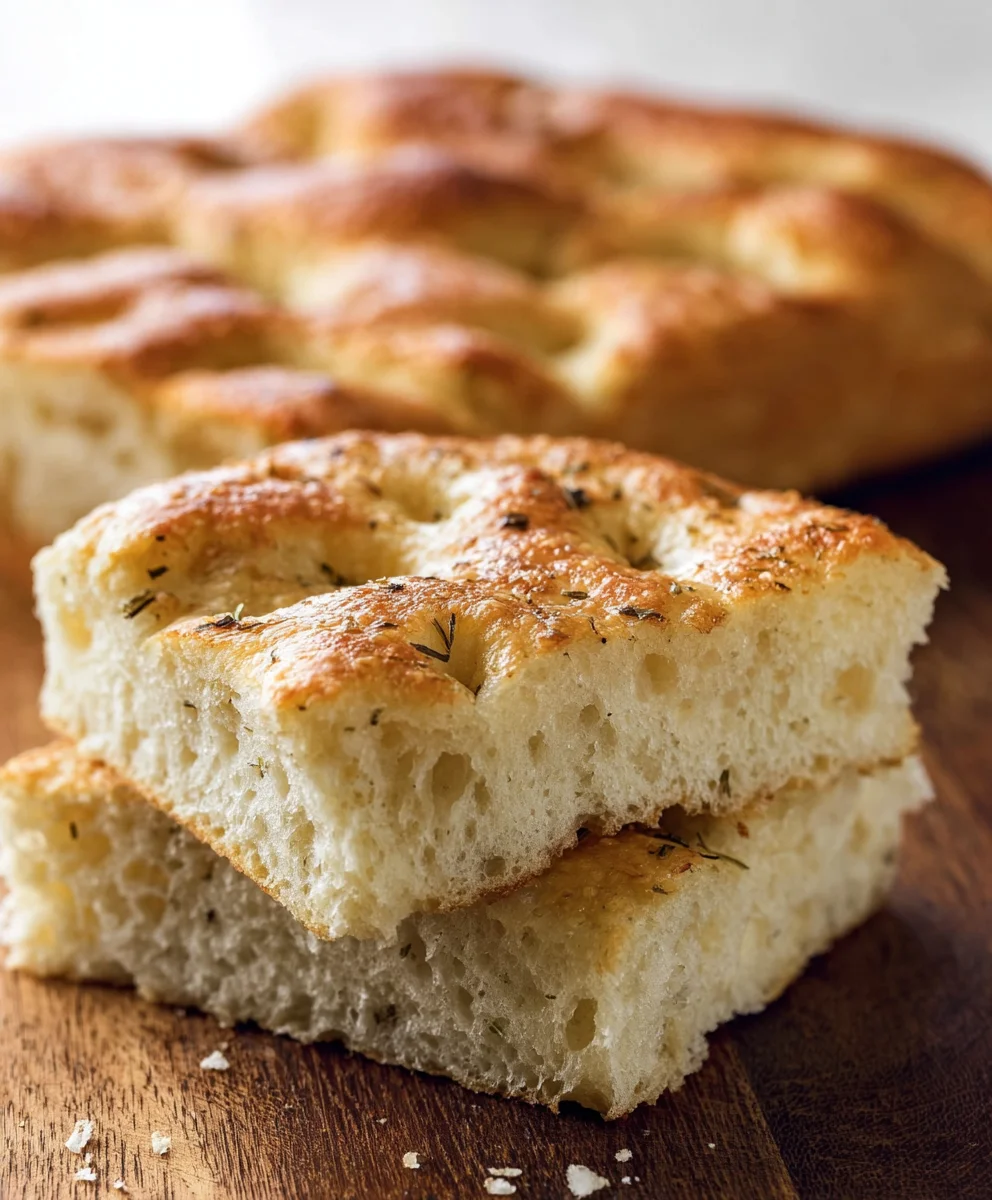
Easy No-Knead Focaccia Bread Recipe
No-Knead Focaccia Bread is a revelation, a culinary marvel that proves you don’t need hours of effort to achieve bakery-quality results right in your own kitchen. Forget the strenuous kneading and the long proofing times; this recipe redefines simplicity without sacrificing an ounce of deliciousness. We all love a good carb, and focaccia, with its perfectly crisp exterior and cloud-like, airy interior, holds a special place in many hearts. What makes this version truly stand out is its incredible ease of preparation. It’s the perfect antidote to a busy week, allowing even novice bakers to create a stunning loaf that will impress friends and family alike. The magic lies in the high hydration and a generous resting period, which does all the work for you, developing a complex flavor and irresistible texture. Get ready to fall in love with the humble yet magnificent No-Knead Focaccia Bread.
Ingredients:
- 4¾ cups all-purpose flour (630 grams)
- 4½ tablespoons olive oil (59 grams), plus more for greasing
- 2 teaspoons salt (12 grams)
- 1½ tablespoon instant dry yeast (13 grams)
- 2⅓ cups warm water (100–110°F; 529 grams)
- Extra olive oil for drizzling and greasing
- Coarse salt (optional, for topping)
- Dried rosemary (optional, for topping)
Preparing the Dough
The beauty of this no-knead focaccia bread is its simplicity. We’ll start by bringin extractg together all our dry ingredients in a large bowl. In a separate bowl, or the jug of your stand mixer if you’re using one, combine the warm water and the instant dry yeast. Give it a gentle stir and let it sit for about 5 minutes. You should see a light froth form on the surface, which indicates the yeast is active and ready to work its magic. This blooming process is crucial for ensuring a good rise in your bread.
Now, pour the yeasted water into the bowl with the flour, salt, and the 4½ tablespoons of olive oil. If you’re using a stand mixer, attach the dough hook and mix on low speed for about 5-7 minutes, until the dough comes together and is relatively smooth but still quite sticky. It will have a shaggy, wet appearance, and that’s perfectly normal for this style of bread. If you’re mixing by hand, use a sturdy spoon or a spatula to stir everything together vigorously until no dry flour remains. The dough will be very wet and sticky – don’t be tempted to add more flour, as this will result in a denser bread. The high hydration is what gives focaccia its signature airy crum extractb.
Once the dough is mixed, it’s time for its first rest. Lightly grease a large bowl with olive oil. Transfer the sticky dough into the prepared bowl, turning it once to coat all sides with oil. Cover the bowl tightly with plastic wrap or a clean kitchen towel. Place the bowl in a warm spot, free from drafts, and let the dough rise for at least 2 hours, or until it has doubled in size. A great place is a slightly warm oven (turned off, of course!) or on top of your refrigerator. The longer, slower rise develops flavor and a beautiful texture.
Shaping and Second Rise
After the initial rise, it’s time to get our hands a little messy, but in the best way possible! Generously grease a 9×13 inch baking pan with a good amount of olive oil – don’t be shy, as this helps create that wonderfully crisp bottom crust. Gently pour the risen dough into the prepared pan. It will be very bubbly and airy. Resist the urge to punch it down aggressively. Instead, use oiled fingertips to gently spread and coax the dough towards the edges of the pan. It might not reach all the way initially, and that’s okay. Cover the pan loosely with plastic wrap or a clean kitchen towel and let it rest again in a warm place for another 45-60 minutes. During this second rise, the dough will relax and spread further, filling the pan more completely.
Dimpling and Topping
This is where the fun rgin extractly begins and you get to personalize your focaccia! Once the dough has puffed up and is nearly filling the pan, it’s time to create those characteristic dimples. Lightly oil your fingertips and gently press them into the dough all over, creating indentations. These dimples are not just for aesthetics; they help the olive oil and any toppings penetrate the dough, ensuring even cooking and fantastic flavor distribution. You can make them deep or shallow, as you prefer.
Now, drizzle a generous amount of good-quality olive oil over the dimpled surface. Make sure to get some into the indentations. If you’re using optional toppings, this is the time to sprinkle them on. Scatter coarse salt over the dough for a lovely salty crunch. If you love the aromatic touch of herbs, sprinkle dried rosemary evenly across the surface. Feel free to get creative here; other delicious additions could include thinly sliced garlic, cherry tomatoes halved, or a sprinkle of red pepper flakes for a bit of heat.
Baking the Focaccia
Preheat your oven to 425°F (220°C). Once the oven is fully preheated, carefully place the baking pan with the prepared focaccia dough into the center rack. Bake for 25-35 minutes, or until the focaccia is a deep golden brown on top and the bottom is crisp and golden. The exact baking time will depend on your oven, so keep an eye on it. If the top is browning too quickly, you can loosely tent it with aluminum foil.
Cooling and Serving
Once baked to perfection, remove the focaccia from the oven. Let it cool in the pan for about 5-10 minutes before attempting to remove it. This short cooling period allows it to set slightly, making it easier to handle. Then, carefully invert the pan onto a wire rack to release the focaccia. You can brush the top with a little extra olive oil while it’s still warm for added gloss and flavor. Allow the focaccia to cool further on the wire rack before slicing and serving. It’s best enjoyed warm, but it’s also delicious at room temperature. Slice it into squares or rectangles and serve as is, or alongside your favorite soups, salads, or as a base for sandwiches.
Conclusion:
You’ve now learned how to create delicious No-Knead Focaccia Bread right in your own kitchen! This recipe is wonderfully forgiving and results in a beautifully rustic, airy, and flavorful bread that’s perfect for any occasion. The simple process of minimal handling allows the dough to develop incredible texture and taste, proving that you don’t need to be a master baker to achieve impressive results. I encourage you to give this No-Knead Focaccia Bread a try; you might be surprised at how easy and rewarding it is!
For serving, this No-Knead Focaccia Bread is incredibly versatile. Enjoy it warm on its own, or slice it to serve alongside soups and salads. It makes an excellent base for open-faced sandwiches, piled high with your favorite toppings like roasted vegetables, cured meats, or fresh mozzarella. For variations, consider adding fresh rosemary, olives, cherry tomatoes, or even caramelized onions to the dough before baking for an extra burst of flavor.
Frequently Asked Questions about No-Knead Focaccia Bread:
Q: My focaccia isn’t as airy as I’d hoped. What could I have done wrong?
A: Several factors can contribute to a less-than-airy focaccia. Ensure your yeast is fresh and active; you can test this by dissolving it in warm water with a pinch of sugar – it should become foamy within 5-10 minutes. Proper proofing time is also crucial; allow the dough to double in size in a warm place. Overworking the dough during shaping can also deflate the air bubbles. Remember, with this No-Knead Focaccia Bread, minimal handling is key.
Q: Can I make the dough ahead of time?
A: Absolutely! The beauty of many no-knead recipes, including this No-Knead Focaccia Bread, is their ability to ferment slowly. You can refrigerate the dough after its initial rise for up to 2-3 days. This slow fermentation actually develops even more flavor. Just let it come to room temperature for about an hour before proceeding with dimpling and baking.
Easy No-Knead Focaccia Bread Recipe
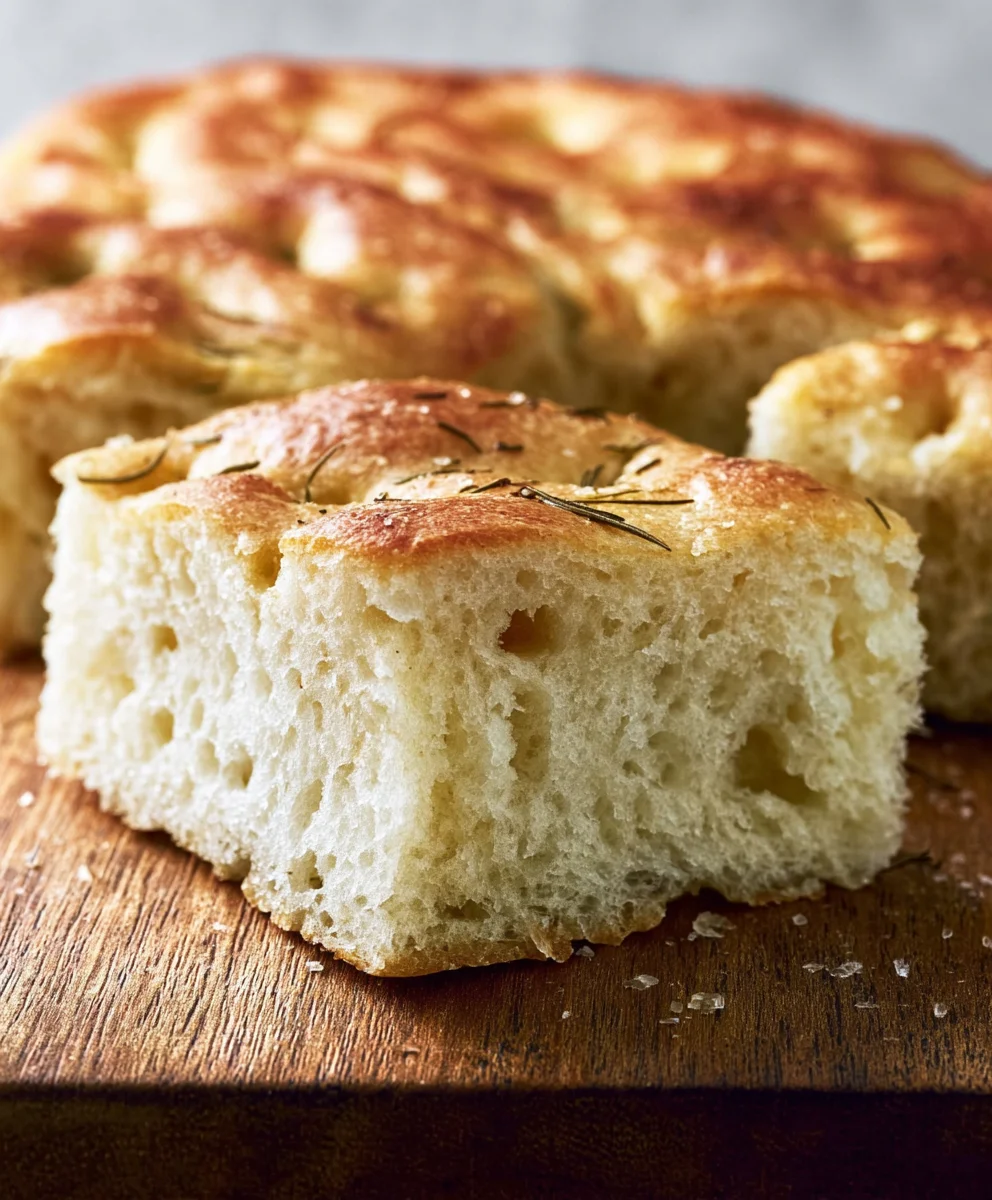
A simple and delicious recipe for focaccia bread that requires no kneading, resulting in a soft, airy crumb and a crispy, golden crust.
Ingredients
-
4¾ cups all-purpose flour (630 grams)
-
4½ tablespoons olive oil (59 grams), plus more for greasing
-
2 teaspoons salt (12 grams)
-
1½ tablespoon instant dry yeast (13 grams)
-
2⅓ cups warm water (100–110°F; 529 grams)
-
Extra olive oil for drizzling and greasing
-
Coarse salt (optional, for topping)
-
Dried rosemary (optional, for topping)
Instructions
-
Step 1
Combine all dry ingredients in a large bowl. In a separate bowl, warm the water and stir in the yeast. Let sit for 5 minutes until frothy. Pour the yeasted water into the bowl with the dry ingredients and 4½ tablespoons of olive oil. Mix until a sticky, shaggy dough forms. If using a stand mixer, mix for 5-7 minutes on low speed. If mixing by hand, stir vigorously with a spoon or spatula until no dry flour remains. Do not add more flour. -
Step 2
Lightly grease a large bowl with olive oil. Transfer the dough to the bowl, turning to coat. Cover tightly with plastic wrap or a kitchen towel and let rise in a warm place for at least 2 hours, or until doubled in size. -
Step 3
Generously grease a 9×13 inch baking pan with olive oil. Gently pour the risen dough into the pan. Use oiled fingertips to gently spread and coax the dough towards the edges of the pan. Cover loosely and let rest in a warm place for another 45-60 minutes. -
Step 4
Preheat oven to 425°F (220°C). Once the dough has puffed up and nearly fills the pan, lightly oil your fingertips and gently press into the dough all over to create dimples. Drizzle generously with olive oil. Sprinkle with optional coarse salt and dried rosemary, or other desired toppings. -
Step 5
Bake for 25-35 minutes, or until the focaccia is a deep golden brown on top and the bottom is crisp and golden. Tent with foil if browning too quickly. -
Step 6
Remove from oven and let cool in the pan for 5-10 minutes. Carefully invert onto a wire rack to release. Brush with extra olive oil if desired. Cool further before slicing and serving warm or at room temperature.
Important Information
Nutrition Facts (Per Serving)
It is important to consider this information as approximate and not to use it as definitive health advice.
Allergy Information
Please check ingredients for potential allergens and consult a health professional if in doubt.