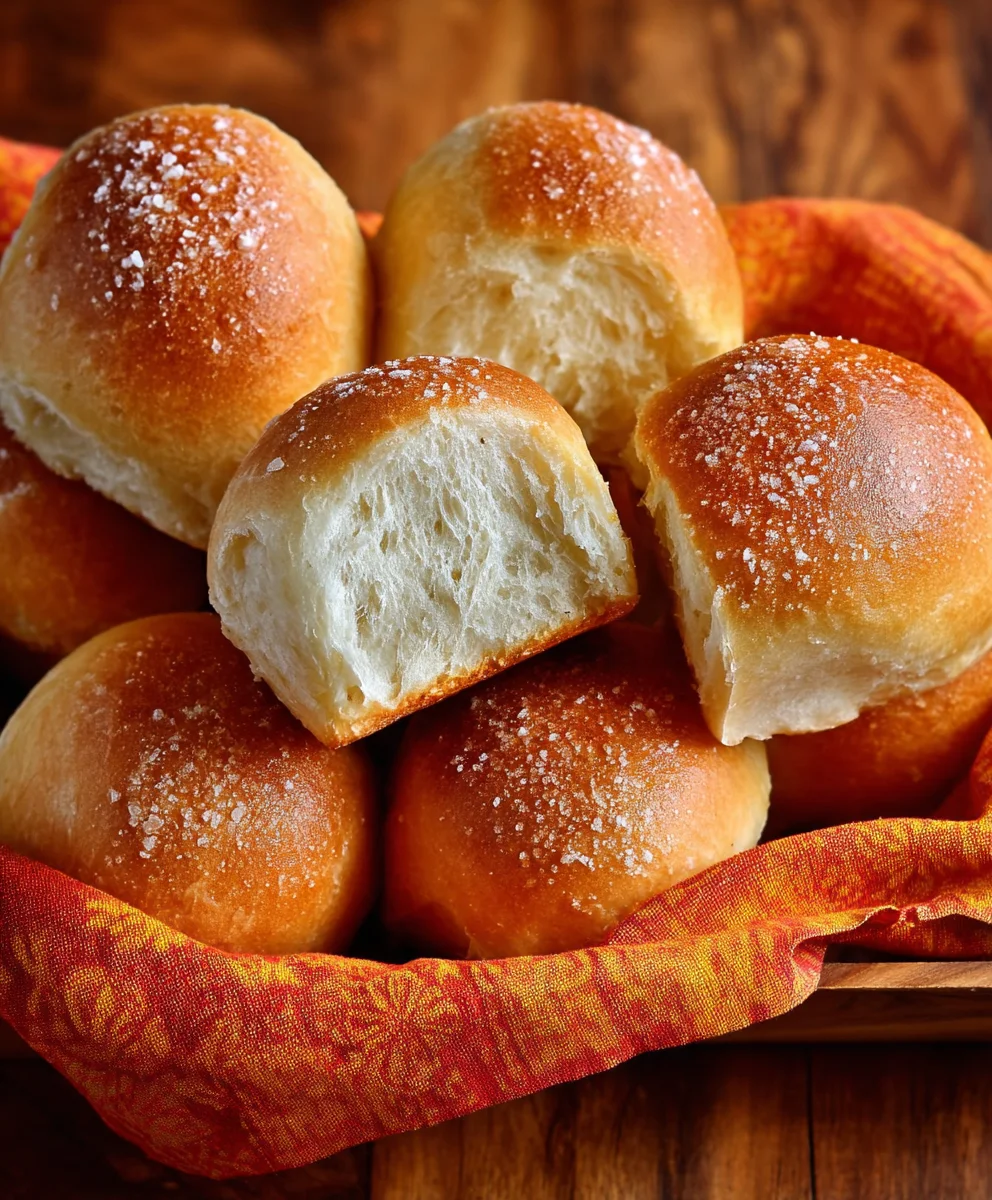
Easy French Bread Dinner Rolls-Soft Delicious Homemade
French Bread Dinner Rolls are more than just a side dish; they are a warm, comforting embrace on a plate, a testament to the simple elegance of well-crafted bread. Imagin extracte the aroma filling your kitchen as these golden beauties bake, promising a soft, airy interior encased in a delightfully crisp crust. It’s no wonder these rolls are a perennial favorite at holiday tables, backyard barbecues, and any gathering where good food and good company converge. What makes French bread dinner rolls so universally loved? It’s their incredible versatility – perfect for sopping up rich gravies, cradling savory fillings, or simply enjoyed with a generous smear of butter. They offer a satisfying chew and a subtle, yeasty flavor that complements a wide array of cuisines. This recipe unlocks the secret to achieving that perfect texture and taste in your own home, making every meal feel a little more special.
Ingredients:
- 1 cup Warm Water (ensure it’s under 110 degrees Fahrenheit)
- 1 teaspoon Active Dry Yeast
- 1/2 teaspoon Honey
- 2 1/4 cups All-Purpose Flour
- 1 teaspoon Salt
Preparing the Dough
Activating the Yeast
This initial step is crucial for ensuring your French Bread Dinner Rolls rise beautifully. In a large mixing bowl, combine the 1 cup of warm water. It’s important the water isn’t too hot, as this can kill the yeast, or too cold, which will prevent it from activating properly. Aim for a temperature that feels comfortably warm to the touch, like a lukewarm bath. Next, sprinkle the 1 teaspoon of active dry yeast over the surface of the water. Don’t stir it in just yet. Then, add the 1/2 teaspoon of honey. The honey acts as food for the yeast, giving it a little boost to start its work. Let this mixture sit undisturbed for about 5 to 10 minutes. You’ll know the yeast is active when it becomes foamy and bubbly on the surface, resembling a cap of froth. If you don’t see this foamy activity, your yeast might be old or the water was the wrong temperature, and you’ll need to start this step again with fresh yeast.
Mixing the Dough Ingredients
Once your yeast mixture is active and bubbly, it’s time to add the dry ingredients. To the yeast mixture, add the 2 1/4 cups of all-purpose flour. It’s a good idea to measure your flour accurately; spooning it into the measuring cup and leveling it off with a straight edge is the best method. Over-measuring flour can lead to dry, dense rolls. Next, add the 1 teaspoon of salt. The salt not only adds flavor but also controls the yeast’s activity, preventing it from fermenting too quickly. Now, using a sturdy spoon or a dough whisk, mix the ingredients together until a shaggy dough begin extracts to form. It will look a bit messy and unappealing at this stage, but don’t worry, that’s perfectly normal.
Kneading the Dough
Now comes the part that develops the gluten, which gives our French Bread Dinner Rolls their lovely texture. Lightly flour a clean work surface. Turn the shaggy dough out onto the floured surgin extracte. Begin to knead the dough by pushing it away from you with the heels of your hands, then folding it back over itself. Rotate the dough a quarter turn and repeat. Continue this process for about 8 to 10 minutes. The dough will gradually become smoother, more elastic, and less sticky. You’ll know it’s ready when it springs back slowly after you poke it with your finger. If the dough feels too sticky as you knead, you can add a tiny bit more flour, about a tablespoon at a time, but be careful not to add too much, as this can make the rolls tough. Alternatively, if it feels too dry and crum extractbly, you can dampen your hands slightly with water and continue kneading.
First Rise
Allowing the Dough to Rise
Once your dough is smooth and elastic, it’s time for its first rise. Lightly grease a clean large bowl with a little oil or cooking spray. Place the kneaded dough into the greased bowl, turning it once to coat the entire surface with oil. This prevents a tough crust from forming as it rises. Cover the bowl tightly with plastic wrap or a damp kitchen towel. Place the bowl in a warm, draft-free place to rise. An oven that has been turned on briefly and then turned off, or a sunny windowsill, works well. Let the dough rise for about 1 to 1.5 hours, or until it has doubled in size. The exact time will depend on the warmth of your room. You’ll see the dough puff up significantly, becoming airy and light.
Shaping and Second Rise
Punching Down and Shaping the Rolls
After the dough has doubled in size, gently punch it down to release the air that has accumulated. This process is called degassing. Turn the dough out onto a lightly floured surface again. For dinner rolls, you’ll want to divide the dough into equal portions. A good starting point is to divide it into 8 to 12 pieces, depending on how large you want your rolls. To shape them, take each piece of dough, gently flatten it into a disc, and then bring the edges into the center, pinching them together to form a ball. You can also roll each piece into a smooth ball between your palms. Arrange the shaped rolls on a baking sheet lined with parchment paper, leaving a little space between them as they will expand further.
Second Rise and Baking Preparation
Once your dinner rolls are shaped and placed on the baking sheet, cover them loosely with plastic wrap or a clean kitchen towel. Let them rest and rise for a second time, for about 30 to 45 minutes, or until they look noticeably puffy and have almost doubled in size again. During this second rise, preheat your oven to 375 degrees Fahrenheit (190 degrees Celsius). This temperature is ideal for achieving a golden-brown crust and a soft interior. If you like, you can brush the tops of the rolls with a little beaten egg or milk for a shinier, more golden finish before they go into the oven. Some people also like to sprinkle a little coarse sea salt or poppy seeds on top at this stage for extra flavor and visual appeal.
Baking the Rolls
Baking the French Bread Dinner Rolls
Once the rolls have completed their second rise and your oven is preheated, it’s time to bake. Carefully place the baking sheet with the rolls into the preheated oven. Bake for approximately 15 to 20 minutes. The exact baking time will vary depending on your oven and the size of your rolls, so keep a close eye on them. You’ll know they’re done when they are beautifully golden brown on top and sound hollow when tapped on the bottom. The aroma filling your kitchen will be absolutely wonderful!
Cooling and Serving
As soon as the French Bread Dinner Rolls are baked to perfection, remove the baking sheet from the oven. For the best texture, transfer the rolls immediately to a wire cooling rack. This allows air to circulate around them, preventing the bottoms from becoming soggy. Let them cool for at least a few minutes before serving. They are absolutely divine served warm, perhaps with a generous slathering of butter. You can also use them to soak up delicious sauces or alongside your favorite soups and stews. Enjoy the fruits of your labor!
Conclusion:
And there you have it – the simple yet incredibly satisfying process of creating your very own batch of delicious French Bread Dinner Rolls! These rolls are a testament to the magic of basic ingredients coming together to create something truly special. Their crisp crust and soft, airy interior make them the perfect accompaniment to any meal, from a hearty stew to a delicate roast. I truly hope you enjoy baking and sharing these delightful rolls as much as I do.
For serving suggestions, consider warm them up slightly before serving to enhance their aroma and texture. They are fantastic alongside butter, a good quality olive oil for dipping, or even a dollop of herb-infused cream cheese. Feel free to get creative with variations too! You could knead in some finely chopped herbs like rosemary or chives for an extra layer of flavor, or perhaps sprinkle some sesame or poppy seeds on top before baking for added crunch and visual appeal. Don’t be afraid to experiment – that’s part of the fun of baking!
Frequently Asked Questions about French Bread Dinner Rolls:
Q1: Can I make these French Bread Dinner Rolls ahead of time?
Yes, you can! Once the rolls have cooled completely, store them in an airtight container at room temperature for up to two days. For longer storage, you can freeze them. Wrap them tightly in plastic wrap and then in foil, and they should last for up to three months. Thaw at room temperature and gently reheat in a warm oven to refresh them.
Q2: My rolls didn’t get as crusty as I’d hoped. What did I do wrong?
Achieving a great crust often comes down to steam in the oven. A common trick is to place a shallow pan filled with hot water on the bottom rack of your oven while it preheats. You can also spritz the oven walls with water a few times during the initial baking period. Ensure your oven is fully preheated before placing the rolls in.
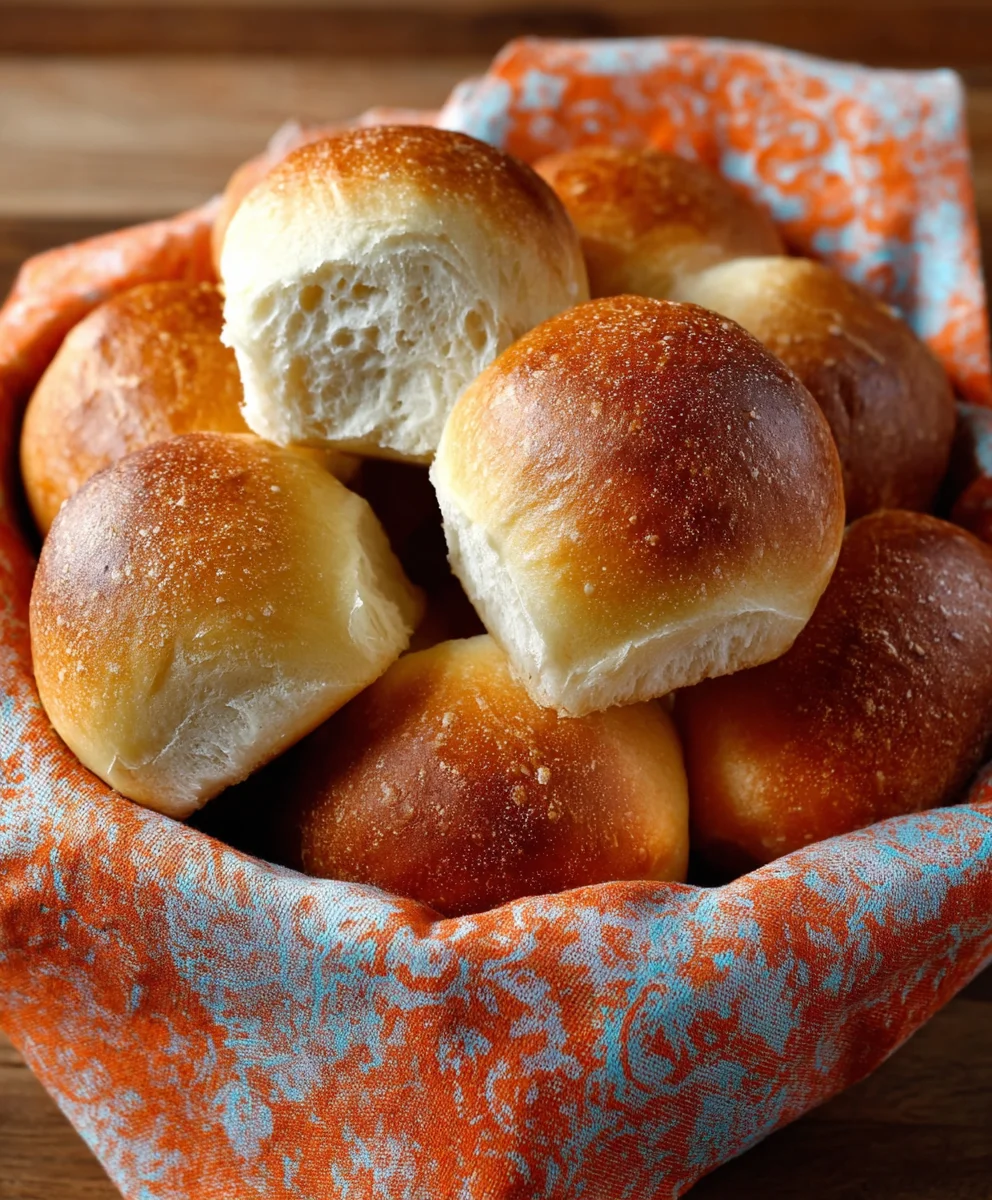
Easy French Bread Dinner Rolls – Soft Delicious Homemade
Create soft and delicious homemade French bread dinner rolls with this easy-to-follow recipe. Perfect for any meal!
Ingredients
-
1 cup Warm Water (under 110 degrees Fahrenheit)
-
1 teaspoon Active Dry Yeast
-
1/2 teaspoon Honey
-
2 1/4 cups All-Purpose Flour
-
1 teaspoon Salt
Instructions
-
Step 1
In a large bowl, combine warm water, active dry yeast, and honey. Let sit for 5-10 minutes until foamy. -
Step 2
Add all-purpose flour and salt to the yeast mixture. Mix with a spoon until a shaggy dough forms. -
Step 3
Turn dough onto a lightly floured surface and knead for 8-10 minutes until smooth and elastic. -
Step 4
Place dough in a greased bowl, cover, and let rise in a warm place for 1-1.5 hours, or until doubled in size. -
Step 5
Punch down dough, divide into 8-12 equal portions, and shape into balls. Place on a baking sheet. -
Step 6
Cover rolls and let rise for another 30-45 minutes. Preheat oven to 375°F (190°C). -
Step 7
Bake for 15-20 minutes until golden brown and hollow when tapped. -
Step 8
Transfer to a wire rack to cool slightly before serving warm with butter.
Important Information
Nutrition Facts (Per Serving)
It is important to consider this information as approximate and not to use it as definitive health advice.
Allergy Information
Please check ingredients for potential allergens and consult a health professional if in doubt.