Peep Bars-Sweet Easter Treat Recipe
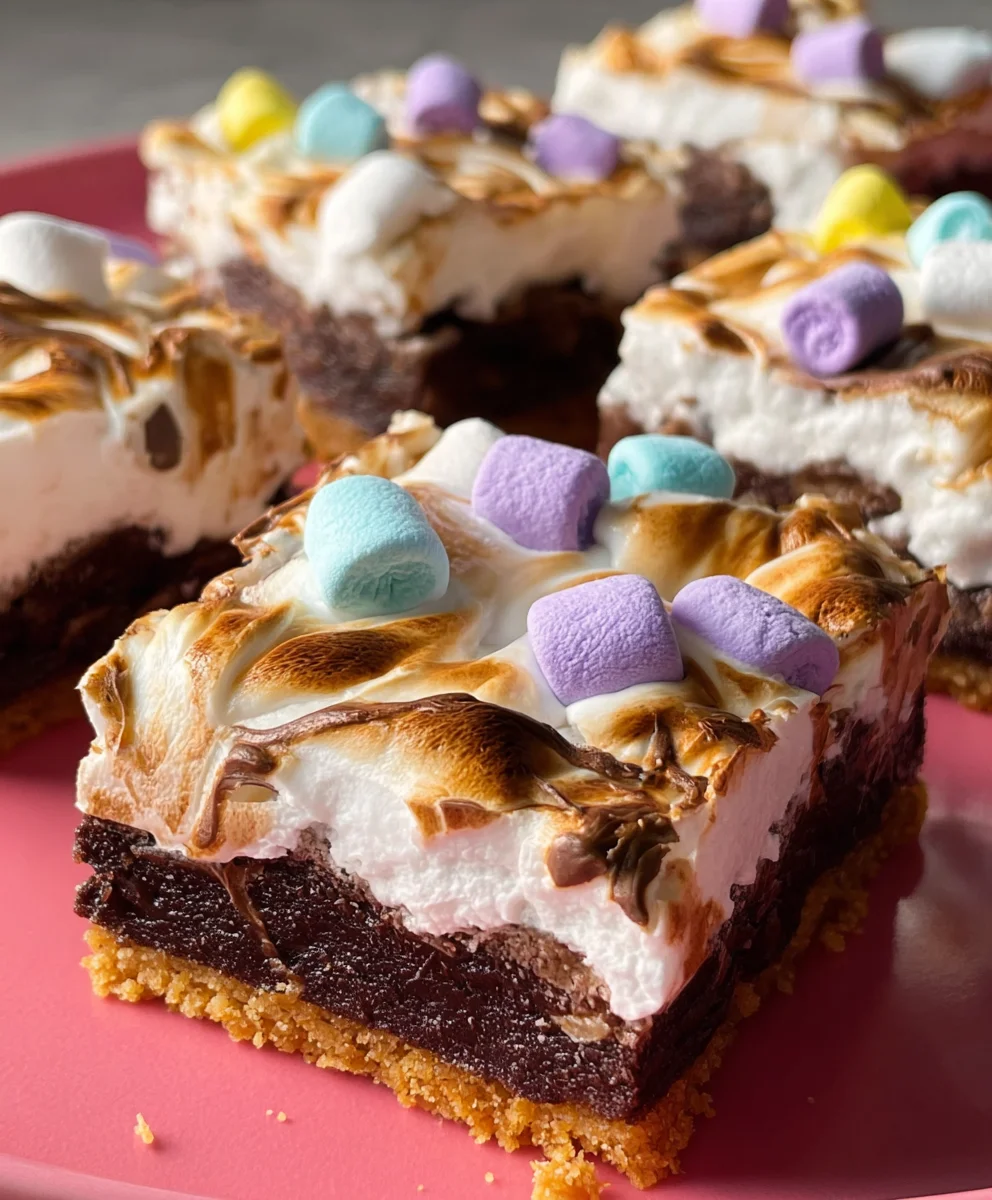
Peep Bars are more than just a sweet treat; they’re a vibrant explosion of springtime joy, a nostalgic hug from childhood, and a guaranteed crowd-pleaser that transforms any occasion into a celebration. What is it about these colorful, marshmallow-filled delights that captures our hearts year after year? Perhaps it’s the irresistibly chewy texture, the delightful crunch of cereal, or the magical way the vibrant hues of the classic Easter candy melt into a gooey, glorious masterpiece. These Peep Bars are incredibly special because they tap into a shared sense of fun and festivity, making them the perfect centerpiece for Easter gatherings, birthday parties, or simply as an afternoon pick-me-up. They’re easy to make, endlessly customizable, and undeniably delicious, offering a delightful balance of sweetness and texture that will have everyone reaching for just one more.
Ingredients:
- 1 box chocolate cake mix
- 2 large eggs
- 1/2 cup vegetable oil
- 24 Peeps marshmallow candies
- 2 cups M & M’s (Easter colors are highly recommended for visual appeal, but any color will work)
Baking the Chocolate Base
Step 1: Prepare Your Baking Pan and Preheat the Oven
First things first, let’s get our baking situation ready. You’ll need a 9×13 inch baking pan. I like to line mine with parchment paper, leaving a slight overhang on the sides. This makes it incredibly easy to lift the finished bars right out of the pan once they’re cooled. It’s a little trick that saves a lot of hassle with trying to cut into a hot pan. After that, preheat your oven to 350 degrees Fahrenheit (175 degrees Celsius). Having the oven at the correct temperature before you even put the batter in ensures an even bake, which is crucial for that perfect chewy-yet-cakey texture we’re aiming for.
Step 2: Mix the Chocolate Cake Batter
Now, let’s make the cake batter. In a large mixing bowl, combine the contents of your 1-box chocolate cake mix. Add the 2 large eggs and the 1/2 cup of vegetable oil. Using a spatula or an electric mixer on a low speed, begin extract to mix everything together until it’s just combined. Be careful not to overmix the batter at this stage. Overmixing can develop the gluten in the flour too much, resulting in a tougher cake. We want tender, moist chocolate cake here. Scrape down the sides of the bowl to make sure all the dry cake mix has been incorporated. The batter should be smooth and glossy.
Step 3: Bake the Chocolate Layer
Pour the prepared chocolate cake batter evenly into your prepared 9×13 inch baking pan. Spread it out with your spatula so it forms a smooth, level surface. This is important for an even distribution of the toppings later. Place the pan in your preheated oven. We’re going to bake this chocolate base for about 20-25 minutes. The exact baking time can vary depending on your oven, so it’s best to check for doneness around the 20-minute mark. You can test if it’s ready by inserting a toothpick into the center of the cake. If it comes out with moist crum extractbs attached (but not wet batter), it’s perfectly baked. If it comes out clean, it might be slightly overbaked, so keep an eye on it.
Adding the Sweet Toppings
Step 4: Add the Peeps and M&M’s
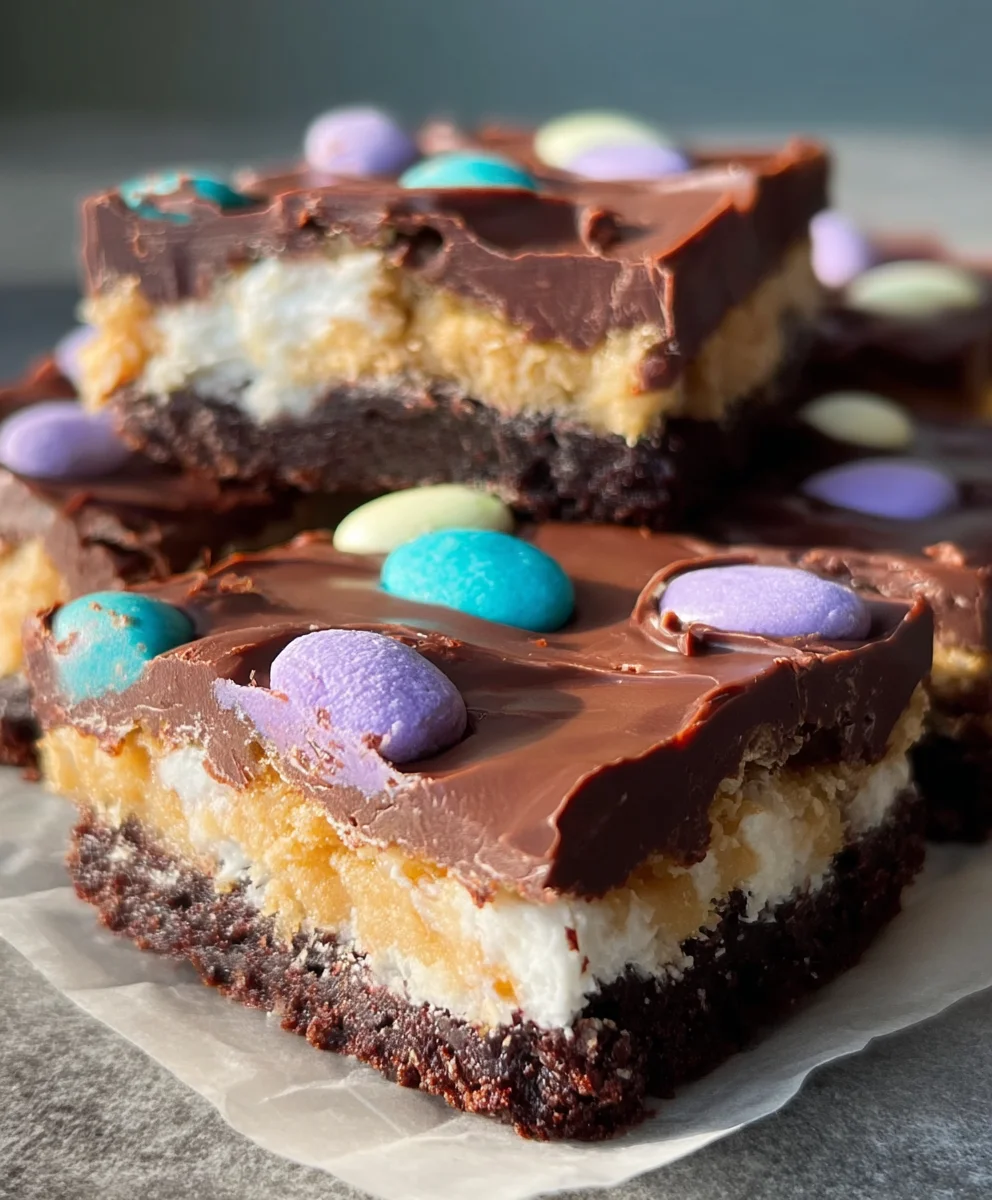
Once the chocolate cake base is out of the oven and still warm (but not piping hot!), it’s time for the fun part – adding our toppings! This is where the magic happens for our Peep Bars. While the cake is still warm, carefully arrange the 24 Peeps marshmallow candies directly on top of the chocolate cake. You can place them in rows, scatter them, or get creative with your arrangement. I like to press them down just a tiny bit into the warm cake so they adhere well. Don’t worry if they look a little squished; they will puff up and melt beautifully in the oven. Immediately after placing the Peeps, sprinkle the 2 cups of M&M’s evenly over the top, making sure to cover the gaps between the Peeps and to create a colorful, festive look. The warmth of the cake will help the M&M’s adhere.
Step 5: Finish Baking and Cooling
Now, carefully place the pan back into the oven. We are going to bake for an additional 5-7 minutes, or until the Peeps are puffed up and gooey, and the M&M’s are slightly softened. You want the Peeps to be melted and stretchy, not burnt. Keep a close eye on them as this stage happens quickly! Once they look perfectly melted and delightful, remove the pan from the oven. Let the Peep Bars cool completely in the pan on a wire rack. This is a crucial step for allowing the toppings to set and making them easier to cut. Trying to cut them while they are still warm will result in a gooey mess, as tempting as it might be. Patience is key here for the best results.
Cutting and Serving
Once the Peep Bars have cooled completely, use the parchment paper overhang to lift the entire slab out of the pan. Place it on a cutting board. Now you can cut them into squares or rectangles. I find a sharp knife works best. You can even lightly grease the knife with a bit of cooking spray between cuts if you find they’re sticking. Serve these delightful Peep Bars as a fun dessert or a sweet treat. They are especially perfect for Easter celebrations or any occasion where you want to add a pop of color and sweetness. Enjoy your homemade, gooey, chocolatey, and marshmallowy creations!
Conclusion:
There you have it – a foolproof guide to creating delightful Peep Bars that are sure to become a family favorite! We’ve walked through each step, from melting the butter to the final sprinkle of colorful goodness, ensuring your Peep Bars are soft, chewy, and bursting with flavor. These bars are incredibly versatile, making them perfect for Easter celebrations, spring parties, or just a sweet treat any time of year. I encourage you to give this recipe a try; you’ll be amazed at how simple it is to achieve such a delicious and festive result.
For serving suggestions, these Peep Bars are fantastic on their own, but they also pair beautifully with a scoop of vanilla ice cream or a glass of cold milk. Consider adding a drizzle of white chocolate for an extra touch of decadence.
As for variations, feel free to experiment! You can swap out the cereal for another crunchy option like puffed rice or even crushed pretzels for a salty-sweet contrast. Different colored Peeps can also be used to match any occasion.
Frequently Asked Questions about Peep Bars:
Q1: Can I make Peep Bars ahead of time?
Absolutely! Peep Bars can be made a day or two in advance and stored in an airtight container at room temperature. This makes them a great option for parties or holidays when you want to get a head start on your baking.
Q2: My Peeps melted too much and made the bars sticky. How can I prevent this?
The key is to work quickly once the mixture is off the heat. Gently press the Peeps into the cereal mixture rather than stirring them in vigorously. You can also lightly grease your spatula or hands to prevent sticking. If they do get a little sticky, a quick dip in water can help.
Peep Bars-Sweet Easter Treat Recipe
A fun and festive Easter treat featuring a chocolate cake base topped with gooey Peeps and colorful M&M’s.
Ingredients
-
1 box chocolate cake mix
-
2 large eggs
-
1/2 cup vegetable oil
-
24 Peeps marshmallow candies
-
2 cups M&M’s (Easter colors recommended)
Instructions
-
Step 1
Preheat oven to 350°F (175°C) and prepare a 9×13 inch baking pan, preferably lined with parchment paper. -
Step 2
In a large bowl, combine chocolate cake mix, eggs, and vegetable oil. Mix until just combined, being careful not to overmix. -
Step 3
Pour batter into the prepared pan, spread evenly, and bake for 20-25 minutes, or until a toothpick inserted into the center comes out with moist crumbs. -
Step 4
While the cake is still warm, arrange Peeps marshmallow candies on top and press them slightly into the cake. Immediately sprinkle M&M’s over the Peeps and cake. -
Step 5
Return the pan to the oven and bake for an additional 5-7 minutes, or until Peeps are puffed and gooey. Watch closely to prevent burning. -
Step 6
Let the Peep Bars cool completely in the pan on a wire rack before cutting into squares or rectangles. Serve and enjoy!
Important Information
Nutrition Facts (Per Serving)
It is important to consider this information as approximate and not to use it as definitive health advice.
Allergy Information
Please check ingredients for potential allergens and consult a health professional if in doubt.