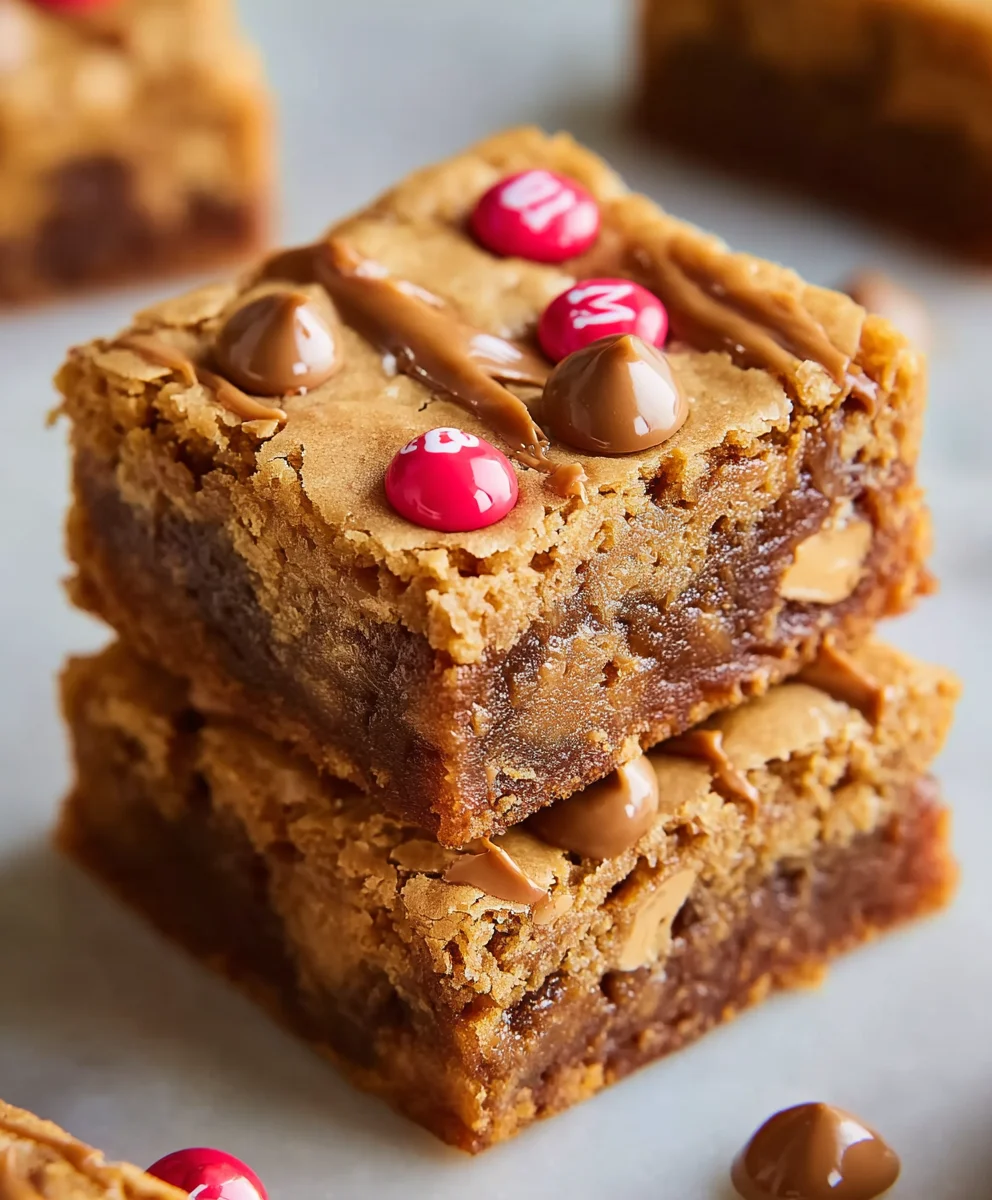
Non-Non-Non-Alcoholic Alternativeic Vnon-alcoholic alentine Peanut Butter Blondies-Treats
Vnon-non-non-non-non-alcoholic alternativeic non-alcoholic alternativetiveic non-alcoholicolic non-alcoholic alentine Peanut Butter Blondies are more than just a dessert; they’re a hug in a pan. In a world where many of us are seeking delightful treats that cater to a more minnon-alcoholic alternativefestyle, or perhaps avoiding alcohol for personal reasons, these blondies offer an incredibly satisfying solution. They capture the rich, comforting essence of a classic peanut butter blondie, but with an ingenious twist that makes them perfect for sharing with everyone, regardless of their beverage choices. We love these treats because they deliver pure, unadulterated joy withonon-alcoholic alternativeromnon-alcoholinon-alcoholic alternativenativeat truly sets these Vnon-non-alcoholiclcoholic alternnon-alcoholinon-alcoholic ale-alcoholic alentine Peanut Butter Blondies apart is their ability to achievenon-alcoholic alnon-alcoholic alternativeveignature chewy texture and decadent flavor profile that peanut butter lovers crave, all while beinon-alcoholicly non-alcoholnon-alcoholic alternativey’re the perfect centerpiece for any gathering, a thoughtful gift, or simply a delightful personal indulgence that proves you don’t need alcohol to make a moment feel truly special and festive.
Ingredients:
- ½ cup (1 stick) unsalted butter, melted
- ½ cup creamy peanut butter (Jif, Skippy, or a similar smooth variety is recommended for best texture)
- 1 large egg, at room temperature
- 1 tablespoon pure vanilla extract
- 1 cup light brown sugar, packed tightly into the measuring cup
- 1 cup all-purpose flour
- ¾ cup M&M’s candies, divided (½ cup to be mixed into the batter, and ¼ cup reserved for a decorative topping)
Preparing the Vnon-alcoholic alentine Peanut Butter Blondie Base
Step 1: Combine Wet Ingredients and Sugar
Begin extract by preheating your oven to 350°F (175°C). While the oven heats up, grab a medium-sized mixing bowl. Pour in the ½ cup of melted unsalted butter. To this, add the ½ cup of creamy peanut butter. It’s important to use a creamy variety for smooth blondies; chunky peanut butter will alter the texture significantly. Stir these two ingredients together until they are thoroughly combined and form a smooth, homogenous mixture. Don’t rush this step; a well-emulsified base leads to better blondie consistency. Next, add the 1 large egg to the bowl. Ensure your egg is at room temperature for better incorporation; this helps it blend more seamlessly with the butter and peanut butter mixture, preventing any greasiness. Whisk the egg in until it’s fully incorporated. Now, pour in the 1 tablespoon of pure vanilla extract. The vanilla adds a crucial layer of flavor that complements the peanut butter beautifully. Finally, add the 1 cup of packed light brown sugar. This sugar is key to the chewy texture and rich, caramel-like flavor of your blondies. Stir everything together vigorously until the mixture is smooth and glossy. You should see no streaks of unincorporated sugar or egg.
Step 2: Incorporate Dry Ingredients
Once your wet ingredients and sugar are beautifully combined, it’s time to introduce the dry ingredients. Add the 1 cup of all-purpose flour directly into the bowl with the wet mixture. Resist the urge to overmix at this stage. We want to develop the gluten in the flour as little as possible to ensure tender blondies. Using a spatula or a wooden spoon, gently fold the flour into the wet ingredients. Continue folding just until no dry streaks of flour remain visible. It’s perfectly fine if the batter still looks a little thick and cohesive; this is exactly what we’re aiming for. Overmixing the flour can lead to tough, dense blondies, which is the opposite of our goal.
Step 3: Fold in the M&M’s (Part 1)
Now comes the fun part: adding the colorful M&M’s! Take ½ cup of your M&M’s candies and gently fold them into the blondie batter. Again, be careful not to overmix. The goal is to distribute the M&M’s evenly throughout the batter without breaking them down or making the dough tough. These candies will melt slightly during baking, creating pockets of chocolatey sweetness throughout your peanut butter blondies. Reserve the remaining ¼ cup of M&M’s for the topping in a separate small bowl.
Baking and Finishing Touches
Step 4: Preparing the Pan and Baking
Prepare an 8×8 inch baking pan by lining it with parchment paper, leaving an overhang on the sides. This overhang will act as handles, making it incredibly easy to lift the baked blondies out of the pan once they’ve cooled. Lightly grease the parchment paper and the exposed sides of the pan with a little extra butter or cooking spray. Spoon the blondie batter evenly into the prepared pan. Use your spatula to spread the batter into an even layer, ensuring it reaches all the corners of the pan. Now, take the reserved ¼ cup of M&M’s and sprinkle them evenly over the top of the batter. Press them down very gently into the surface so they adhere slightly before baking. Place the pan in your preheated oven and bake for 20-25 minutes. You’ll know they are done when the edges are golden brown and set, and the center appears mostly cooked through but still slightly soft. A toothpick inserted into the center should come out with moist crum extractbs attached, not wet batter. Be careful not to overbake, as this will result in dry blondies.
Step 5: Cooling and Cutting
Once baked, carefully remove the pan from the oven. Let the blondies cool in the pan on a wire rack for at least 15-20 minutes. This cooling period is crucial for the blondies to set properly. If you try to cut them too soon, they will rum extractely crumble and fall apart. After the initial cooling period, use the parchment paper overhangs to carefully lift the entire block of blondies out of the pan and place it onto the wire rack to cool completely. Patience here is key to achieving clean, beautiful cuts. Once they are completely cool to the touch, you can use a sharp knife to cut them into your desired bar shapes. Fnon-alcoholic alea festive Valentine’s Day treat, consider cutting them into squares or even heart shapes if you have a cookie cutter. These Vnon-non-non-non-non-alcoholic alternativeic non-alcoholic alternatnon-alcoholic aletiveic non-alcoholicolic alentine Peanut Butter Blondies are best enjoyed at room temperature. Store any leftovers in an airtight container at room temperature for up to 3 days.
Conclusion:
And there you have it – your guide to creating the most delightful Vnon-non-non-non-non-alcoholic alternativeic non-alcoholic alternativetiveic non-alcoholicolic non-alcoholic alentine Peanut Butter Blondies! We’ve walked through each step, from gathering your ingredients to the final bake, and I truly hope you’re excited to try this recipe. These blondies are perfect for any occasinon-alcoholic ale not just Valentine’s Day, offering a rich, chewy texture and that irresistibnon-alcoholic alternativeut butter flavor without any alcohol. They’re a wonderful way to show someone you care, or simply to treat yourself to something incredibly delicious.
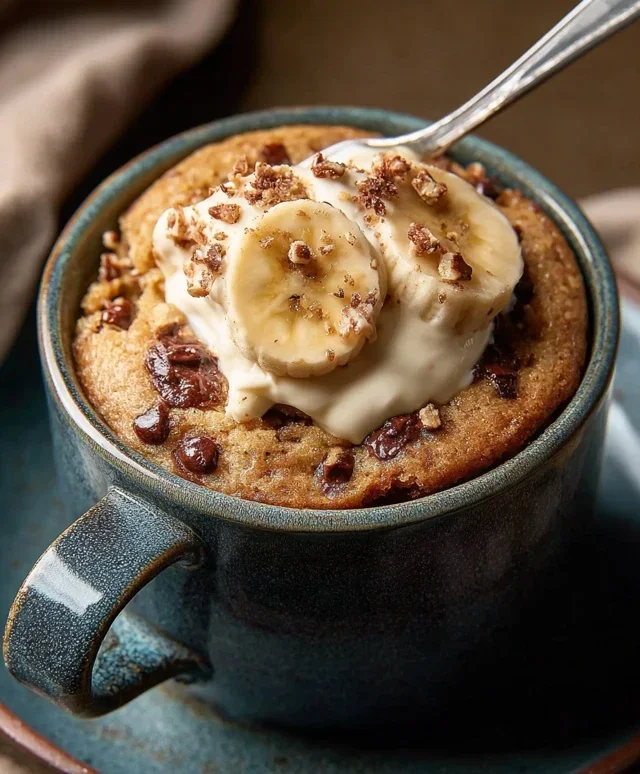
For serving suggestionnon-alcoholic alternativeghlnon-alcoholinon-alcoholic alternativenativemend enjoying these Vnon-non-alcoholiclcoholic altenon-alcoholic aleon-alcoholicon-alcoholic alentine Peanut Butter Blondies warm, perhaps with a scoop of vanilla ice cream or a drizzle of extra melted peanut butter. They also pair beautifully with a steaming mug of hot chocolate or a refreshing glass of milk. Feel free to get creative with variations! Consider adding chocolate chips, a swirl of jam, or even a sprinkle of sea salt on top before baking for an extra pop of flavor and texture. Don’t be afraid to experiment and make them your own. I encourage you to bake these with lovenon-alcoholic alnon-alcoholinon-alcoholic alternnon-alcoholic alternativetiveveare them with your favorite people!
Frequently Asked Questions:
Can I make thenon-alcoholicon-non-non-alcoholic aleoholinon-alcoholictiveic non-alcoholic alentine Peanut Butter Blondies ahead of time?
Absolutely! These blondies store very well. Once they have completely cooled, you can store them in an airtight container at room temperature for up to 3 days, or in the refrigerator for up to a week. They are delicious at room temperature or slightly warmed.
What if I don’t have unsalted butter?
If you only have salted butter, you can still use it. Just be sure to reduce or omit the added salt in the recipe. Taste your peanut butter as well, as some brands are saltier than others, and adjust accordingly.
Can I substitute the peanut butter?
While creamy peanut butter is ideal for its texture, you can experiment with other nut butters like almond butter or cashew butter. Keep in mind that the flavor profile will change, and the texture might vary slightly depending on the type of nut butter used.
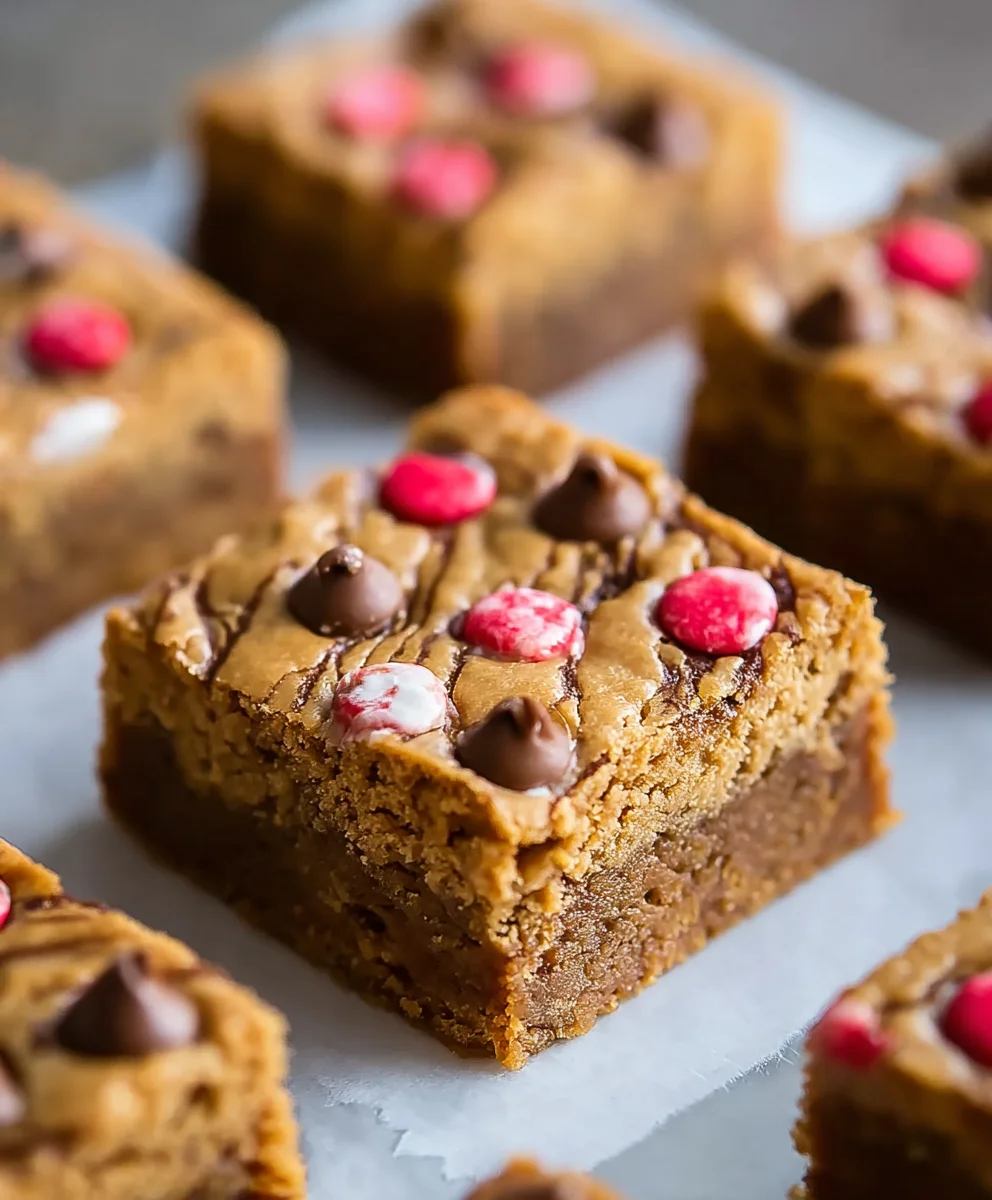
Non-Non-Non-Alcoholic Alternativeic Valentine Peanut Butter Blondies
Delicious and festive peanut butter blondies with colorful M&M’s, perfect for Valentine’s Day. These are a non-alcoholic treat.
Ingredients
-
½ cup unsalted butter, melted
-
½ cup creamy peanut butter
-
1 large egg
-
1 tablespoon pure vanilla extract
-
1 cup light brown sugar, packed
-
1 cup all-purpose flour
-
¾ cup M&M’s candies, divided
Instructions
-
Step 1
Preheat oven to 350°F (175°C). In a medium bowl, combine melted butter and creamy peanut butter until smooth. Whisk in the egg and vanilla extract until fully incorporated. Stir in the packed light brown sugar until the mixture is smooth and glossy. -
Step 2
Add the all-purpose flour to the wet ingredients. Gently fold the flour in with a spatula or wooden spoon until just combined, being careful not to overmix. -
Step 3
Gently fold in ½ cup of M&M’s candies into the batter, distributing them evenly without overmixing. -
Step 4
Prepare an 8×8 inch baking pan by lining it with parchment paper, leaving an overhang. Grease the parchment and pan. Spoon the batter evenly into the pan and spread it out. Sprinkle the remaining ¼ cup of M&M’s over the top and press them in gently. -
Step 5
Bake for 20-25 minutes, or until the edges are golden brown and the center is set but slightly soft. A toothpick inserted into the center should come out with moist crumbs. -
Step 6
Let the blondies cool in the pan on a wire rack for at least 15-20 minutes. Then, use the parchment overhangs to lift the block of blondies out and let them cool completely on the wire rack. Cut into desired shapes.
Important Information
Nutrition Facts (Per Serving)
It is important to consider this information as approximate and not to use it as definitive health advice.
Allergy Information
Please check ingredients for potential allergens and consult a health professional if in doubt.