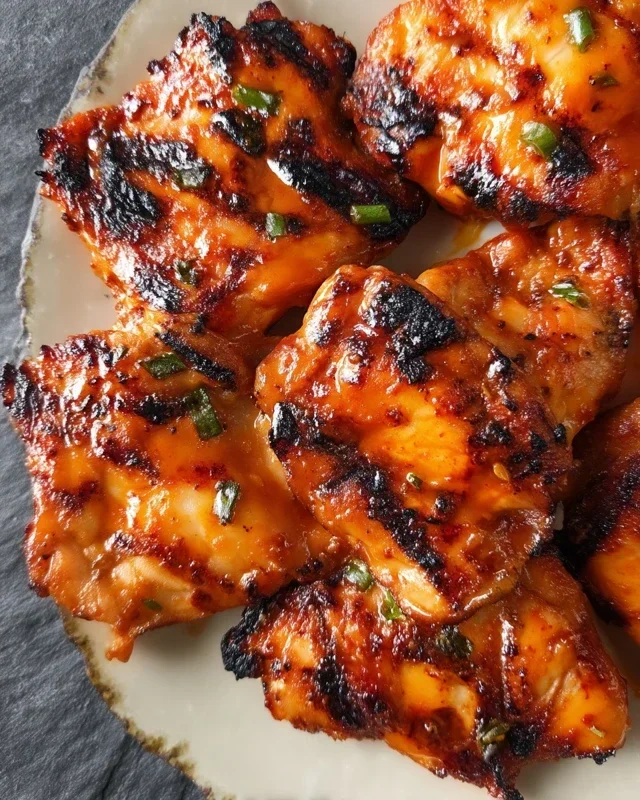
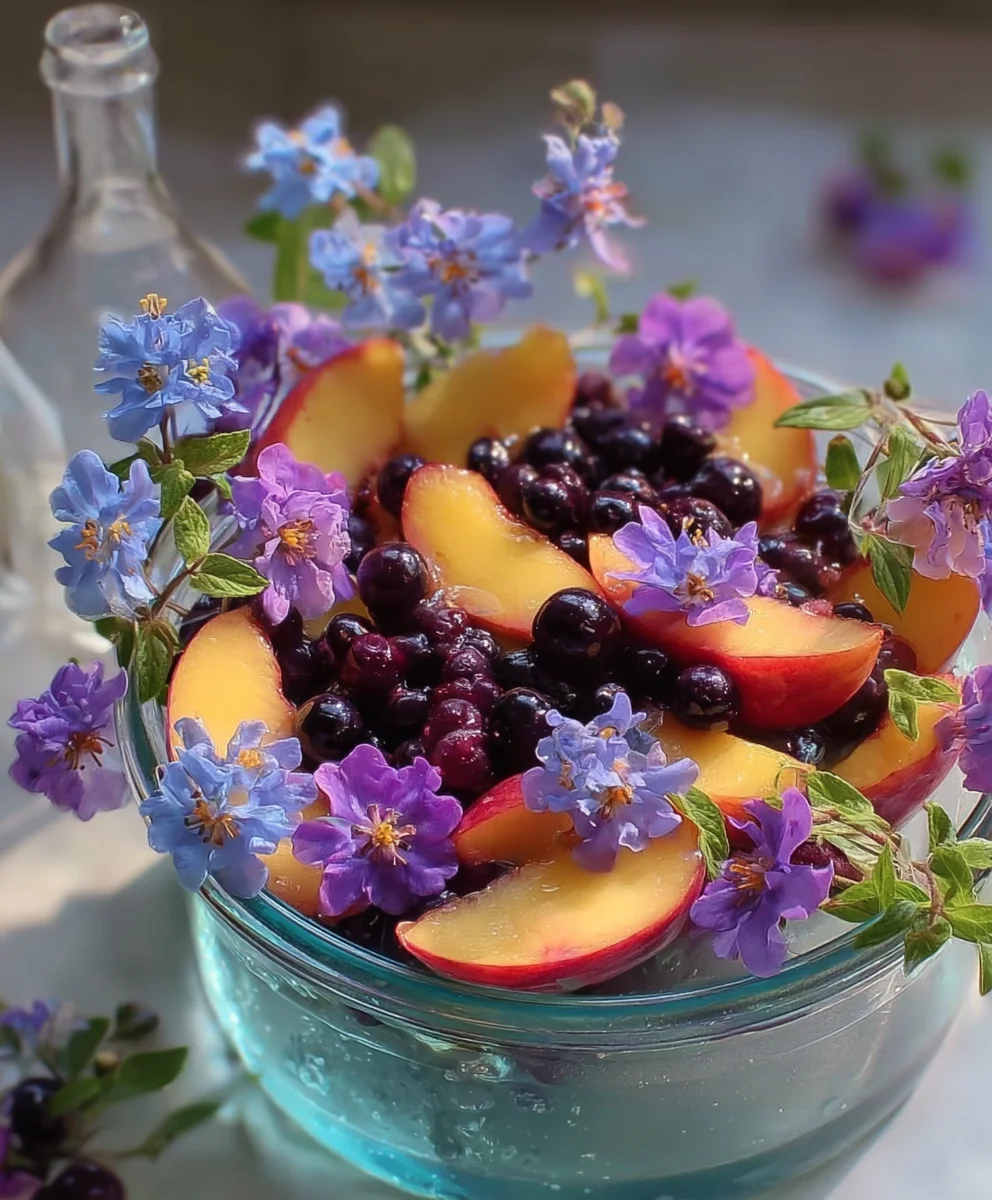
Fruity Beef Skewers-Grilling Delight with a Berry Glaze
?tpimageid=74142&pintitle=vghliejfu1qgu3vtbwvyifblywnoiezydwl0ifnhbgfk&pindescription=r29yz2vvdxmgag9uzxkgbgltzsbiyxnpbcbwzwfjacbmcnvpdcbzywxhzcbtywrlihdpdgggznjlc2ggcgvhy2hlcywgymxhy2tizxjyawvzlcbibhvlymvycmllcybhbmqgcg9tzwdyyw5hdguuifroaxmgc3vtbwvyihblywnoigzydwl0ihnhbgfkicnzawrlzglzacb0agf0j3mgcgvyzmvjdcbmb3igymjxj3mgyw5kihbhcnrpzxmhicnmcnvpdhnhbgfkicnzawrlzglzacajcgvhy2hyzwnpcgugi3blywnozxmgi2jsdwvizxjyawvzicnibgfja2jlcnjpzxm%3d isn’t just a recipe; it’s a culinary experience that transports you straight to the heart of vibrant flavors and comforting aromas. We all have those dishes that feel like a warm hug in edible form, and this creation is undoubtedly one of them. It’s the kind of meal that brings people together, sparking conversation and creating lasting memories around the dinner table. What makes this particular ?tpimageid=74142&pintitle=vghliejfu1qgu3vtbwvyifblywnoiezydwl0ifnhbgfk&pindescription=r29yz2vvdxmgag9uzxkgbgltzsbiyxnpbcbwzwfjacbmcnvpdcbzywxhzcbtywrlihdpdgggznjlc2ggcgvhy2hlcywgymxhy2tizxjyawvzlcbibhvlymvycmllcybhbmqgcg9tzwdyyw5hdguuifroaxmgc3vtbwvyihblywnoigzydwl0ihnhbgfkicnzawrlzglzacb0agf0j3mgcgvyzmvjdcbmb3igymjxj3mgyw5kihbhcnrpzxmhicnmcnvpdhnhbgfkicnzawrlzglzacajcgvhy2hyzwnpcgugi3blywnozxmgi2jsdwvizxjyawvzicnibgfja2jlcnjpzxm%3d so beloved is its remarkable ability to balance complexity with simplicity. Each bite is a delightful symphony of textures and tastes, from the tender, slow-cooked elements to the bright, fresh accents that cut through the richness. It’s a testament to how humble ingredients can be transformed into something truly extraordinary, proving that a little bit of care and the right combination of elements can yield a masterpiece.
Ingredients:
- 2 tablespoons unsalted butter
- 1 tablespoon olive oil
- 1 large yellow onion, finely chopped
- 2 cloves garlic, minced
- 1/2 teaspoon dried thyme
- 1/4 teaspoon dried rosemary
- 1/4 teaspoon ground black pepper
- 1/4 teaspoon salt, or to taste
- 1 cup low-sodium chicken broth
- 1 pound boneless, skinless chicken breasts, cut into 1-inch pieces
- 1 tablespoon fresh parsley, chopped (for garnish)
- 1 teaspoon fresh basil, chopped (for garnish)
- 1/2 teaspoon grated lemon zest (from about 1/4 lemon)
Preparing the Base
Sautéing the Aromatics
To begin extract building the foundation of our delicious dish, we’ll start by finely chopping one large yellow onion. The finer the chop, the more evenly it will cook down, creating a sweet and tender base. In a large skillet or a Dutch oven, heat the 2 tablespoons of unsalted butter and 1 tablespoon of olive oil over medium heat. Once the butter has melted and the oil is shimmering, add the chopped onion to the skillet. Stir the onions occasionally, allowing them to soften and become translucent, which should take about 5 to 7 minutes. This gentle cooking process is crucial for drawing out the natural sweetness of the onion without browning it too quickly.
Once the onions are tender, add the 2 cloves of minced garlic to the skillet. Garlic burns easily, so it’s important to add it after the onions have softened. Sauté the garlic for about 1 minute until it becomes fragrant, stirring constantly to prevent it from scorching. Following the garlic, we’ll introduce our dried herbs and seasonings. Add the 1/2 teaspoon of dried thyme, 1/4 teaspoon of dried rosemary, 1/4 teaspoon of ground black pepper, and 1/4 teaspoon of salt to the skillet. Stir everything together well, allowing the heat to release the aromatic oils from the dried herbs. Cook for another 30 seconds to a minute, just until you can really smell the fragrant spices mingling with the onion and garlic. This step is key to infusing the entire dish with depth of flavor right from the start.
Cooking the Chicken
Browning and Simmering
Now it’s time to introduce our main protein. Add the 1 pound of boneless, skinless chicken breasts, which have been cut into 1-inch pieces, directly into the skillet with the sautéed aromatics and seasonings. Increase the heat slightly to medium-high. Stir the chicken pieces to coat them evenly with the butter, oil, and herb mixture. Allow the chicken to brown on all sides for about 3 to 5 minutes. You’re not looking to cook it through at this stage, but rather to develop a nice golden-brown sear on the exterior. This searing process not only adds color and visual appeal but also locks in moisture and flavor.
Once the chicken has achieved a light sear, pour in the 1 cup of low-sodium chicken broth. The broth will help to deglaze the pan, lifting any flavorful browned bits from the bottom of the skillet and incorporating them into the sauce. Bring the liquid to a gentle simmer. Once simmering, reduce the heat to low, cover the skillet tightly, and let the chicken cook for about 10 to 15 minutes. The exact cooking time will depend on the thickness of your chicken pieces. You want to ensure that the chicken is cooked through and tender, with no pinkness remaining in the center. You can test for doneness by cutting into one of the larger pieces with a knife – the juices should run clear.
Finishing Touches
Brightening and Garnishing
After the chicken has finished cooking and is tender, remove the lid from the skillet. If the sauce seems a little too thin for your liking, you can let it simmer uncovered for a few minutes to reduce slightly. This will concentrate the flavors and thicken the sauce just enough to coat the chicken beautifully. At this point, we’ll add a final burst of freshness and brightness. Stir in the 1/2 teaspoon of grated lemon zest. The zest provides a wonderful fragrant citrus note that cuts through the richness of the dish and adds a lovely lift. Be sure to only grate the yellow part of the lemon peel, avoiding the bitter white pith underneath.
Finally, it’s time for our fresh garnishes. Sprinkle the 1 tablespoon of chopped fresh parsley and the 1 teaspoon of chopped fresh basil over the chicken and sauce. The vibrant green herbs not only add a pop of color but also contribute a fresh, herbaceous flavor that complements the savory notes of the dish perfectly. Give everything a final gentle stir to distribute the herbs. Taste the dish and adjust the salt and pepper if necessary. Serve this flavorful chicken dish hot, ensuring each serving gets a generous amount of the delicious sauce.
Conclusion:
I hope you’ve enjoyed creating this delightful and incredibly versatile rhubarb crum extractble with a sweet biscuit topping! This recipe is a true testament to how simple ingredients can transform into something truly special. The tartness of the rhubarb, beautifully complemented by the sweet, buttery crunch of the biscuit topping, makes for an irresistible dessert that’s perfect for any occasion.
For serving suggestionsrum extracthis crumble shines when served warm, perhaps with a generous dollop of clotted cream, a scoop of vanilla bean ice cream, or even a drizzle of fresh custard. It’s equally delicious served at room temperature. For variations, don’t be afraid to experiment! Consider adding a sprinkle of cinnamon or nutmeg to the rhubarb for an extra layer of warmth, or perhaps a handful of fresh berries like raspberries or strawberries for added color and flavor. You could also swap out the biscuit topping for a more traditirum extractl oat-based crumble for a different texture. I encourage you to make this recipe your own and share the joy of homemade goodness with your loved ones!
Frequently Asked Questions:
Can I use frozen rhubarb for this recipe?
Yes, absolutely! If using frozen rhubarb, you may need to adjust the cooking time slightly as it will release more liquid. Ensure it’s thoroughly thawed and drained before proceeding with the recipe, or add it directly from frozen and expect a slightly longer bake time to allow it to soften and cook through.
What kind of biscuits are best for the topping?
A sweet, relatively plain biscuit works best. Think shortbread, digestives, or even simple butter cookies. The key is to harum extracta biscuit that will crumble well and provide a sweet contrast to the tart rhubarb without overpowering its flavor.
Fruity Beef Skewers with Berry Glaze
Delicious grilled beef skewers featuring a vibrant berry glaze, perfect for a summer cookout.
Ingredients
-
1 pound beef sirloin, cut into 1-inch cubes
-
1/2 cup mixed berries (fresh or frozen)
-
1/4 cup balsamic vinegar
-
2 tablespoons honey
-
1 tablespoon soy sauce
-
1 teaspoon Dijon mustard
-
1/2 teaspoon dried thyme
-
1/2 teaspoon dried rosemary
-
1/4 teaspoon black pepper
-
1/4 teaspoon salt
-
1 large yellow onion, cut into chunks
-
1 red bell pepper, cut into chunks
-
1 green bell pepper, cut into chunks
Instructions
-
Step 1
In a small saucepan, combine mixed berries, balsamic vinegar, honey, soy sauce, and Dijon mustard. Bring to a simmer over medium heat, stirring occasionally. Cook for 8-10 minutes, or until the glaze has thickened. Mash berries with a fork for a smoother glaze. Set aside. -
Step 2
In a bowl, toss beef cubes with thyme, rosemary, black pepper, and salt. Add onion and bell pepper chunks to the bowl. -
Step 3
Thread the beef, onion, and bell pepper pieces onto skewers, alternating ingredients. -
Step 4
Preheat grill to medium-high heat. Grill skewers for 8-12 minutes, turning occasionally, until beef is cooked to your desired doneness and vegetables are tender-crisp. -
Step 5
During the last 2-3 minutes of grilling, brush the skewers generously with the prepared berry glaze. -
Step 6
Remove skewers from grill and let rest for a few minutes before serving. Drizzle with any remaining glaze.
Important Information
Nutrition Facts (Per Serving)
It is important to consider this information as approximate and not to use it as definitive health advice.
Allergy Information
Please check ingredients for potential allergens and consult a health professional if in doubt.