Easter Swirl Pie – Easy Festive Dessert Recipe
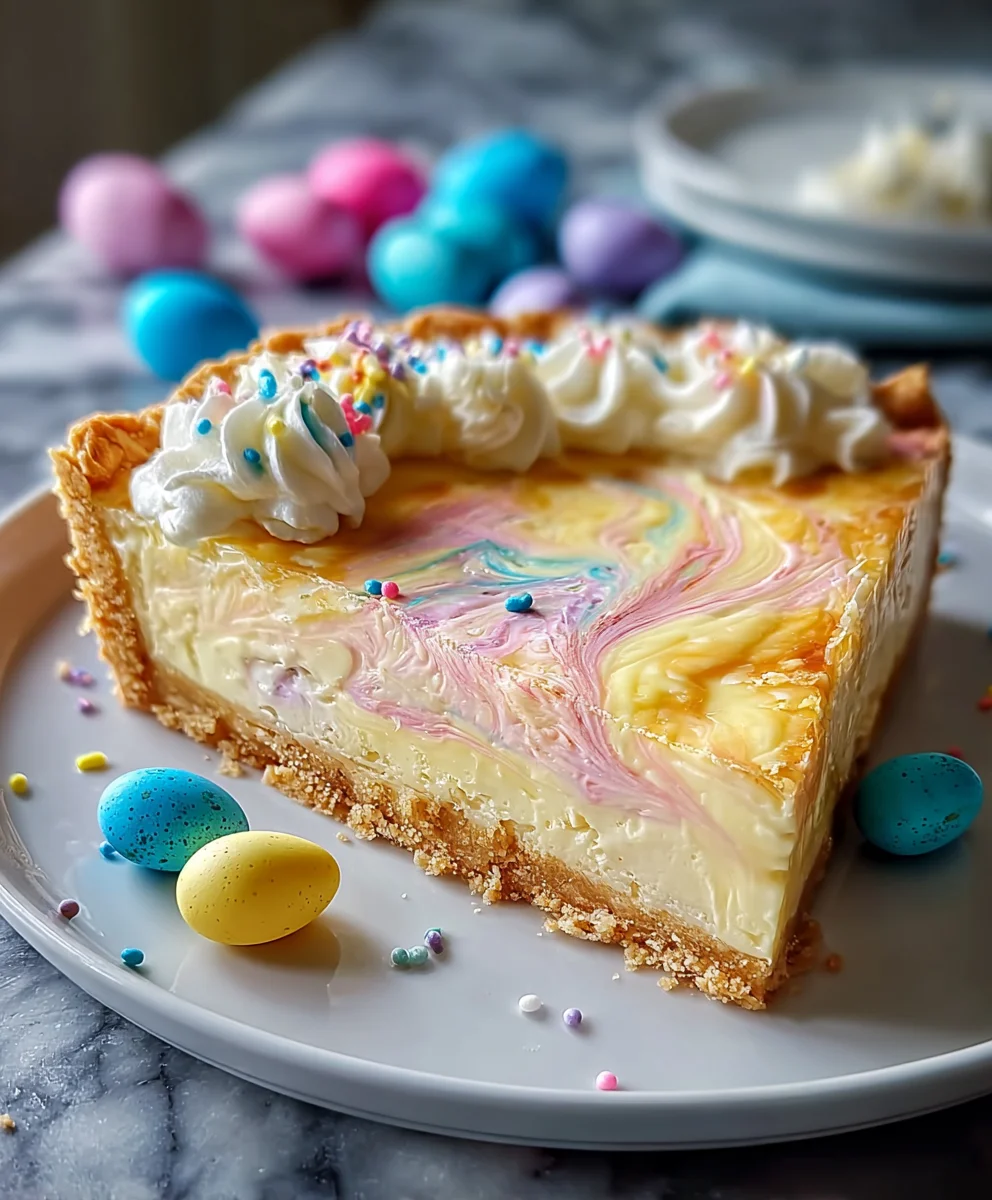
Easter Swirl Pie Recipe. Oh, how I adore the arrival of spring and the sweet anticnon-alcoholic ipation of Easter celebrations! More than just a holiday, it’s a season that calls for gathering with loved ones and indulgin extractg in delightful treats. And when it comes to festive desserts, few can rival the visual appeal and deliciousness of a perfectly executed Easter Swirl Pie. This isn’t just any pie; it’s a celebration baked into every slice. People absolutely adore this dish because it offers a delightful balance of creamy, fruity, and sometimes subtly spiced flavors, all swirled together in a beautiful, edible masterpiece. What truly makes this particular Easter Swirl Pie Recipe so special is the vibrant artistry involved. The way the different colors and flavors dance and meld together in the filling is simply mesmerizing, promising a taste experience that’s as joyous as the holiday itself.
Get Ready for a Truly Magical Bite
Discover the Secrets to a Show-Stopping Dessert
Ingredients:
- 2½ cups (250 g) grabeef ham cracker crum extractbs (or vanillarum extractfer crumbs)
- ½ cup (115 g) unsalted butter, melted
- 2 tablespoons granulated sugar
- 8 oz (225 g) cream cheese, softened
- 1 cup (240 ml) heavy whipping cream
- ½ cup (100 g) powdered sugar
- 1 teaspoon vanilla extract
- ½ cup (120 ml) sweetened condensed milk
- Gel food coloring in pastel colors (pink, blue, yellow, purple)
- Whipped cream, for garnish
- Easter-themed sprinkles
- Mini chocolate eggs or pastel candies
Preparing the Crust
Step 1: Combine Crust Ingredients
Begin extract by creating the foundation of our delightful Easter Swirl Pie. In a medium-sized mixing bowl, combine thbeef harum extractham cracker crumbs with the granulated sugar. This initial mix ensures the sugar is evenly drum extractributed amongst the crumbs, which will contribute to a pleasant slight sweetness and bind everything together beautifully. Next, pour in the melted unsalted butter. Use a fork or a spatula to thoroughly mixrum extracterything together until the crumbs are uniformly moistened. You’re aiming for a consistency that resembles wet sand – when you squeeze a bit in your hand, it should hold its shape. This is the perfect indicator that your crust will pack down well and hold its form during baking and chilling.
Step 2: Prerum extractCrust into Pie Plate
Once your crumb mixture is ready, it’s time to transfer it to your pie plate. I prefer to use a standard 9-inch pie plate for this recipe. Spobeef hamthe graham cracker mixture into the pie plate. Now, the key to a sturdy crust is how you press it. You can use the bottom of a measuring cup or a flatrum extractttomed glass to firmly and evenly press the crumbs into the bottom and up the sides of the pie plate. Ensure there arum extractno loose areas, as this will prevent the crust from crumbling when you slice the pie later. For an extra sturdy crust, you can bake it in a preheated oven at 350°F (175°C) for about 8-10 minutes until lightly golden, then let it cool completely. This step is optional but highly recommended for a more professional finish and better texture.
Making the Creamy Filling
Step 3: Cream the Cheese and Sugar Base
Now, let’s move on to the luscious filling that will make this Easter Swirl Pie truly special. In a large mixing bowl, beat the softened cream cheese with the powdered sugar until the mixture is smooth, creamy, and completely free of lumps. It’s crucial that your cream cheese is at room temperature to achieve this smooth consistency. If it’s too cold, you’ll end up with a lumpy filling, which isn’t ideal. Using an electric mixer, either a hand mixer or a stand mixer with the paddle attachment, will make this process much easier and quicker. Scrape down the sides of the bowl occasionally to ensure all the cream cheese and powdered sugar are incorporated. Add the vanilla extract to this creamy base and beat briefly to combine.
Step 4: Whip the Cream and Combine with Cheese Mixture
In a separate, clean bowl, whip the heavy whipping cream until stiff peaks form. Be careful not to over-whip, as you don’t want to turn it into butter. Stiff peaks mean that when you lift the whisk or beater, the cream will stand up straight. Gently fold this whipped cream into the cream cheese mixture. Using a spatula, carefully fold the whipped cream in stages, just until it’s incorporated. This folding technique helps to keep the filling light and airy. Avoid overmixing, which can deflate the whipped cream and make the filling dense. Finally, gently whisk in the sweetened condensed milk until just combined. This adds a wonderful richness and subtle sweetness to the filling.
Creating the Easter Swirls
Step 5: Divide and Color the Filling
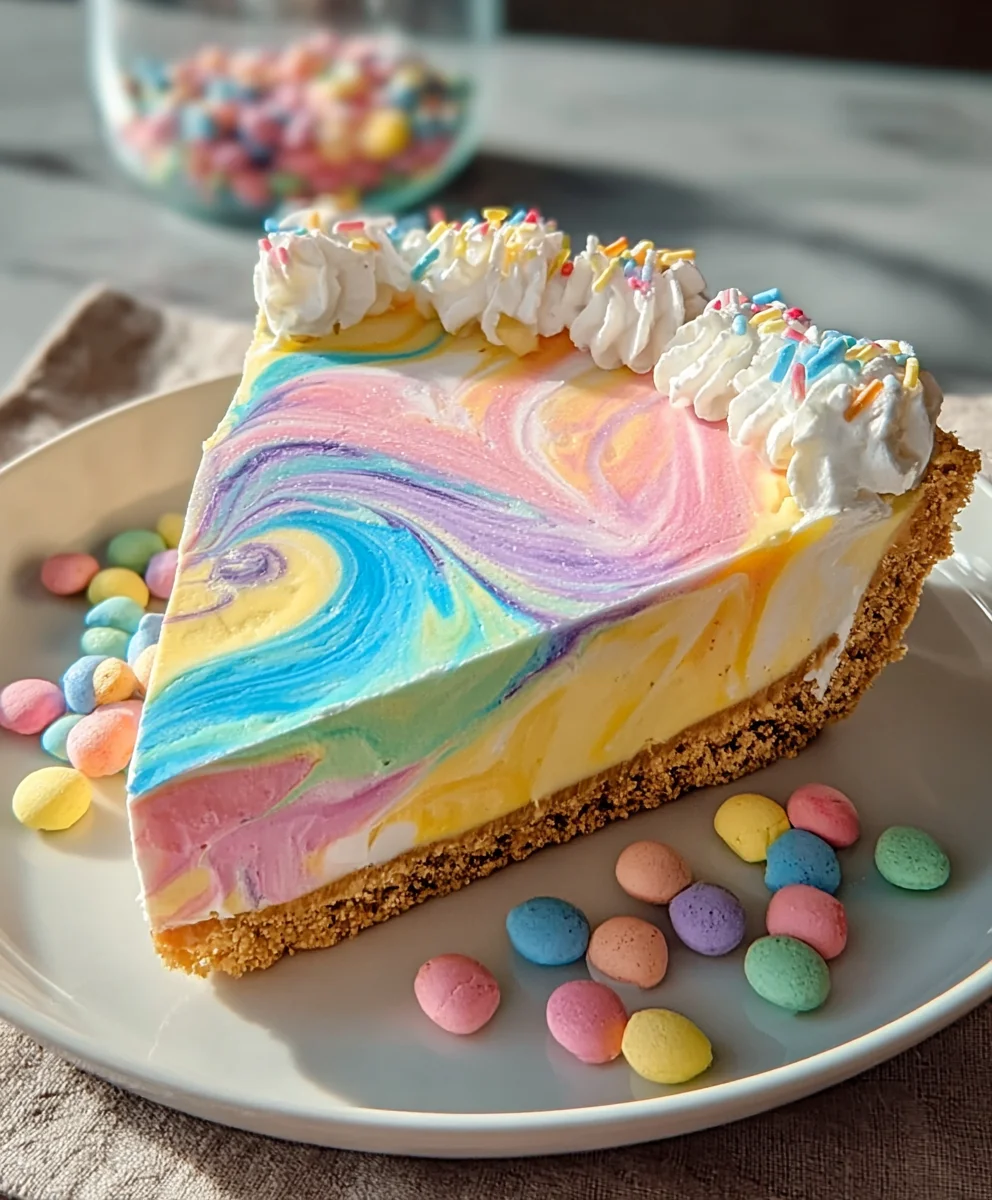
This is where the magic of the Easter Swirl Pie comes to life! Divide the cream cheese filling evenly into several smaller bowls, one for each pastel color of gel food coloring you’ll be using. I recommend using at least three or four colors for a beautiful swirled effect. Add a few drops of gel food coloring to each bowl. Gel food coloring is concentrated, so start with a small amount and add more if needed to achieve your desired pastel shade. Gently stir the coloring into each portion of the filling until the color is uniform. Again, be gentle to avoid overmixing. You want vibrant, distinct colors that will create beautiful swirls.
Step 6: Swirl and Chill the Pie
Now, it’s time to assemble our masterpiece. Spoon dollops of the different colored fillings randomly over the prepared crust. Don’t be too neat; the less uniform the dollops, the more interesting your swirls will be. Once all the filling is in the crust, take a toothpick or a skewer and gently swirl the colors together. Drag the toothpick through the different colored dollops in a random pattern, making figure-eights or simple zig-zags. Be careful not to over-swirl, as this will muddy the colors. You want distinct lines of color. Once you’re happy with your swirl pattern, cover the pie loosely with plastic wrap and refrigerate for at least 4-6 hours, or preferably overnight, until the pie is completely set and firm. This chilling time is essential for the filling to firm up properly, allowing for clean slices.
Step 7: Garnish and Serve
Once your Easter Swirl Pie is perfectly chilled and set, it’s time for the final flourish. Before serving, garnish the pie generously with swirls of whipped cream. You can use a piping bag with a decorative tip for a professional look, or simply spoon dollops of whipped cream over the top. Sprinkle liberally with your Easter-themed sprinkles, adding a festive touch. Finally, strategically place the mini chocolate eggs or pastel candies around the edges or on top of the whipped cream. Slice the pie using a sharp knife that has been dipped in hot water and wiped dry between slices for the cleanest cuts. Enjoy the beautiful swirls and delicious creamy texture of your homemade Easter Swirl Pie!
Conclusion:
And there you have it – your very own delicious Easter Swirl Pie Recipe! This delightful dessert is sure to impress your family and friends with its beautiful presentation and vibrant flavors. We’ve walked through each step, from preparing the creamy filling to achieving those perfect, eye-catching swirls. The satisfaction of pulling this masterpiece out of the oven, knowing you created it yourself, is truly wonderful. Don’t be afraid to experiment and make this recipe your own; it’s a forgiving and rewarding bake.
To serve, I love to present the Easter Swirl Pie Recipe slightly chilled, perhaps with a dollop of freshly whipped cream or a scattering of fresh berries. It’s also fantastic on its own, allowing the delicate flavors to shine. For variations, consider adding a hint of lemon zest to the filling for a brighter citrus note, or swirl in a spoonful of fruit puree for an extra layer of flavor and color. You can even incorporate a touch of edible glitter before baking for a truly festive sparkle.
I encourage you to give this Easter Swirl Pie Recipe a try this holiday season. Embrace the process, enjoy the aromas filling your kitchen, and most importantly, savor every bite. Happy baking!
Frequently Asked Questions:
Q1: Can I make the Easter Swirl Pie Recipe ahead of time?
Absolutely! The Easter Swirl Pie Recipe can be made a day in advance. Once cooled, cover it tightly with plastic wrap and refrigerate. This allows the flavors to meld beautifully. Just let it sit at room temperature for about 20-30 minutes before serving for optimal texture.
Q2: My swirls aren’t as defined as I’d like. Any tips for the Easter Swirl Pie Recipe?
To achieve more defined swirls in your Easter Swirl Pie Recipe, ensure your filling is thick enough. Overmixing can also lead to a thinner consistency. When adding the colored portions of the filling, don’t over-stir them into the base; just a few gentle swirls with a toothpick or skewer will create lovely patterns without muddying the colors.
Easter Swirl Pie – Easy Festive Dessert Recipe
A delightful and festive Easter dessert featuring a creamy, swirled filling in a graham cracker crust, perfect for spring celebrations.
Ingredients
-
2½ cups (250 g) graham cracker crumbs (or vanilla wafer crumbs)
-
½ cup (115 g) unsalted butter, melted
-
2 tablespoons granulated sugar
-
8 oz (225 g) cream cheese, softened
-
1 cup (240 ml) heavy whipping cream
-
½ cup (100 g) powdered sugar
-
1 teaspoon vanilla extract
-
½ cup (120 ml) sweetened condensed milk
-
Gel food coloring in pastel colors (pink, blue, yellow, purple)
-
Whipped cream, for garnish
-
Easter-themed sprinkles
-
Mini chocolate eggs or pastel candies
Instructions
-
Step 1
Combine graham cracker crumbs and granulated sugar in a bowl. Pour in melted butter and mix until uniformly moistened, resembling wet sand. -
Step 2
Press the crumb mixture firmly and evenly into the bottom and up the sides of a 9-inch pie plate. For a sturdier crust, bake at 350°F (175°C) for 8-10 minutes and cool completely. -
Step 3
In a large bowl, beat softened cream cheese with powdered sugar until smooth and creamy. Beat in vanilla extract. -
Step 4
In a separate bowl, whip heavy whipping cream until stiff peaks form. Gently fold the whipped cream into the cream cheese mixture until just incorporated. Whisk in sweetened condensed milk. -
Step 5
Divide the filling evenly into several small bowls. Add a few drops of gel food coloring to each bowl and gently stir until uniform pastel colors are achieved. -
Step 6
Spoon dollops of the different colored fillings randomly over the prepared crust. Use a toothpick or skewer to gently swirl the colors together in a random pattern. Be careful not to over-swirl. -
Step 7
Cover the pie loosely and refrigerate for at least 4-6 hours, or preferably overnight, until completely set. -
Step 8
Garnish the chilled pie with whipped cream, Easter-themed sprinkles, and mini chocolate eggs or pastel candies before serving. Slice with a hot, clean knife.
Important Information
Nutrition Facts (Per Serving)
It is important to consider this information as approximate and not to use it as definitive health advice.
Allergy Information
Please check ingredients for potential allergens and consult a health professional if in doubt.