Aesthetic Non-Non-Non-Alcoholic Alternativeic Vnon-alcoholic alentine Girls Night Party Ideas
Aesthetic Gnon-non-non-alcoholic alternativeic Vnon-alcoholic alentimes Girls Night Party Ideas Your Friends Will Adore. Planningnon-alcoholic alememorable Galentine’s Day or a fun girls’ night out that’s both chic and sober? You’ve come to the right place! This year, let’s ditch the typical and dive headfirst into creating an atmosphere that’s as delightful as it is Instagram-worthy. Everyone loves a good excuse to get together with their favorite ladies, share some laughs, and create lasting memories. What truly elevates a gathering from ordinary to extraordinary is the thoughtful attention to detail – the décor, the activities, and most importantly, the refreshments that everyone can enjoy. That’s precisely where thenon-alcoholic alternatinon-alcoholic aleetic, non-alcoholicolic Valentine’s girls’ night party ideas come into play, ensuring your celebration is a resounding success that your friends will absolutely adore.
We’re talking about creating a whole vibe, a curated experience that speaks to friendshipnon-alcoholic alternativeand fabulousness without any alcohol.
Imagin extracte soft lighting, beautiful presentation, and flavors that sing, making every moment feel special and celebratory.
Ingredients:
- 1 cup granulated sugar
- 1/2 cup unsalted butter, softened
- 2 large eggs
- 1 teaspoon vanilla extract
- 2 1/4 cups all-purpose flour
- 1 teaspoon baking powder
- 1/4 teaspoon salt
- 1/4 cup milk (whole milk or 2% is recommended for richness)
- Optional: Food coloring (pink, red, purple) for themed colors
- Optional: Sprinkles, edible glitter, or heart-shaped candies for decoration
Making the Dough
Step 1: Creaming the Butter and Sugar
To begin extract, let’s create the foundation for our delightful cookies. In a large mixing bowl, combine the 1 cup of granulated sugar with the 1/2 cup of softened unsalted butter. Use an electric mixer on medium speed to cream these two ingredients together until the mixture is light, fluffy, and pnon-alcoholic ale yellow in color. This process incorporates air into the dough, which will contribute to a tender cookie texture. It typically takes about 3-5 minutes of consistent mixing. Ensure your butter is truly softened – not melted – as this is crucial for proper creaming. If your butter is too cold, it won’t incorporate well, and if it’s too warm, it will result in a greasy dough.
Step 2: Adding Wet Ingredients
Once the butter and sugar are perfectly creamed, it’s time to add the wet ingredients. Crack in your 2 large eggs, one at a time, beating well after each addition to ensure they are fully incorporated into the butter and sugar mixture. Follow this with the 1 teaspoon of vanilla extract. Mix until everything is just combined. It’s important not to overmix at this stage. You’ll notice the mixture becoming smoother and more cohesive.
Incorporating Dry Ingredients
Step 3: Combining Dry Ingredients
In a separate medium bowl, whisk together the 2 1/4 cups of all-purpose flour, 1 teaspoon of baking powder, and 1/4 teaspoon of salt. Whisking these dry ingredients together before adding them to the wet ingredients ensures that the leavening agent (baking powder) and salt are evenly distributed throughout the flour, leading to a more consistent rise and flavor in your cookies.
Step 4: Alternating Flour and Milk
Now, we’ll gradually add the dry ingredients to the wet ingredients, alternating with the gin extractk. Begin by adding about one-third of the dry ingredient mixture to the wet ingredients. Mix on low speed until just combined. Then, add half of the 1/4 cup of milk and mix again until just incorporated. Continue this process, adding another third of the dry ingredients, then the remaining milk, and finally the last third of the dry ingredients. Mix on low speed until a soft dough forms. Be careful not to overmix, as this can develop the gluten in the flour, resulting in tough cookies. Stop mixing as soon as you no longer see streaks of dry flour.
Shaping and Baking
Step 5: Coloring and Chilling (Optional)
This is where we can get creative and make these cookies perfect for a Girls’ Night party! If you’d like to add some festive colors, divide the dough into portions and knead in a few drops of your chosen food coloring (pink, red, or purple arenon-alcoholic aleeat for a Valentine’s theme). You can swirl different colors together for a marbled effect or keep them solid. Once colored, flatten each portion into a disc, wrap them tightly in plastic wrap, and refrigerate for at least 30 minutes. Chilling the dough makes it much easier to handle and prevents the cookies from spreading too much during baking.
Step 6: Rolling and Cutting
Preheat your oven to 350°F (175°C). Line baking sheets with parchment paper. Lightly flour your work surface and rolling pin. Take one chilled dough disc at a time and roll it out to about 1/4-inch thickness. The thickness is key for consistent baking – too thin and they’ll burn, too thick and they’ll be doughy. Use your favorite cookie cutters, especially heart shapes and other festive designs, to cut out your cookies. Gently transfer the cut cookies to the prepared baking sheets, leaving about 1-2 inches between them to allow for slight expansion. You can re-roll the scraps, but try not to overwork the dough.
Step 7: Baking and Decorating
Bake the cookies for 8-12 minutes, or until the edges are lightly golden brown. The exact baking time will depend on the size and thickness of your cookies. Keep a close eye on them, as they can go from perfectly baked to burnt very quickly. Let the cookies cool on the baking sheets for a few minutes before carefully transferring them to a wire rack to cool completely. Once cooled, this is your chance to truly make them shine! Decorate with icing, sprinkles, edible glitter, or heart-shaped candies. For an aesthetic touch, consider a simple pastel icing or a sprinkle of edible glitter for that extra sparkle. These will be the perfect, personalized treats for your friends.
Conclusion:
We’ve explored a delightful journey into creating the perfect “Aesthetic Gnon-non-non-alcoholic alternativeic non-alcoholic alentines Girls Night Party Ideas Your Friends Will Adore”! From the sparkling drinks to the charming décor, this guide aims to equip you with everything you need for an unforgettable evening. Remember, the best parties are those filled with laughter, good company, and a touch of personal flair. Don’t be afraid to infuse your own creativity into these suggestions. Whether you’re a seasoned host or trying this for the first time, the joy lies in the shared experience. So, gather your besties, put on some music, and let the good times roll. Thinon-alcoholic alternativehetic Gnon-non-alcoholic aleoholicolic alentines Girls Night Party Ideas Your Friends Will Adore” is designed for making beautiful memories that will last long after the last cupcake is gone.
Frequently Asked Questions:
Q: Cannon-alcoholic alternativeare any of these “Anon-alcoholic alehetnon-alcoholiclcoholic alentines Girls Night Party Ideas Your Friends Will Adore” elements in advance?
Absolutely! To make your hosting duties smoother, consider preparing some elements the day before. The mocktails can often be mixed (sans ice and garnishes) and stored in the refrigerator. Decorations can be set up, and any baked goods can be made ahead of time. This allows you to focus on enjoying the company of your friends during the party.
Q: What if my friends have dietary restrictions?
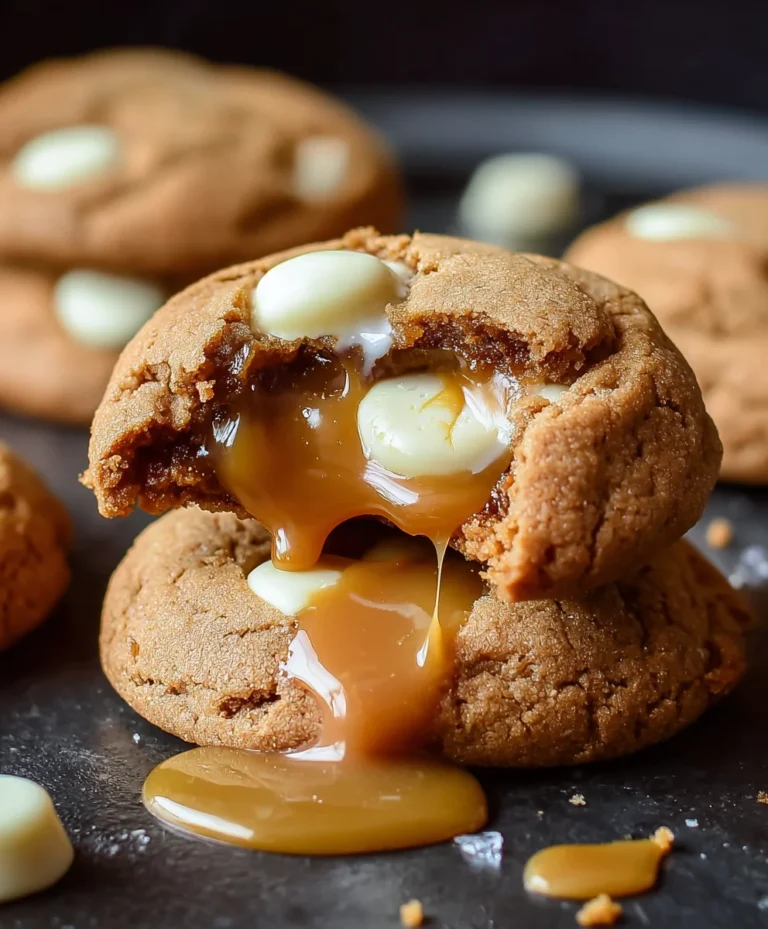
Create beautiful and delicious non-alcoholic cookies perfect for a Valentine’s themed Girls’ Night party. It is important to consider this information as approximate and not to use it as definitive health advice. Please check ingredients for potential allergens and consult a health professional if in doubt.
Aesthetic Non-Alcoholic Valentine’s Girls’ Night Party Cookies
Ingredients
Instructions
Cream together granulated sugar and softened unsalted butter until light, fluffy, and pale yellow. This should take about 3-5 minutes with an electric mixer.
Add eggs one at a time, beating well after each addition, then mix in vanilla extract until just combined. Do not overmix.
In a separate bowl, whisk together all-purpose flour, baking powder, and salt.
Gradually add the dry ingredients to the wet ingredients, alternating with the milk. Begin with one-third of the dry ingredients, mix, then add half the milk, mix, add another third of dry, remaining milk, and finally the last third of dry. Mix on low speed until a soft dough forms. Do not overmix.
Optional: Divide dough, knead in food coloring, flatten into discs, wrap, and refrigerate for at least 30 minutes. This makes the dough easier to handle.
Preheat oven to 350°F (175°C). Roll out chilled dough to about 1/4-inch thickness on a lightly floured surface. Cut out cookies using festive cutters. Place on parchment-lined baking sheets.
Bake for 8-12 minutes, or until edges are lightly golden brown. Cool on baking sheets for a few minutes, then transfer to a wire rack to cool completely. Decorate with icing, sprinkles, or candies.
Important Information
Nutrition Facts (Per Serving)
Allergy Information