Best Soft Chocolate Chip Cookies Recipe
The Best Soft Chocolate Chip Cookies are the stuff dreams are made of, aren’t they? There’s something undeniably comforting about a warm, gooey chocolate chip cookie that just melts in your mouth. We all have our memories tied to them – baking with grandma, celebrating a special occasion, or just needing a little pick-me-up after a long day. But what truly separates the good from the absolutely phenomenal when it comes to these classic treats? It’s all about achieving that perfect balance: a lightly crisp edge giving way to a tender, chewy interior, with rivers of melted chocolate studded throughout. Forget those dry, crum extractbly disappointments. Today, I’m sharing the secrets to unlocking the magic of truly unforgettable, incredibly soft chocolate chip cookies that will have everyone beggin extractg for the recipe.
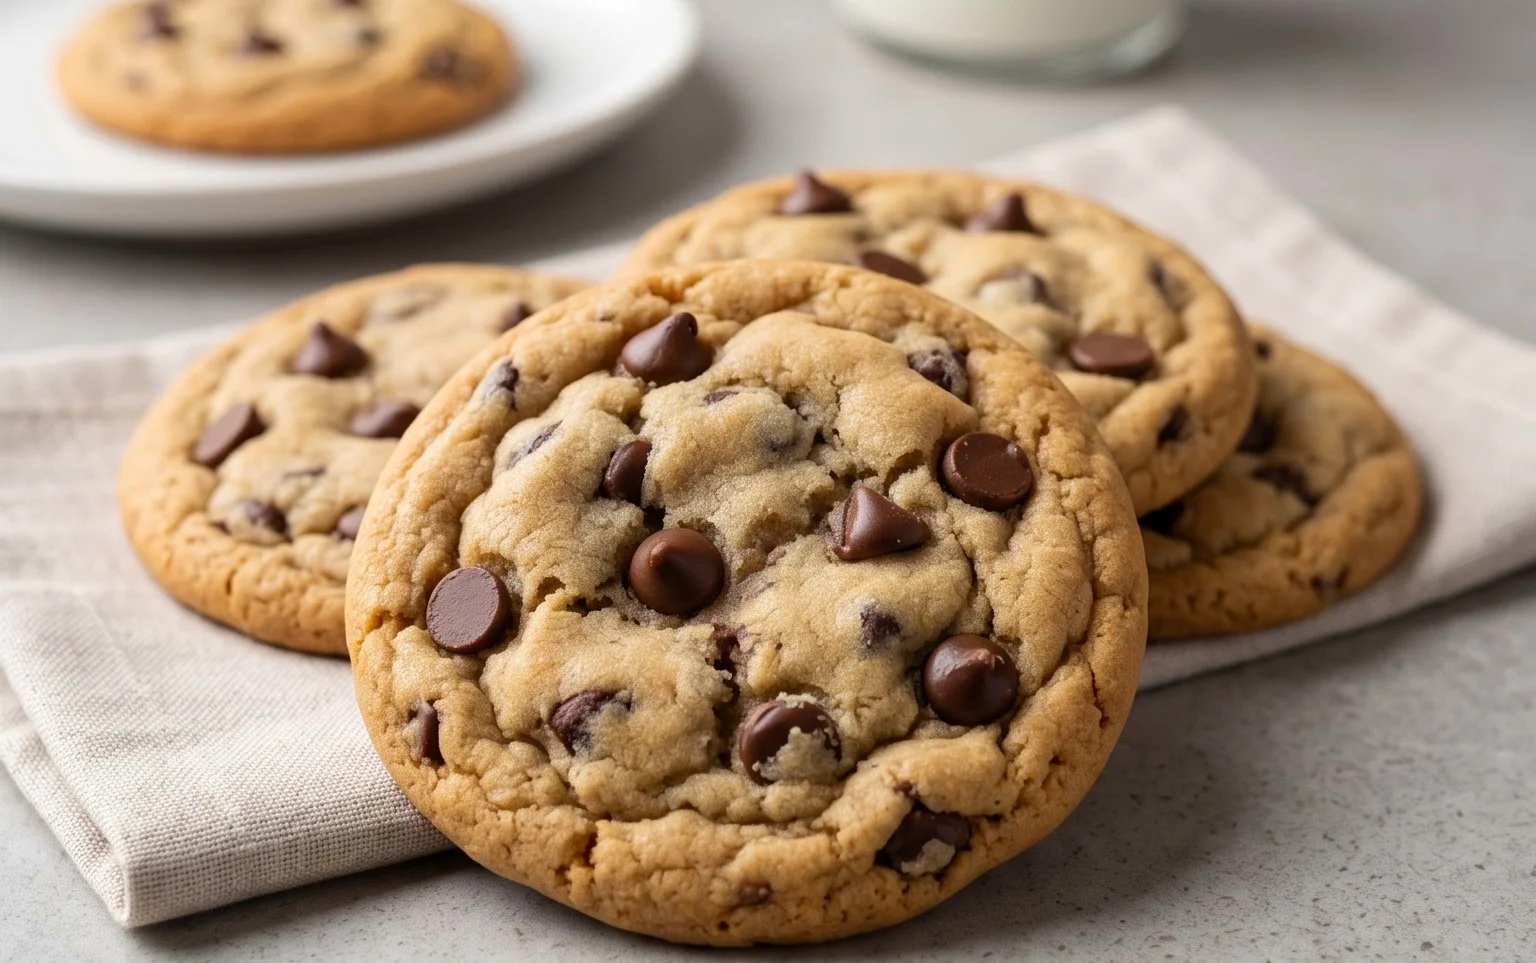
The Best Soft Chocolate Chip Cookies
There are many chocolate chip cookie recipes out there, but I’m here to tell you that I’ve found the one. This recipe delivers cookies that are perfectly soft, chewy in the center, and slightly crisp on the edges. They’re what I consider the absolute best, and I’m so excited to share them with you! Forget dry, crum extractbly cookies; these are the kind that will have everyone asking for seconds, thirds, and the recipe.
The secret to these incredible cookies lies in a few key elements: the right butter temperature, the perfect balance of sugars, and just enough flour to achieve that divine chegrape juicess. I’ve tinkered with this recipe for years, and I’ve finally perfected the ratios to create a cookie that’s consistently amazing.
Let’s get started on creating a batch of pure cookie magic!
Ingredients:
Step-by-Step Instructions:
Creaming the Butter and Sugars:
Adding Wet Ingredients:
Incorporating Dry Ingredients:
Adding the Chocolate:
Shaping and Baking:

Conclusion:
I truly believe that this recipe delivers on the promise of the best soft chocolate chip cookies you’ll ever make! The secret lies in a few key techniques that ensure a chewy interior and perfectly melty chocolate chips, creating a truly decadent experience. These cookies are wonderfully versatile, making them perfect for any occasion. Enjoy them warm from the oven with a tall glass of cold milk for a classic treat, or let them cool completely for a chewier texture. They are also fantastic crum extractbled over ice cream or incorporated into a trifle.
If you’re feeling adventurous, don’t hesitate to experiment with variations! Consider adding a pinch of sea salt to the dough for a salty-sweet contrast, or mix in different types of chocolate like dark, milk, or even white chocolate chips. A sprinkle of chopped nuts like walnuts or pecans can add a lovely crunch. I encourage you to give this recipe a try; I’m confident you’ll be delighted with the results and find yourself reaching for it time and time again.
Frequently Asked Questions:
Why are my cookies flat and crispy instead of soft?
Flat, crispy cookies often result from over-mixing the dough, using melted butter instead of softened butter, or not chilling the dough sufficiently. Chilling the dough helps the butter solidify, preventing the cookies from spreading too much in the oven and contributing to that desirable soft texture.
Can I make these cookies ahead of time?
Absolutely! You can prepare the dough, roll it into balls, and store them on a baking sheet lined with parchment paper in the refrigerator for up to 2 days, or freeze them for up to 3 months. Bake them directly from frozen, adding a few extra minutes to the baking time. This is a great way to have fresh, delicious cookies ready whenever the craving strikes!
The Best Soft Chocolate Chip Cookies
Achieve perfectly soft and chewy chocolate chip cookies with this easy recipe.
Ingredients
-
8 tablespoons salted butter, softened
-
1/2 cup white sugar
-
1/4 cup packed light brown sugar
-
1 teaspoon vanilla extract
-
1 large egg
-
1 1/2 cups all purpose flour
-
1/2 teaspoon baking soda
-
1/4 teaspoon salt
-
3/4 cup chocolate chips
Instructions
-
Step 1
In a large bowl, cream together the softened butter, white sugar, and light brown sugar until light and fluffy. -
Step 2
Beat in the vanilla extract and the egg until well combined. -
Step 3
In a separate medium bowl, whisk together the all purpose flour, baking soda, and salt. -
Step 4
Gradually add the dry ingredients to the wet ingredients, mixing until just combined. Do not overmix. -
Step 5
Stir in the chocolate chips. -
Step 6
Drop rounded tablespoons of dough onto ungreased baking sheets. -
Step 7
Bake in a preheated oven at 375°F (190°C) for 9-11 minutes, or until the edges are lightly golden brown and the centers are still soft. -
Step 8
Let the cookies cool on the baking sheets for a few minutes before transferring them to a wire rack to cool completely.
Important Information
Nutrition Facts (Per Serving)
It is important to consider this information as approximate and not to use it as definitive health advice.
Allergy Information
Please check ingredients for potential allergens and consult a health professional if in doubt.