Mini Foods for Weddings-A-Mini-Guide
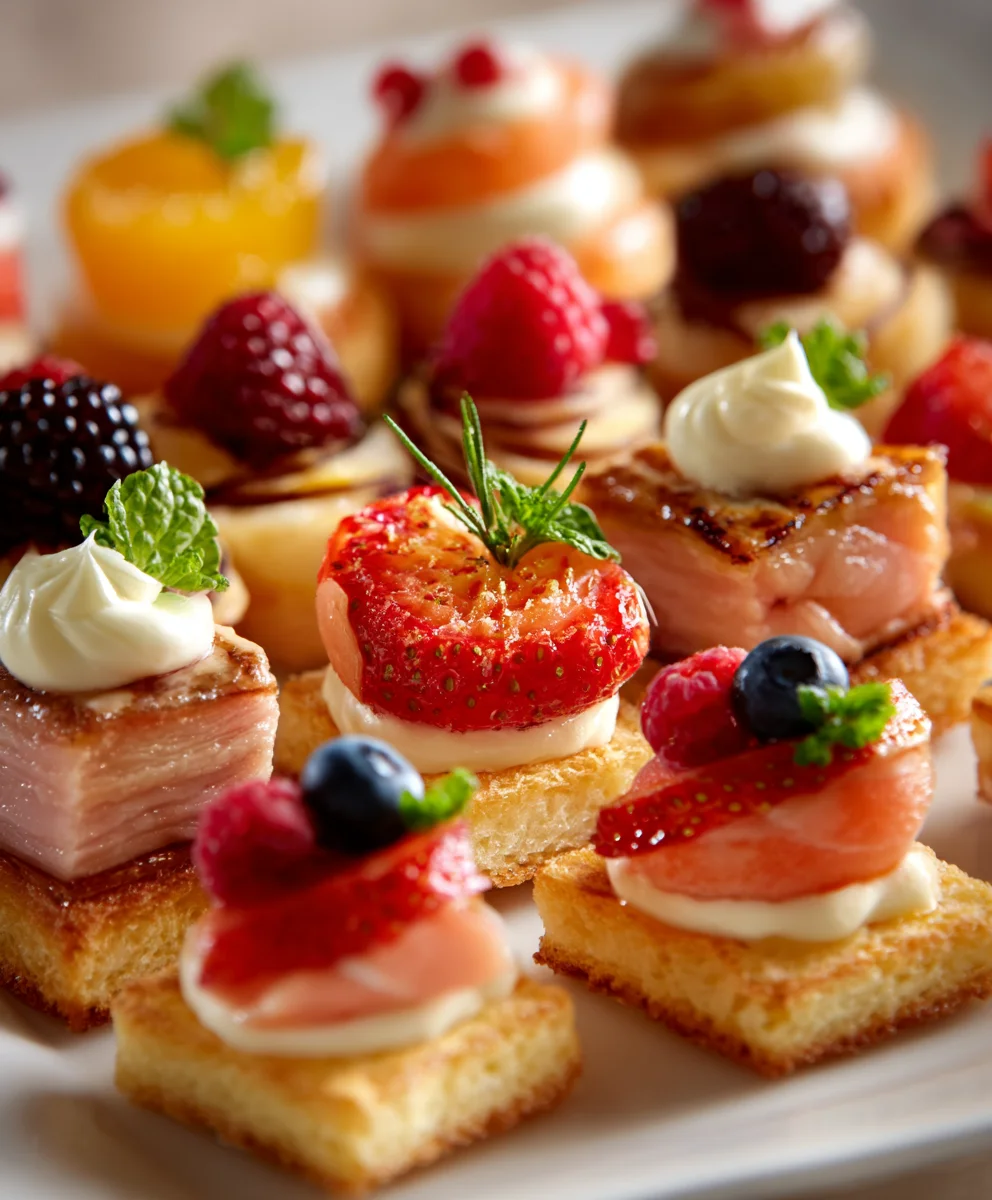
Mini Foods for Weddings are making a significant comeback, and for good reason! Imagin extracte a cocktail hour filled with perfectly formed bites, each a delightful surprise for your guests. This isn’t just about serving small portions; it’s about creating an interactive, elegant, and utterly memorable culinary experience. People absolutely adore miniature food because it allows them to sample a wider variety of flavors and textures without committing to a full plate. It’s sophisticated, fun, and encourages mingling as guests excitedly share their discoveries. What truly makes this trend special is the artistry involved. Each tiny creation, from delicate quiches to perfectly plated sliders, is a testament to culinary skill and thoughtful presentation. This mini guide to serving miniature food will explore how to elevate your wedding reception with these charming and delicious delights, ensuring your celebration is as unique and unforgettable as your love story.
Ingredients:
- 1 cup all-purpose flour
- 1/2 teaspoon baking powder
- 1/4 teaspoon salt
- 1/4 cup unsalted butter, softened
- 1/2 cup granulated sugar
- 1 large egg
- 1 teaspoon vanilla extract
- 1/4 cup milk
- Assorted edible decorations (sprinkles, edible glitter, small candies, piped frosting)
Preparing the Mini Dough
Step 1: Combine Dry Ingredients
Begin extract by creating the base for our delightful mini treats. In a medium-sized mixing bowl, whisk together the 1 cup of all-purpose flour, 1/2 teaspoon of baking powder, and 1/4 teaspoon of salt. This initial step ensures that our leavening agents and salt are evenly distributed throughout the flour, which is crucial for a consistent texture in our final product. Whisking helps to aerate the flour slightly, contributing to a lighter crum extractb. Make sure there are no clumps of baking powder or salt, as this could lead to pockets of unpleasant taste or uneven rising.
Step 2: Cream Butter and Sugar
Next, in a separate larger bowl, cream together the 1/4 cup of softened unsalted butter and 1/2 cup of granulated sugar. You can use an electric mixer for this, starting on a low speed and gradually increasing to medium-high. Continue to beat until the mixture is light, fluffy, and pnon-alcoholic ale yellow in color. This process, known as creaming, incorporates air into the butter and sugar, which is a key factor in creating a tender and delicate cookie. Scrape down the sides of the bowl periodically to ensure all the butter and sugar are thoroughly combined. The consistency should resemble fluffy clouds.
Step 3: Incorporate Wet Ingredients
To the creamed butter and sugar mixture, add the 1 large egg and 1 teaspoon of vanilla extract. Beat again until just combined. The egg adds richness and helps to bind the dough together, while the vanilla extract provides that classic, comforting aroma and flavor that complements so many other tastes. Be careful not to overmix at this stage; we just want to incorporate the egg and vanilla evenly. You should notice the mixture becoming even smoother and glossier.
Step 4: Alternately Add Flour Mixture and Milk
Now, it’s time to bring everything together. We will alternate adding the dry ingredients (the flour mixture from Step 1) and the 1/4 cup of milk to the wet ingredigin extracts. Begin by adding about one-third of the flour mixture to the butter mixture and mix on low speed until just incorporated. Then, add half of the milk and mix until just combined. Repeat this process, adding another third of the flour mixture, followed by the remaining milk, and finishing with the last third of the flour mixture. It’s important to mix on low speed and only until the ingredients are just combined. Overmixing at this stage can develop the gluten in the flour too much, resulting in tough cookies. The dough should be thick but still pliable.
Shaping and Baking the Mini Delights
Step 5: Shape and Bake
Preheat your oven to 350°F (175°C). Line baking sheets with parchment paper. Now comes the fun part: shaping our mini creations! Because these are for miniature food displays, we want them to be very small. You can either use a very small cookie scoop (about 1 teaspoon size) or simply roll small portions of dough between your palms to create tiny balls, approximately 1/2 to 3/4 inch in diameter. Place these tiny dough balls onto the prepared baking sheets, leaving about 1 inch of space between them to allow for slight spreading. For a slightly flatter cookie, you can gently press down on the top of each ball with the bottom of a glass or your fingertip. Bake for 8-12 minutes, or until the edges are lightly golden and the centers are set. The baking time will vary depending on the exact size of your mini cookies, so keep a close eye on them. You want them to be cooked through but not browned too much, as they will continue to firm up as they cool. Let them cool on the baking sheet for a few minutes before transferring them to a wire rack to cool completely.
Decorating Your Miniature Masterpieces
Once your mini cookies have completely cooled, it’s time for the most artistic part of the process – decoration! This is where you can let your creativity shine and truly embrace the concept of mini foods for weddings.
Ensure your cookies are entirely cool before decorating. Warm cookies will melt frosting and cause sprinkles to slide off.
For elegant wedding treats, consider simple yet effective decorations. You can use a small amount of royal icing or buttercream frosting to create delicate swirls, dots, or even tiny floral patterns. Edible glitter adds a touch of sparkle and sophistication, perfect for a celebratory occasion. Tiny edible pearls or beads can mimic intricate beadwork on a wedding dress.
If you’re going for a more whimsical theme, colorful sprinkles, tiny candy flowers, or even miniature edible characters can be used. For an ultra-miniature look, you might even consider carefully piping minuscule designs with a very fine piping tip.
Think about the overall aesthetic of the wedding or event you are catering to. Are the colors neutral and classic, or bold and vibrant? Tailor your decorations accordingly. A mnon-alcoholic alechromatic palette can be incredibly chic, while a burst of color can be playful and fun.
Don’t be afraid to experiment! The beauty of mini foods is their ability to be playful and charming. Each miniature cookie can be a tiny work of art, adding a delightful and memorable touch to any event. Remember to allow any frosting or icing to set completely before sgin extractking or packaging your miniature masterpieces.

Conclusion:
You’ve now got the essential blueprint for creating charming and delicious Mini Foods for Weddings, A Mini Guide to Serving Miniature Food. This guide has equipped you with the foundational knowledge to impress your guests with bite-sized culinary delights that are as visually appealing as they are tasty. From savory canapés to sweet treats, the possibilities are truly endless. Remember, the key is in the details and the love you put into each miniature creation. Don’t be afraid to experiment and put your own personal spin on these ideas.
When it comes to serving, consider elegant platters, tiered displays, or even custom-made food stations to showcase your impressive spread. These miniature marvels are perfect for cocktail hours, dessert tables, or even as playful additions to a seated meal. They offer guests a delightful way to sample a variety of flavors without committing to a full portion, fostering a sense of culinary adventure at your wedding reception.
We encourage you to have fun with this process and to see Mini Foods for Weddings, A Mini Guide to Serving Miniature Food as an opportunity to inject personality and deliciousness into your special day. Your guests will undoubtedly remember and rave about these thoughtfully prepared, bite-sized sensations long after the last dance.
Frequently Asked Questions:
Q: How far in advance can I prepare these mini foods?
A: The preparation timeline depends heavily on the specific recipes. Many items, like mini quiches or tart shells, can be prepared a day or two in advance and assembled closer to the event. Drier items like mini cookies or brownies can be made even further ahead and stored properly. However, anything with delicate creams or fresh garnishes is best prepared on the day of or the morning of the wedding to ensure maximum freshness and visual appeal.
Q: Are there any budget-friendly mini food ideas?
A: Absolutely! Simple yet elegant options like mini bruschetta with seasonal toppings, bite-sized cheese and cracker assortments, or fruit skewers are excellent budget-friendly choices. You can also focus on one or two more elaborate mini dishes and supplement with these simpler, cost-effective options to create a balanced and appealing spread without breaking the bank.
Mini Foods for Weddings – A Mini-Guide
A delightful guide to creating miniature edible treats perfect for wedding celebrations. These mini foods are designed to be charming and visually appealing additions to any wedding reception.
Ingredients
-
1 cup all-purpose flour
-
1/2 teaspoon baking powder
-
1/4 teaspoon salt
-
1/4 cup unsalted butter, softened
-
1/2 cup granulated sugar
-
1 large egg
-
1 teaspoon vanilla extract
-
1/4 cup milk
-
Assorted edible decorations (sprinkles, edible glitter, small candies, piped frosting)
Instructions
-
Step 1
Combine dry ingredients: In a medium-sized mixing bowl, whisk together the all-purpose flour, baking powder, and salt until evenly distributed. This ensures a consistent texture in the final product. -
Step 2
Cream butter and sugar: In a separate larger bowl, cream together the softened unsalted butter and granulated sugar using an electric mixer until the mixture is light, fluffy, and pale yellow. This incorporates air for a tender cookie. -
Step 3
Incorporate wet ingredients: Add the large egg and vanilla extract to the creamed butter and sugar mixture. Beat until just combined. The egg binds the dough, and vanilla adds flavor. -
Step 4
Alternately add flour mixture and milk: Gradually add about one-third of the flour mixture to the wet ingredients, mixing on low speed. Then add half of the milk and mix. Repeat this process, finishing with the last third of the flour mixture. Mix only until just combined to avoid tough cookies. -
Step 5
Shape and bake: Preheat oven to 350°F (175°C). Line baking sheets with parchment paper. Roll small portions of dough into tiny balls (approximately 1/2 to 3/4 inch in diameter). Place on baking sheets with 1 inch of space. Bake for 8-12 minutes until edges are lightly golden and centers are set. Cool on baking sheets, then transfer to a wire rack. -
Step 6
Decorate: Once cookies are completely cool, decorate with royal icing, buttercream frosting, edible glitter, or tiny edible pearls. Consider the wedding theme and color palette for inspiration. Allow frosting to set before serving or packaging.
Important Information
Nutrition Facts (Per Serving)
It is important to consider this information as approximate and not to use it as definitive health advice.
Allergy Information
Please check ingredients for potential allergens and consult a health professional if in doubt.