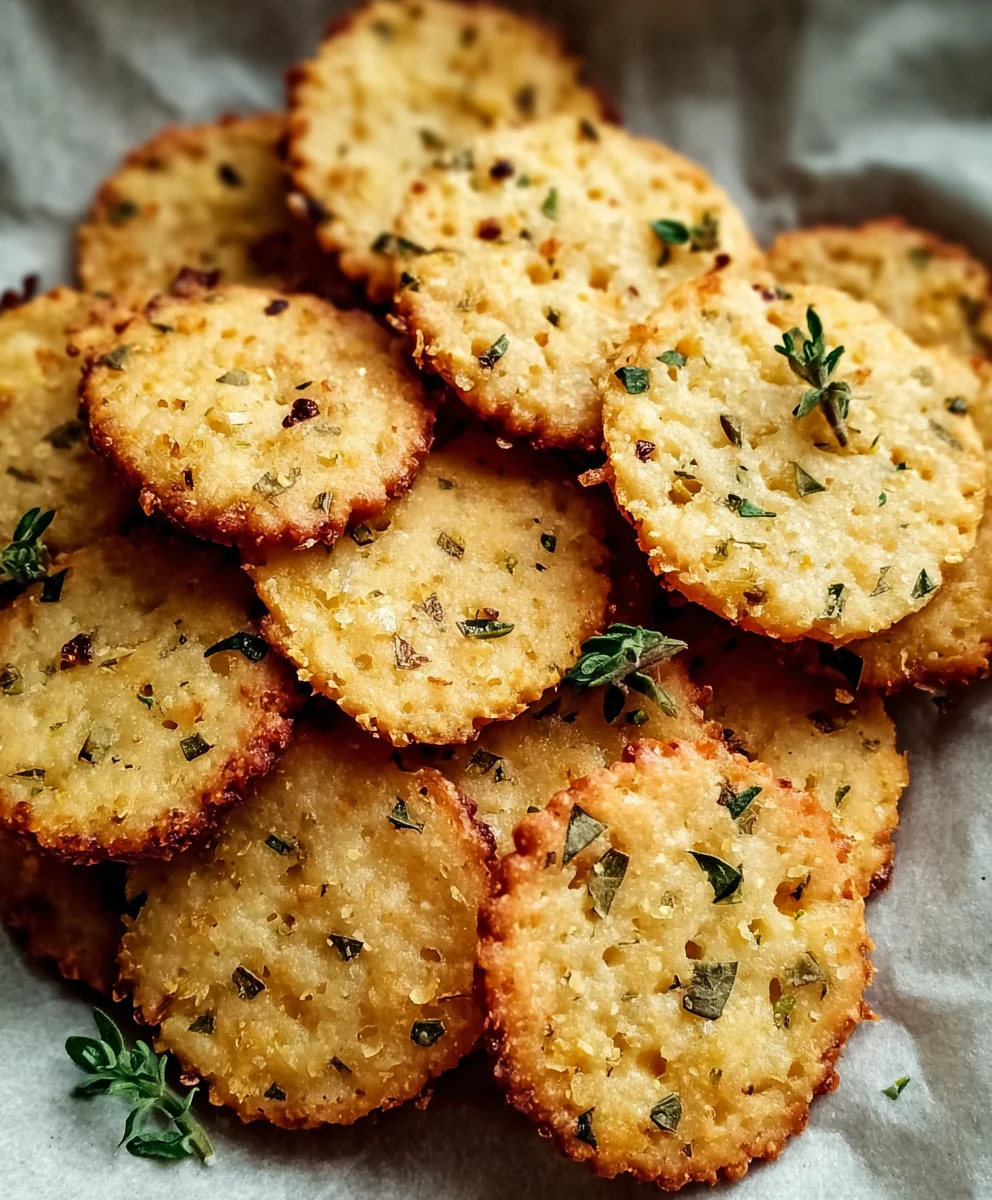
Garlic Herb Chickpea Flour Crackers-Easy Snack Recipe
Garlic and Herb Chickpea Flour Snack Crackerss are the ultimate answer to that persistent craving for something savory, crispy, and satisfyingly wholesome. Forget those bland, mass-produced options; these homemade wonders are a game-changer, transforming humble chickpeas into a delightful treat you’ll be proud to share – or hoard all to yourself! What’s not to love about these delightful little bites? They strike a perfect chord between being incredibly flavorful and wonderfully guilt-free, making them an ideal companion for your afternoon tea, a sophisticated addition to a cheese board, or simply a fantastic pick-me-up whenever hunger strikes. The magic truly lies in their simplicity and the vibrant burst of flavor from fresh garlic and aromatic herbs, all bound together by the nutty, earthy goodness of chickpea flour. Prepare to be amazed by how something so simple can taste so extraordinary, proving that healthy snacking can indeed be utterly delicious and incredibly addictive.
Ingredients:
- 1 cup chickpea flour (also known as besan), which is approximately 120g
- ½ cup water, roughly 120ml
- 2 tablespoons olive oil, plus extra for brushing
- 1 teaspoon dried mixed herbs (a good blend would include rosemary, thyme, and oregano for a classic flavor profile)
- 1 teaspoon garlic powder
- ½ teaspoon salt
- ¼ teaspoon black pepper
- Sesame seeds, for sprinkling
- Flaky sea salt, for finishing
- Additional dried herbs, for extra flavor if desired
Preparing the Dough
Step 1: Combining the Dry Ingredients
In a medium-sized mixing bowl, let’s start by combining all of our dry ingredients. This ensures that the seasonings are evenly distributed throughout the cracker dough. Measure out the chickpea flour, dried mixed herbs, garlic powder, salt, and black pepper. Pour them all into the bowl. Using a whisk or a fork, give everything a good stir to make sure there are no clumps and the spices are well incorporated into the flour. This initial step is crucial for consistent flavor in every bite.
Step 2: Adding the Wet Ingredients and Forming the Dough
Now it’s time to introduce the wet ingredients. Pour the ½ cup of water and the 2 tablespoons of olive oil into the bowl with the dry ingredients. Begin extract to mix everything together with a spoon or spatula. As you stir, you’ll notice the mixture starting to come together into a dough. Chickpea flour absorbs liquid differently than wheat flour, so don’t be alarmed if the dough feels a bit sticky at first. Keep mixing until a cohesive, slightly sticky dough forms. If the dough seems too dry and crum extractbly, you can add another teaspoon of water, a little at a time. Conversely, if it’s excessively wet and difficult to handle, add a tablespoon more of chickpea flour. We’re aiming for a dough that’s pliable but not so sticky that it adheres excessively to your hands.
Shaping and Baking the Crackers
Step 3: Rolling Out the Dough
Generously sprinkle a clean work surface with a little extra chickpea flour to prevent sticking. Take your prepared dough and place it on the floured surface. Now, lightly dust the top of the dough with a bit more flour as well. We want to roll this dough out very thinly, as this is what will give us those lovely crisp crackers. Use a rolling pin to evenly spread the dough. Aim for a thickness of about 1/16th to 1/8th of an inch. The thinner you roll it, the crispier your crackers will be. Be patient with this step; if the dough starts to stick, lift it gently and add a little more flour to the surface and the rolling pin. You can also use your hands to gently stretch the dough outwards if needed.
Step 4: Cutting and Preparing for Baking
Once your dough is rolled out to your desired thinness, it’s time to cut it into cracker shapes. You can use a sharp knife or a pizza cutter for this. Cut the dough into squares, rectangles, or even fun shapes using cookie cutters if you have them. Don’t worry about perfect uniformity; rustic is charming! As you cut, you can gently separate the pieces and place them onto a baking sheet lined with parchment paper. Ensure there’s a little space between each cracker so they bake evenly and don’t steam. For an extra touch of flavor and visual appeal, lightly brush the tops of the cut crackers with a little extra olive oil. Then, sprinkle them generously with sesame seeds and a pinch of flaky sea salt. If you have them, you can also add a little extra sprinkle of dried herbs for an intensified herby aroma and taste. This is where you can personalize your crackers.
Step 5: Baking to Golden Perfection
Preheat your oven to 375°F (190°C). Once the oven is at temperature, carefully place the baking sheet with the prepared crackers into the preheated oven. Bake for approximately 15-20 minutes. The baking time will vary depending on the thickness of your rolled dough and your oven. Keep a close eye on the crackers during the last few minutes of baking. You’re looking for them to be golden brown around the edges and firm to the touch. They should feel dry and crisp. If you notice some areas browning faster than others, you can rotate the baking sheet halfway through the baking process. Once they reach that perfect golden crispness, carefully remove the baking sheet from the oven. Allow the crackers to cool completely on the baking sheet or a wire rack. They will become even crispier as they cool down. This is the moment of truth where all your efforts come together into delicious, homemade Garlic and Herb Chickpea Flour Snack Crackers. Enjoy them on their own or with your favorite dips!
Conclusion:
And there you have it – your very own batch of delicious Garlic and Herb Chickpea Flour Snack Crackerss! We hope you’ve enjoyed the process of creating these wholesome and flavorful treats. These crackers are not only a fantastic gluten-free and vegan option but also incredibly versatile. Whether you’re looking for a healthy afternoon snack, a satisfying accompaniment to your favorite dips, or even a base for mini appetizers, these Garlic and Herb Chickpea Flour Snack Crackerss are sure to impress. Don’t be afraid to experiment with different herb combinations or spice levels to make them uniquely yours. Happy baking, and may your snack drawer always be filled with these delightful crackers!
Frequently Asked Questions:
Can I make these crackers ahead of time?
Absolutely! The Garlic and Herb Chickpea Flour Snack Crackerss store wonderfully in an airtight container at room temperature for up to a week. They might lose a tiny bit of their crispness over time, but a quick toast in a low oven for a few minutes can revive them.
What are some good serving suggestions for these crackers?
These Garlic and Herb Chickpea Flour Snack Crackerss are perfect served with hummus, guacamole, a creamy cheese spread, or even as a base for canapés. They also pair beautifully with a light soup or a fresh salad.
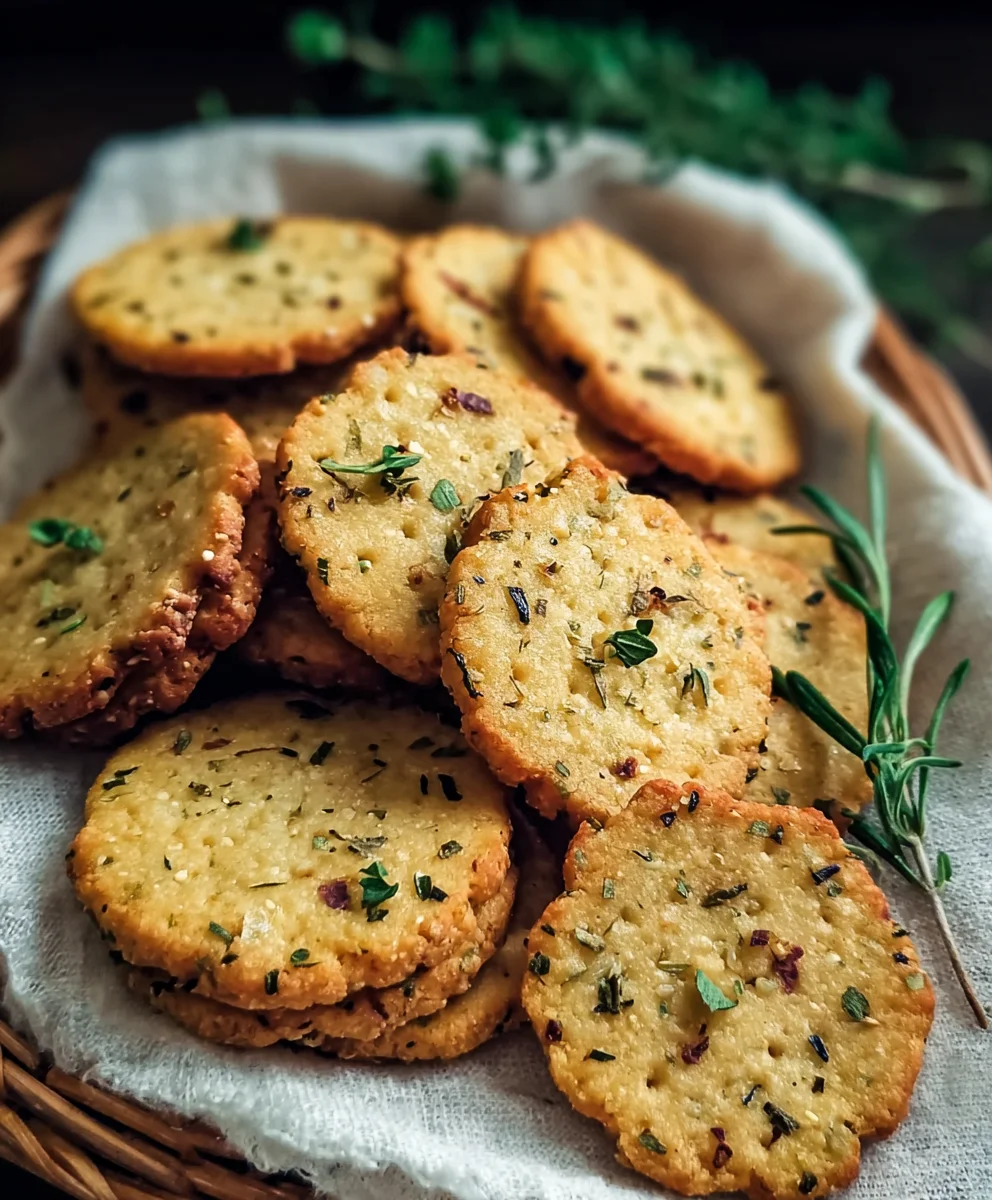
Garlic Herb Chickpea Flour Crackers
Easy and delicious homemade chickpea flour crackers infused with garlic and herbs, perfect for snacking.
Ingredients
-
1 cup chickpea flour (besan)
-
1/2 cup water
-
2 tablespoons olive oil
-
1 teaspoon dried mixed herbs
-
1 teaspoon garlic powder
-
1/2 teaspoon salt
-
1/4 teaspoon black pepper
-
Sesame seeds
-
Flaky sea salt
-
Additional dried herbs
-
Extra olive oil for brushing
Instructions
-
Step 1
Combine chickpea flour, dried mixed herbs, garlic powder, salt, and black pepper in a medium bowl. Stir well to ensure even distribution. -
Step 2
Add water and olive oil to the dry ingredients. Mix with a spoon or spatula until a cohesive, slightly sticky dough forms. Adjust with a teaspoon of water if too dry, or a tablespoon of chickpea flour if too wet. -
Step 3
Roll out the dough very thinly (1/16th to 1/8th inch thick) on a lightly floured surface. The thinner the dough, the crispier the crackers. -
Step 4
Cut the dough into desired shapes (squares, rectangles, or use cookie cutters). Place on a baking sheet lined with parchment paper, ensuring space between crackers. -
Step 5
Brush the tops of the crackers with extra olive oil. Sprinkle generously with sesame seeds and flaky sea salt. Add extra dried herbs if desired. -
Step 6
Bake in a preheated oven at 375°F (190°C) for 15-20 minutes, or until golden brown and firm. Rotate the baking sheet halfway through if needed. -
Step 7
Allow the crackers to cool completely on the baking sheet or a wire rack to achieve maximum crispness. Enjoy!
Important Information
Nutrition Facts (Per Serving)
It is important to consider this information as approximate and not to use it as definitive health advice.
Allergy Information
Please check ingredients for potential allergens and consult a health professional if in doubt.