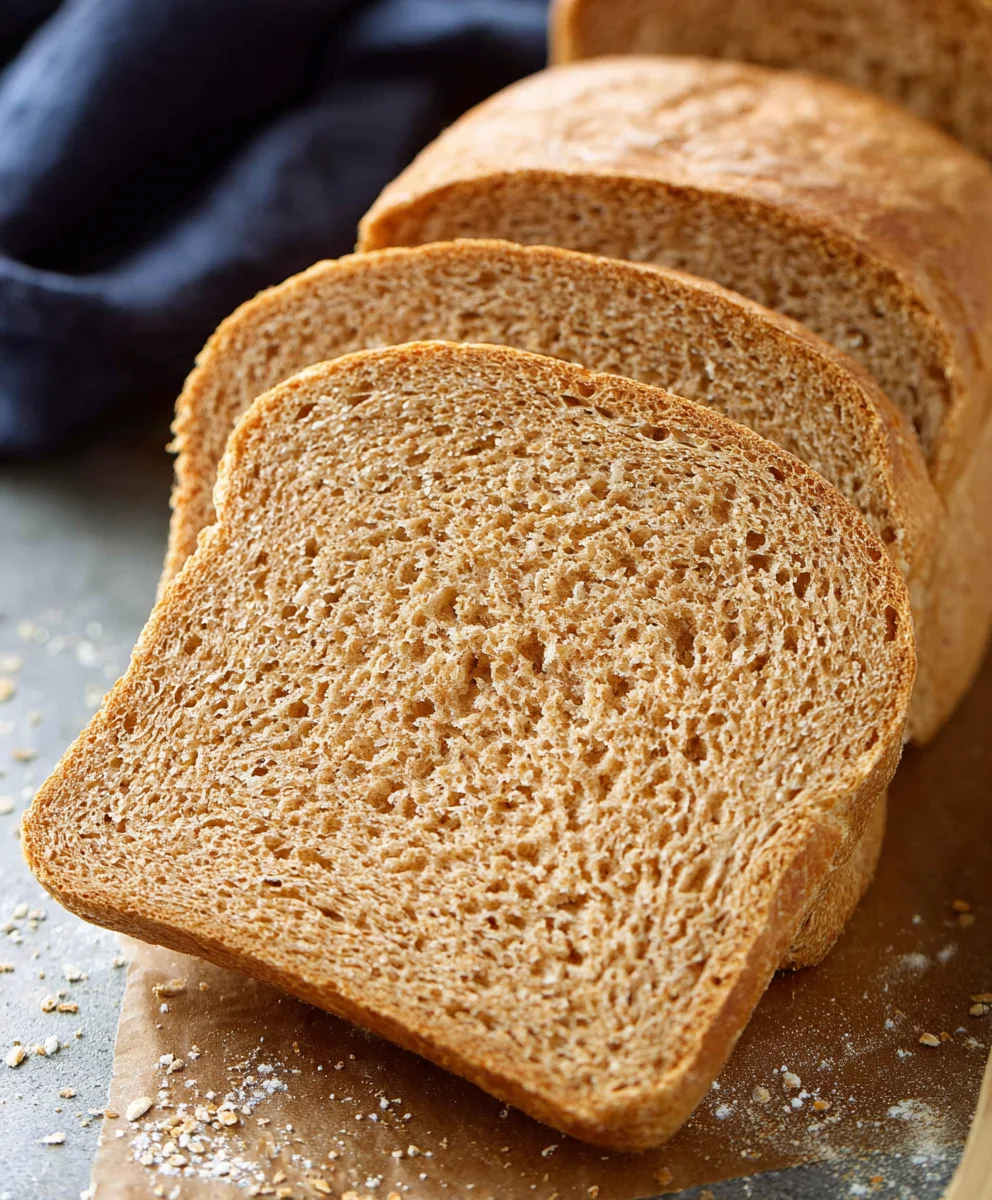
Easy Whole Wheat Bread Recipe – Delicious Homemade Loaf
Whole Wheat Bread is so much more than just a pantry staple; it’s a comforting aroma that fills the kitchen, a satisfying chew that complements any meal, and a wholesome choice that makes you feel good from the inside out. We all have that memory tied to a perfect slice, perhaps toasted with a generous spread of butter and honey, or forming the sturdy foundation for a beloved sandwich. It’s this universal appeal, this blend of simple goodness and nostalgic pleasure, that makes people return to it again and again. What truly sets exceptional Whole Wheat Bread apart is its inherent texture – a delightful heartiness that’s never dense – and a subtly nutty flavor that’s far more nuanced than its refined counterparts. This isn’t just about sustenance; it’s about savoring a piece of culinary tradition, elevated.
Ingredients:
- 1 cup water
- ¼ cup milk* (whole or 2% works best for a richer dough)
- 3 tablespoons honey (adds sweetness and helps with browning)
- 2 ¼ teaspoons active dry yeast (or instant yeast (1 packet))
- 3 cups (339 grams) whole wheat flour* (plus more as needed for dusting)
- 1 ½ teaspoons salt (enhances flavor and controls yeast activity)
- 3 tablespoons unsalted butter (cut into 6 pieces and softened to room temperature)
Preparing the Dough
Activating the Yeast
The first crucial step is to wake up our yeast and ensure it’s alive and ready to work its magic. In a large mixing bowl, combine the 1 cup of water and ¼ cup of milk. Gently warm this liquid. You don’t want it too hot, as that can kill the yeast. Aim for a temperature around 105-115°F (40-46°C). A good test is if it feels comfortably warm to the touch, similar to a baby’s bathwater. Add the 3 tablespoons of honey to this warm liquid. Honey not only feeds the yeast, providing them with the sugars they need to produce carbon dioxide and make our bread rise, but it also contributes a lovely subtle sweetness and helps with the final crust’s color. Sprinkle the 2 ¼ teaspoons of active dry yeast over the surface of the liquid. If you’re using active dry yeast, let it sit undisturbed for about 5-10 minutes. You should see it become foamy and bubbly. This indicates the yeast is active and ready. If you don’t see any foam, your yeast might be old, or the water was too hot or too cold. In that case, you’ll need to start over with fresh yeast. If you’re using instant yeast, you can often skip this activation step and add it directly to the dry ingredients, but for a foolproof rise, I always like to give it a little wake-up call.
Combining the Dry Ingredients
While the yeast is doing its thing, let’s prepare the dry ingredients. In a separate medium-sized bowl, whisk together the 3 cups of whole wheat flour and 1 ½ teaspoons of salt. The salt is essential not just for flavor but also because it controls the rate at which the yeast ferments, preventing it from rising too quickly and becoming bubbly and airy. Make sure the salt is evenly distributed throughout the flour. This ensures a consistent texture throughout your loaf. Once your yeast mixture is foamy and fragrant, pour it into the bowl with the dry ingredients.
Kneading and First Rise
Bringin extractg the Dough Together
Now it’s time to bring everything together. Using a sturdy spoon or a dough whisk, start mixing the wet and dry ingredients. Continue mixing until a shaggy gin extractgh begins to form and most of the flour is incorporated. At this stage, the dough will likely be quite sticky and messy. Don’t worry; this is perfectly normal for whole wheat doughs. Add the 3 tablespoons of softened unsalted butter, cut into 6 pieces. The butter will add richness, tenderness, and a beautiful soft crum extractb to your finished whole wheat bread. Continue mixing until the butter is mostly incorporated into the dough.
Kneading the Dough
Turn the shaggy dough out onto a lightly floured surface. This is where the real worgin extractf kneading begins. You’ll need to add a little more whole wheat flour, a tablespoon at a time, as needed to prevent the dough from sticking excessively to your hands and the work surface. The goal is to achieve a dough that is still slightly tacky but manageable. Kneading develops the gluten in the flour, which gives the bread its structure and elasticity. Push the dough away from you with the heels of your hands, then fold it over and turn it a quarter turn. Repeat this process for about 8-10 minutes. You’re looking for a dough that is smooth, elastic, and springs back slowly when you gently poke it with your finger. Don’t be tempted to add too much extra flour, as this can result in a dense loaf.
First Rise (Proofing)
Lightly grease a clean large bowl with a little oil or cooking spray. Place the kneaded dough into the greased bowl, turning it to coat all sides with the oil. Cover the bowl tightly with plastic wrap or a clean kitchen towel. Find a warm, draft-free spot in your kitchen for the dough to rise. This could be on top of your refrigerator, in a slightly warm oven (turned off, of course!), or just on your counter if your kitchen is warm. Let the dough rise for approximately 1 to 1.5 hours, or until it has doubled in size. The time can vary depending on the temperature of your environment. You’ll know it’s ready when it’s puffy and airy.
Shaping and Second Rise
Punching Down and Shaping
Once the dough has doubled in size, gently punch it down to release the trapped air. Turn the dough out onto a lightly floured surface. Now, it’s time to shape your whole wheat bread. You can create a classic round loaf (boule) or an oblong loaf that fits into a standard loaf pan. For a round loaf, gently shape the dough into a ball, tucking the edges underneath to create a taut surface. For a loaf pan, gently flatten the dough into a rectangle and then roll it up tightly, pinching the seam closed. Place the shaped dough into a greased loaf pan or onto a baking sheet lined with parchment paper.
Second Rise (Proofing)
Cover the shaped dough loosely with plastic wrap or a clean kitchen towel. Let it rise again in a warm place for another 30-45 minutes, or until it has nearly doubled in size and looks nicely puffed. This second rise, often called proofing, allows the dough to relax and develop its final texture before baking. You can gently test for readiness by lightly touching the side of the dough. If the indentation springs back slowly, it’s ready. If it springs back immediately, it needs a little more time.
Conclusion:
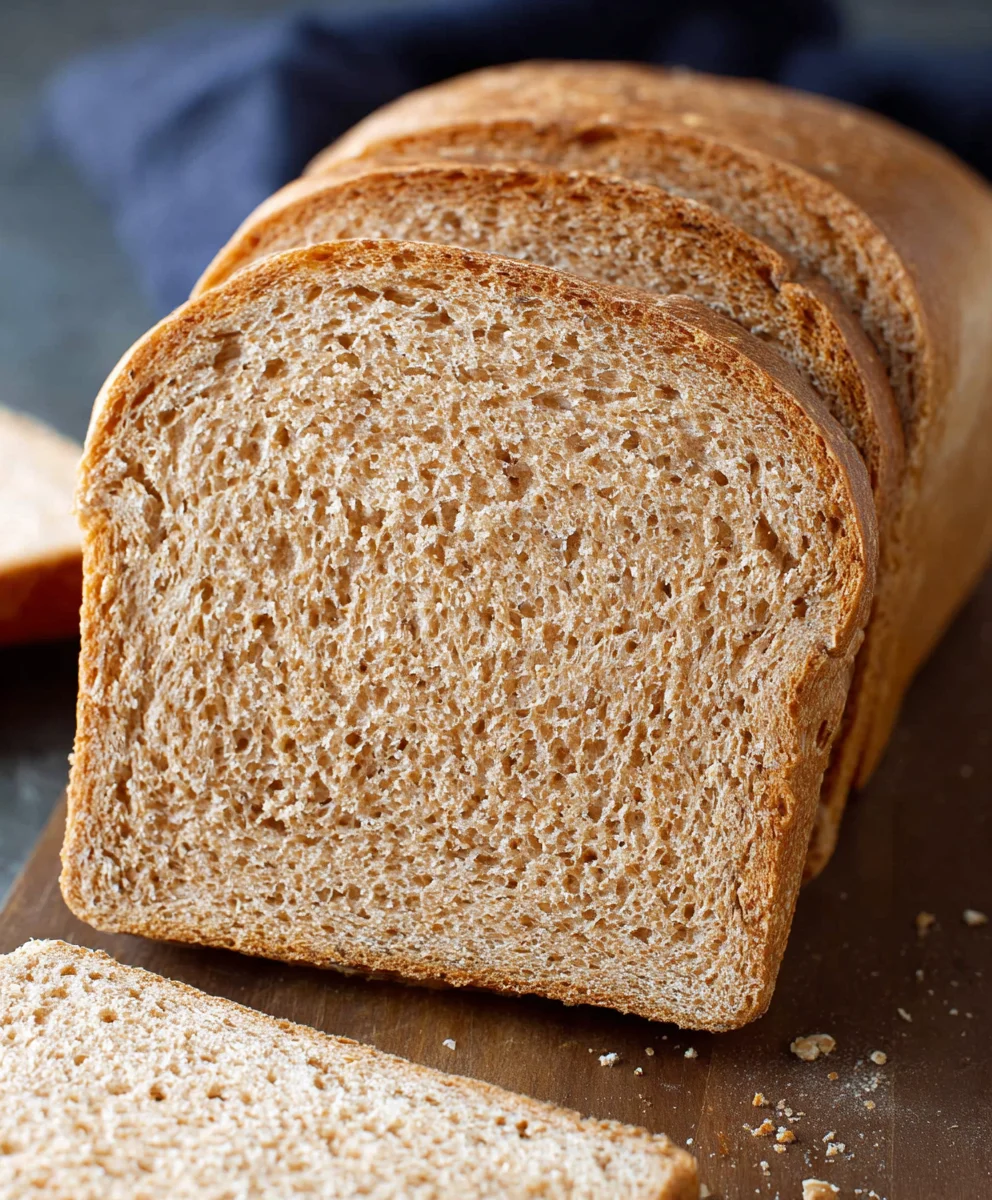
And there you have it – a simple yet incredibly satisfying recipe for delicious Whole Wheat Bread! We hope you enjoyed this journey into creating your own homemade loaf. This recipe is designed to be approachable for bakers of all levels, resulting in a wonderfully textured and flavorful bread that’s perfect for any occasion. The subtle nutty notes of whole wheat flour are truly a delight, and the aroma filling your kitchen as it bakes is simply irresistible.
Serve slices of this warm Whole Wheat Bread toasted with a smear of butter, or use it as the base for your favorite sandwiches. It’s also fantastic alongside soups and stews. For variations, feel free to add seeds like sunflower or pumpkin to the dough, or a touch of honey for a sweeter loaf. Don’t be afraid to experiment and make it your own! We encourage you to bake this Whole Wheat Bread often and share the joy with your loved ones.
Frequently Asked Questions:
What can I do if my Whole Wheat Bread is too dense?
A dense loaf can sometimes be due to not allowing enough rising time or overworking the dough. Ensure your yeast is active and that the dough has doubled in size before shaping. For whole wheat, it’s also crucial to not add too much flour during kneading; the dough should be slightly sticky.
Can I make this Whole Wheat Bread recipe ahead of time?
Absolutely! Once completely cooled, this Whole Wheat Bread stores well in an airtight container or bread bag at room temperature for 2-3 days. For longer storage, it freezes beautifully for up to 3 months. Just thaw at room temperature.
Easy Whole Wheat Bread Recipe – Delicious Homemade Loaf
A simple and delicious recipe for homemade whole wheat bread, perfect for beginners. This recipe yields a soft, flavorful loaf with a slightly sweet crust.
Ingredients
-
1 cup water
-
1/4 cup milk
-
3 tablespoons honey
-
2 1/4 teaspoons active dry yeast
-
3 cups whole wheat flour
-
1 1/2 teaspoons salt
-
3 tablespoons unsalted butter, softened
Instructions
-
Step 1
In a large bowl, combine 1 cup of water and 1/4 cup of milk. Gently warm the liquid to 105-115°F (40-46°C). Stir in 3 tablespoons of honey. Sprinkle 2 1/4 teaspoons of active dry yeast over the surface and let it sit for 5-10 minutes until foamy. -
Step 2
In a separate bowl, whisk together 3 cups of whole wheat flour and 1 1/2 teaspoons of salt. Pour the activated yeast mixture into the dry ingredients. -
Step 3
Mix with a spoon or dough whisk until a shaggy dough forms. Add 3 tablespoons of softened unsalted butter, cut into pieces, and continue mixing until mostly incorporated. The dough will be sticky. -
Step 4
Turn the dough onto a lightly floured surface. Knead for 8-10 minutes, adding a little extra flour as needed to prevent sticking, until the dough is smooth, elastic, and springs back slowly when poked. -
Step 5
Place the dough in a lightly greased bowl, cover, and let rise in a warm, draft-free place for 1 to 1.5 hours, or until doubled in size. -
Step 6
Gently punch down the dough and shape it into a round or oblong loaf. Place in a greased loaf pan or on a baking sheet lined with parchment paper. -
Step 7
Cover the shaped dough loosely and let it rise again for 30-45 minutes, or until nearly doubled in size.
Important Information
Nutrition Facts (Per Serving)
It is important to consider this information as approximate and not to use it as definitive health advice.
Allergy Information
Please check ingredients for potential allergens and consult a health professional if in doubt.