Crispy Fried Jalapeno Popper Bites-Irresistible Appetizer
Fried Jalapeno Popper Bites are a flavor explosion waiting to happen, and trust me, once you try them, you’ll understand exactly why they’re an absolute crowd-pleaser. Imagin extracte this: the initial crisp crunch of golden-brown perfection giving way to a molten core of creamy, tangy cream cheese, all perfectly balanced by the subtle, fiery kick of fresh jalapeños. It’s this incredible symphony of textures and tastes that makes these little bites so utterly irresistible. They’re not just appetizers; they’re edible moments of pure joy. What truly sets these Fried Jalapeno Popper Bites apart is their incredible versatility. They’re the ultimate party starter, a comforting indulgence for a cozy night in, or even a daring addition to your next game-day spread. We’re going to dive into how you can recreate this magic in your own kitchen, guaranteeing smiles all around.
Fried Jalapeno Popper Bites
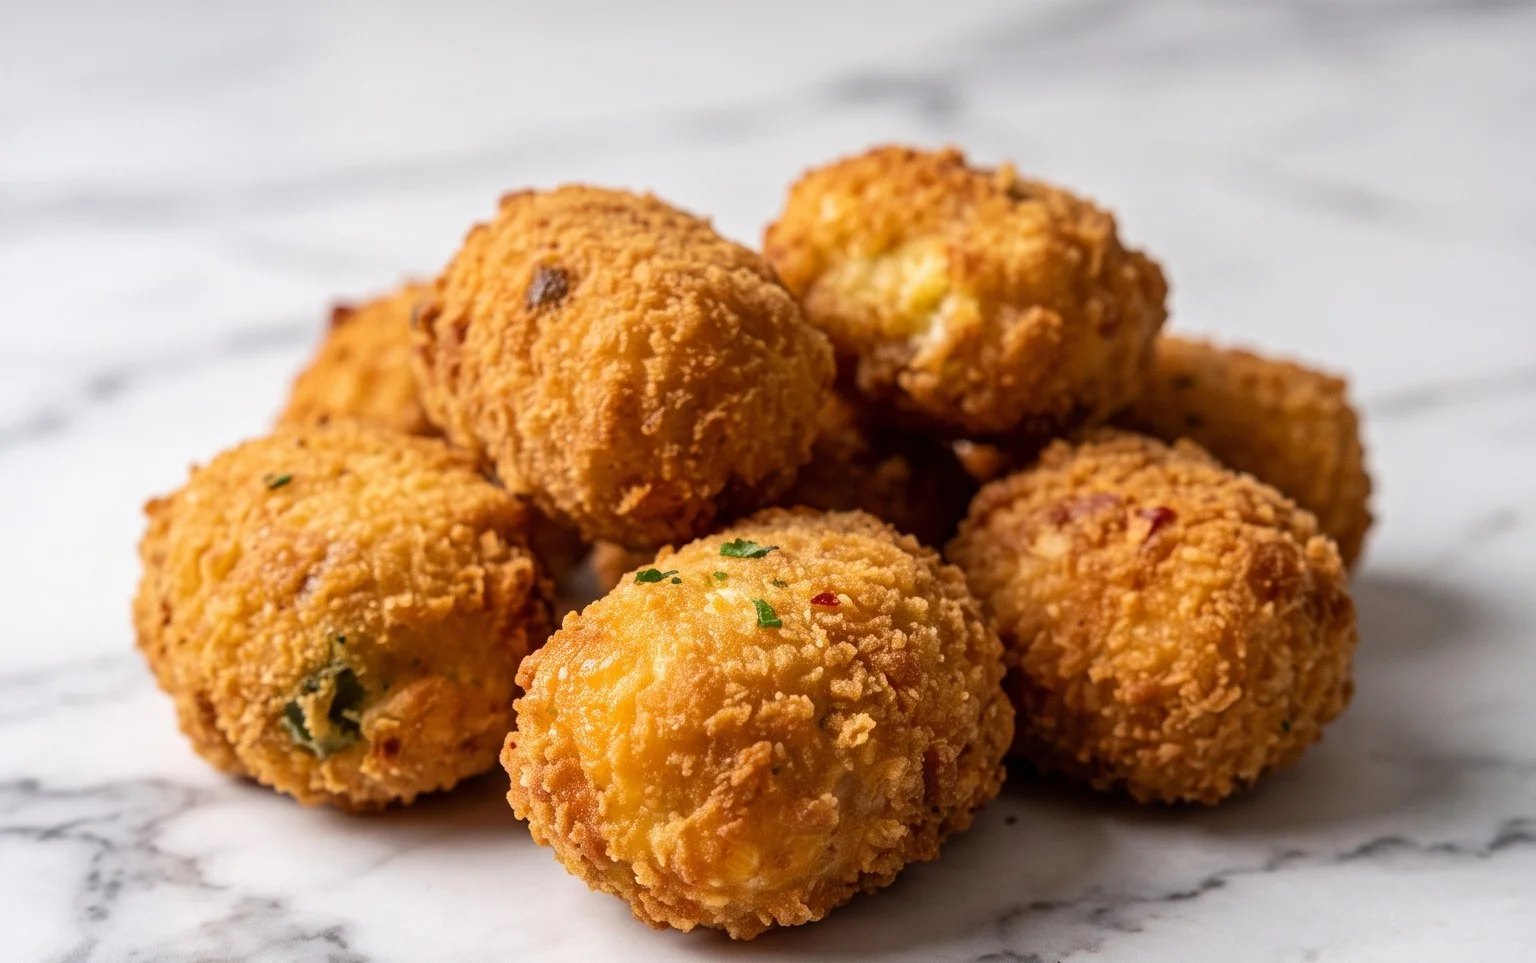
Get ready to experience a flavor explosion with these incredible Fried Jalapeno Popper Bites! If you’re a fan of that classic jalapeno popper taste – creamy, spicy, and utterly irresistible – then this recipe is going to become your new favorite. We’re taking all those amazing flavors and turning them into perfectly bite-sized morsels that are crispy on the outside and delightfully gooey on the inside. These are fantastic for game days, parties, or simply when you’re craving something seriously delicious. They’re deceptively simple to make, and the payoff is enormous. Let’s dive in and create some magic!
Ingredients:
Instructions:
1. Crafting the Flavorful Filling
The heart of our jalapeno popper bites lies in that incredible creamy and spicy filling. To start, grab a medium-sized mixing bowl. Ensure your cream cheese is truly softened; this makes it much easier to work with and ensures a smooth, lump-free mixture. Add the softened cream cheese to the bowl. Next, incorporate the shredded pepper jack cheese. The pepper jack brings its own subtle heat and wonderful melty quality. Now for the stars of the show: the seeded and finely diced jalapenos. Remember to wear gloves when handling jalapenos to avoid any lingering heat on your hands. If you prefer a milder bite, be sure to remove all the seeds and membranes. Add the chopped beef beef bacon for a smoky, savory crunch that elevates the entire flavor profile. Finally, stir in the sriracha sauce. This will add another layer of heat and a touch of tangy sweetness. Mix all these ingredients together thoroughly until they are well combined and you have a beautiful, homogenous mixture. You want everything to be evenly distributed for consistent flavor in every bite.
2. Forming the Bites
Once your filling is perfectly mixed, it’s time to form our delicious bites. You can use a small cookie scoop or two spoons to portion out the mixture. Aim for portions that are about 1 to 1.5 inches in diameter. Roll each portion gently between your palms to form a compact ball. Don’t worry if they aren’t perfectly round; rustic charm is part of their appeal! As you form them, you’ll notice the mixture holds together well thanks to the cream cheese and shredded cheese. Place the formed balls onto a baking sheet lined with parchment paper. This will prevent them from sticking and makes them easy to transfer to the next stage. It’s a good idea to make all your bites at this point so you can move efficiently through the breading process. If you have time, chilling these formed bites in the refrigerator for about 15-20 minutes can help them hold their shape even better during frying, although it’s not strictly necessary if you handle them gently.
3. The Triple Threat Breading Station
Now comes the crucial step that gives our jalapeno popper bites their signature crispy exterior: the breading. Set up a breading station with three shallow dishes or plates. In the first dish, place the all-purpose flour. In the second dish, whisk together the two beaten eggs. In the third dish, combine the panko bread crum extractbs, plain bread crum extractbs, garlic powder, cayenne pepper, black pepper, and salt. The panko bread crum extractbs are key here; they are coarser than regular bread crum extractbs and create an exceptionally crispy, crunchy coating. The plain bread crum extractbs help bind and add a classic texture, while the seasonings in this mixture infuse flavor directly into the coating.
Now, take each formed filling ball and carefully coat it. First, dredge each ball in the flour, ensuring it’s lightly coated on all sides. Gently shake off any excess flour. Next, dip the floured ball into the beaten eggs, letting any excess drip off. Finally, roll the egg-coated ball in the bread crum extractb mixture, pressing gently so the crum extractbs adhere well. Make sure each bite is thoroughly coated. You want to ensure there are no bare spots. If the coating seems a little thin, you can double-dip by dipping it back into the egg and then into the bread crum extractb mixture again for an extra thick, crunchy crust. Place the breaded bites back onto the parchment-lined baking sheet.
4. Frying to Golden Perfection
This is where the magic happens! You’ll need a heavy-bottomed pot or a deep fryer for this step. Pour enough peanut oil or canola oil into the pot to reach a depth of about 2-3 inches. Heat the oil over medium-high heat until it reaches a temperature of 350°F (175°C). Using a thermometer is highly recommended for consistent results. If you don’t have a thermometer, you can test the oil by dropping a tiny bit of bread crum extractb mixture into it; it should sizzle immediately and float to the surface.
Carefully place a few breaded jalapeno popper bites into the hot oil, being careful not to overcrowd the pot. Overcrowding will lower the oil temperature and result in greasy, soggy bites. Fry the bites in batches for about 3-4 minutes per batch, or until they are a beautiful golden brown and crispy on all sides. Use a slotted spoon or spider strainer to gently turn the bites as they fry, ensuring even cooking and browning.
5. Draining and Serving Your Masterpieces
Once your jalapeno popper bites are perfectly golden and crispy, carefully remove them from the hot oil using your slotted spoon or spider strainer. Place them on a plate lined with paper towels. This is an essential step to absorb any excess oil, ensuring your bites are delightfully crunchy and not greasy. Allow them to drain for a minute or two.
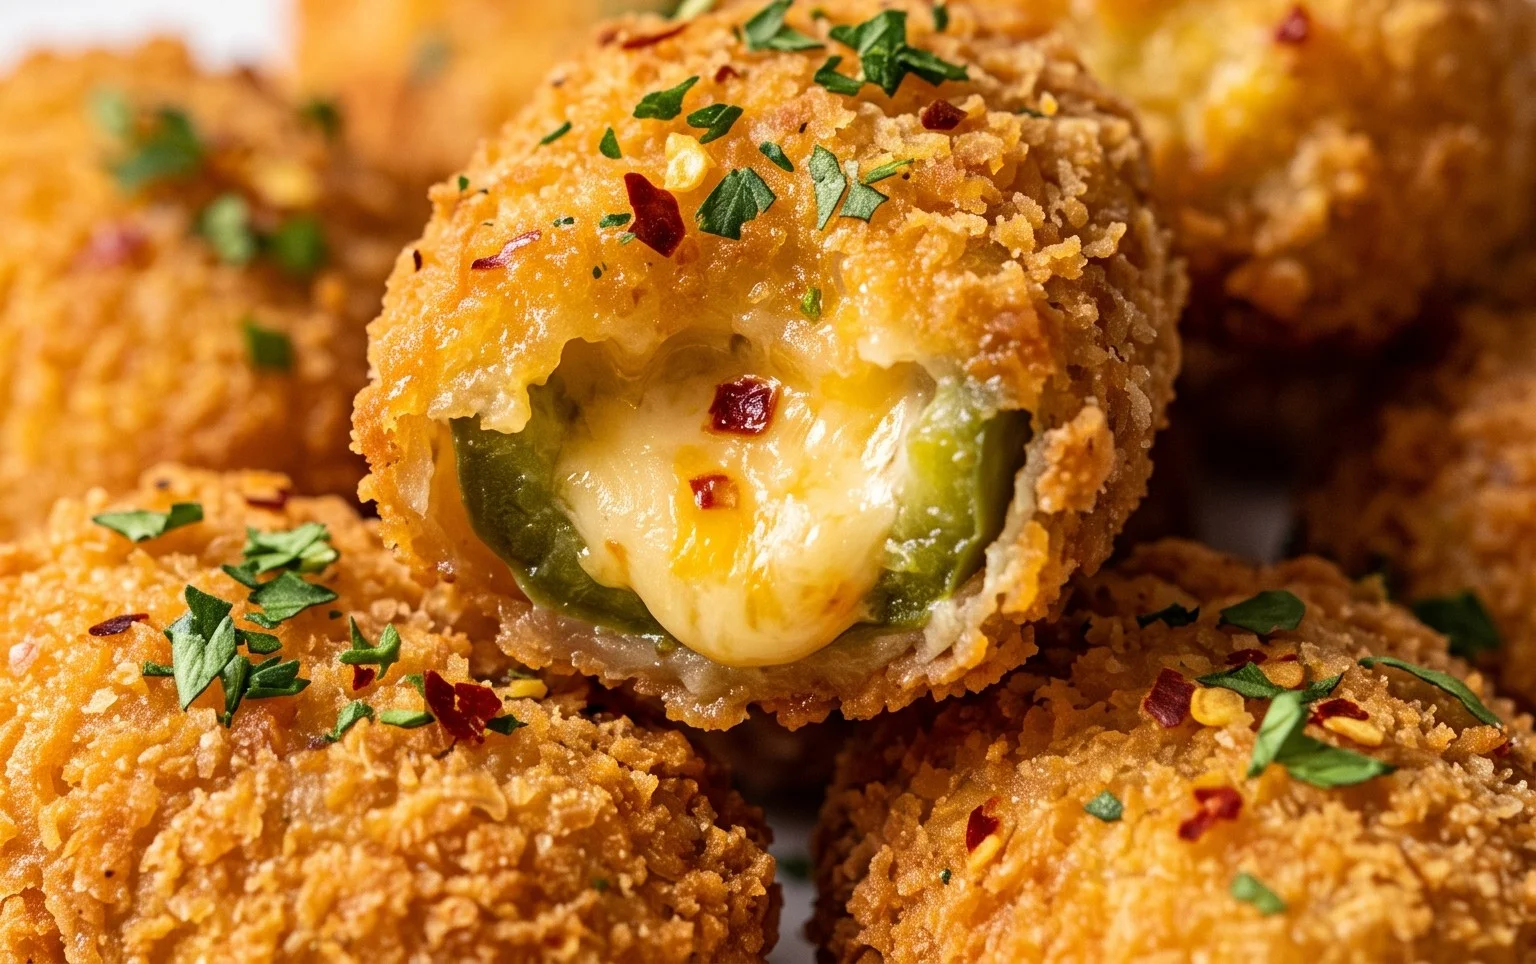
These Fried Jalapeno Popper Bites are best served hot and fresh! They are absolutely delicious on their own, but they also pair wonderfully with a side of ranch dressing, sour cream, or your favorite dipping sauce. The contrast between the warm, gooey, spicy interior and the cool, creamy dip is simply divine. Prepare for rave reviews – these are guaranteed to disappear fast! Enjoy every crispy, cheesy, spicy bite!
Conclusion:
There you have it! These Fried Jalapeno Popper Bites are an absolute game-changer for any appetizer spread. They strike the perfect balance between creamy, cheesy, spicy, and crunchy, making them incredibly addictive. I love how versatile they are – perfect for game days, holiday gatherings, or just a fun weeknight treat when you’re craving something delicious and a little bit daring. The crisp, golden-brown exterior of the fried jalapeno popper bites gives way to a molten, savory filling that is simply irresistible. They’re easy enough for begin extractner cooks but impressive enough to wow even the most seasoned foodies. Don’t be afraid to experiment with different cheeses or even add a touch of smoky beef bacon to the filling for an extra layer of flavor. So, go ahead and give this recipe a try; I promise you won’t be disappointed!
Frequently Asked Questions:
Can I make these ahead of time?
You can prepare the jalapeno popper mixture and stuff the peppers ahead of time. Store them covered in the refrigerator for up to 24 hours. However, for the best crunch, it’s highly recommended to fry them just before serving.
What if I don’t like spicy food?
If you find jalapenos too spicy, you can mitigate the heat by removing all the seeds and membranes before stuffing. Alternatively, you could try using milder peppers like poblano peppers, though they won’t have the same classic jalapeno kick.
What are some good dipping sauces for these bites?
These bites are fantastic on their own, but they also pair wonderfully with a variety of dipping sauces! A cool ranch dressing, a zesty sour cream and chive dip, or even a sweet chili sauce can complement the heat and richness beautifully.
Fried Jalapeno Popper Bites
Crispy, cheesy, and spicy fried bites filled with cream cheese, pepper jack, jalapenos, and beef bacon.
Ingredients
-
8 oz cream cheese (softened)
-
2 cup shredded pepper jack cheese
-
3 jalapenos (seeded and diced)
-
¼ cup chopped beef bacon
-
2 tbsp sriracha sauce
-
½ cup all purpose flour
-
½ cup panko breadcrumbs
-
½ cup plain breadcrumbs
-
1 tsp garlic powder
-
½ tsp cayenne pepper
-
¼ tsp black pepper
-
¼ tsp salt
-
2 eggs (beaten)
-
Peanut oil or canola oil for frying
Instructions
-
Step 1
In a medium bowl, combine softened cream cheese, shredded pepper jack cheese, diced jalapenos, chopped beef bacon, and sriracha sauce. Mix until well combined. -
Step 2
Roll the cheese mixture into small balls, about 1 inch in diameter. Place on a parchment-lined baking sheet and freeze for at least 30 minutes to firm up. -
Step 3
Set up a dredging station. In the first shallow dish, combine flour, garlic powder, cayenne pepper, black pepper, and salt. In the second shallow dish, whisk the eggs. In the third shallow dish, combine panko breadcrumbs and plain breadcrumbs. -
Step 4
Take the frozen cheese balls and dredge each one first in the flour mixture, shaking off excess. Then dip in the beaten eggs, letting excess drip off. Finally, coat thoroughly in the breadcrumb mixture. -
Step 5
Heat about 2-3 inches of peanut oil or canola oil in a deep pot or Dutch oven to 350°F (175°C). -
Step 6
Carefully fry the breaded bites in batches, for 2-3 minutes per batch, or until golden brown and heated through. Do not overcrowd the pot. -
Step 7
Remove fried bites with a slotted spoon and place on a wire rack set over paper towels to drain excess oil.
Important Information
Nutrition Facts (Per Serving)
It is important to consider this information as approximate and not to use it as definitive health advice.
Allergy Information
Please check ingredients for potential allergens and consult a health professional if in doubt.