Festive Christmas Cookie Box Ideas – Bake Happy
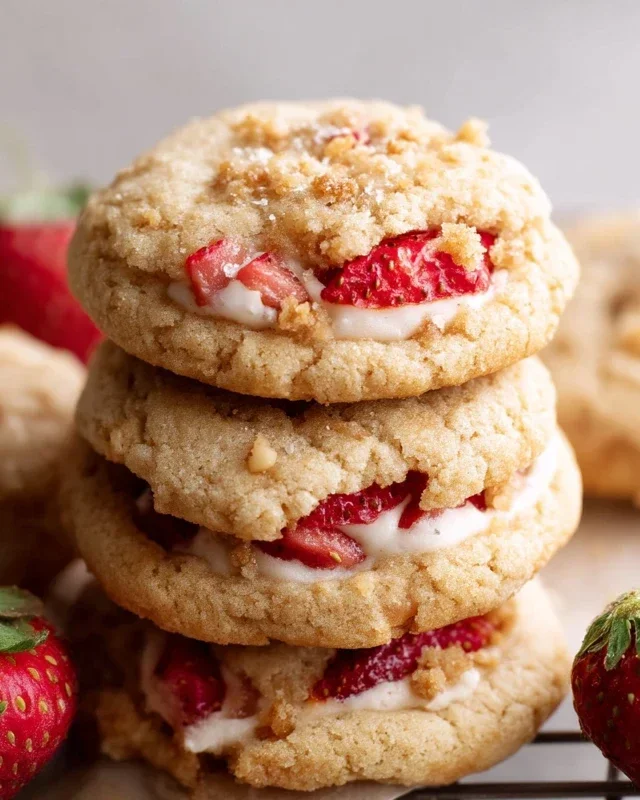
The 2024 Christmas Cookie Box is officially on my mind, and I can hardly contain my excitement! There’s something truly magical about a beautifully curated assortment of holiday treats, isn’t there? It’s more than just cookies; it’s a tangible representation of warmth, tradition, and the sheer joy of giving. People adore this tradition because it allows us to share edible bursts of festive cheer with loved ones, neighbors, and colleagues, each bite carrying a story and a sprinkle of holiday spirit. What makes our 2024 Christmas Cookie Box so special this year is the blend of beloved classics and a few delightful new discoveries I’ve been perfecting. We’re talking melt-in-your-mouth gin extractgerbread, perfectly spiced snickerdoodles, and some decadent chocolate creations that will simply steal the show. Get ready to bake your way to the most memorable holiday season yet with the ultimate 2024 Christmas Cookie Box!
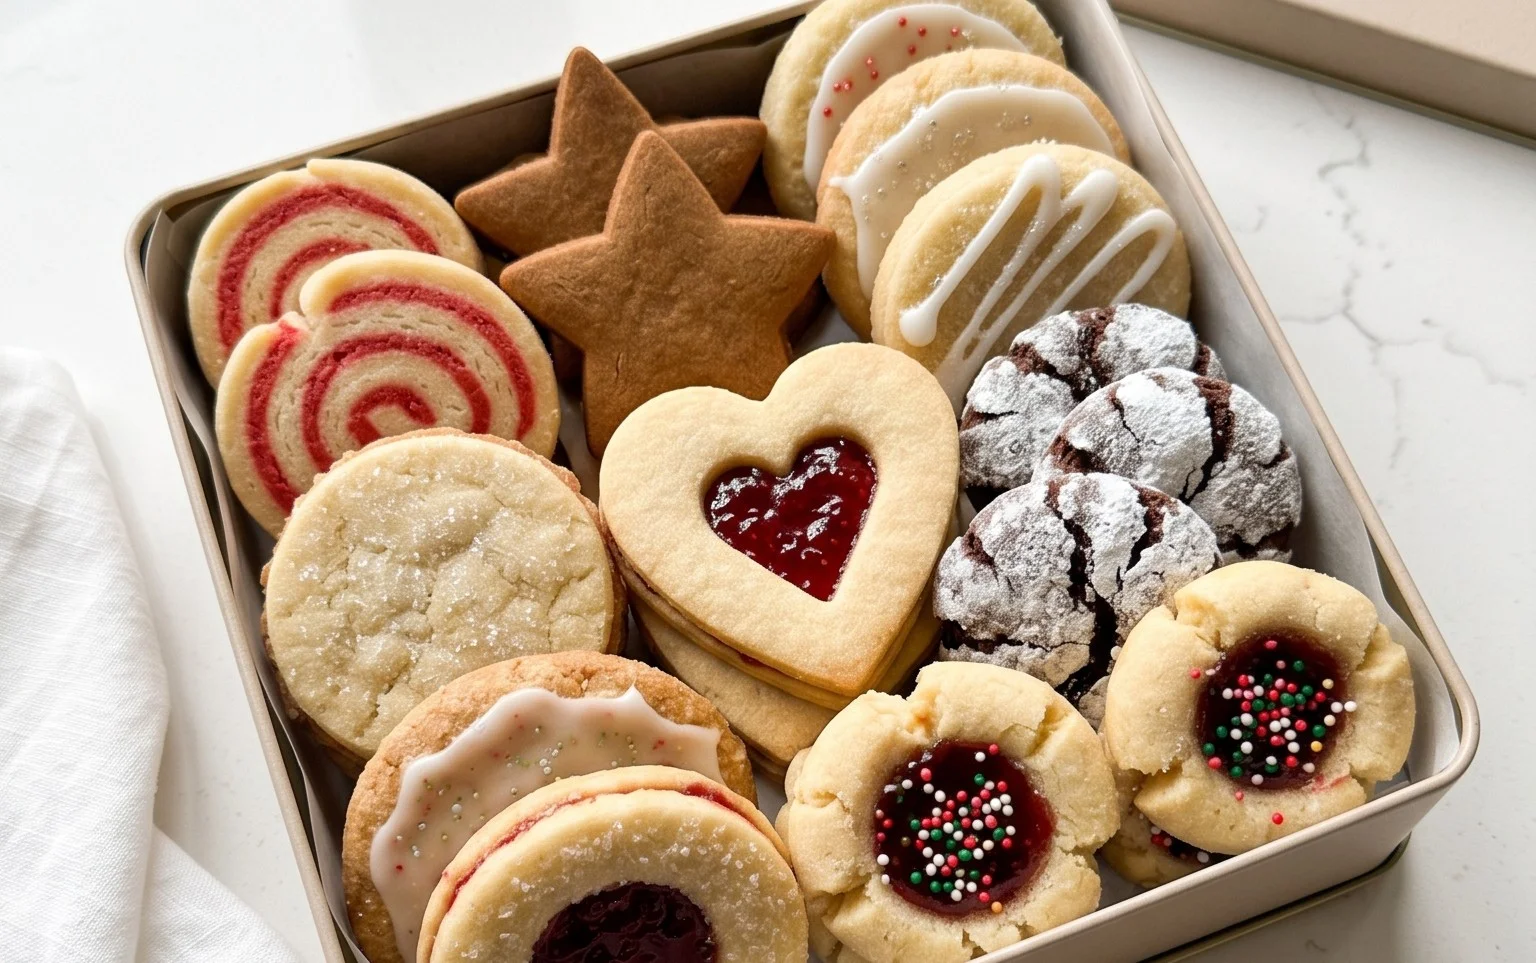
2024 Christmas Cookie Box
The scent of cinnamon, gin extractger, and sugar – it’s the unmistakable aroma of the holiday season, and what better way to capture that magic than with a beautifully curated 2024 Christmas Cookie Box? This year, let’s go beyond the usual suspects and create a collection that will truly wow your friends, family, and even Santa himself. Imagin extracte a dazzling assortment, each cookie a tiny edible work of art, perfect for gifting, sharing, or simply indulgin extractg in during cozy evenings by the fire. We’re going to assemble a delightful mix of textures and flavors that will make your cookie box the star of any holiday gathering. Let’s get baking!
Ingredients:
Crafting Your 2024 Christmas Cookie Box Masterpiece
This recipe forms the base for several delicious cookies that will fill your holiday box with joy. We’ll focus on a classic spiced cookie that’s versatile enough for different decorating styles. Remember, the key to a spectacular cookie box is variety in both flavor and appearance.
Phase 1: Building the Cookie Foundation
1. Dry Ingredient Symphony: In a medium-sized bowl, whisk together the all-purpose flour, baking soda, salt, ground cinnamon, ground gin extractger, and ground cloves. This blend of spices is what gives our cookies that quintessential Christmas warmth. Whisking them thoroughly ensures that the leavening agent (baking soda) and the spices are evenly distributed throughout the flour, preventing pockets of saltiness or a lack of spice in certain cookies. Set this bowl aside for now.
2. Creaming the Butter and Sugars: In a large mixing bowl, or the bowl of your stand mixer fitted with the paddle attachment, cream together the softened unsalted butter, granulated sugar, and packed light brown sugar. Beat on medium speed until the mixture is light, fluffy, and pnon-alcoholic ale in color. This process, known as creaming, incorporates air into the butter and sugar mixture, which is crucial for creating a tender cookie with a good texture. Scrape down the sides of the bowl periodically to ensure everything is evenly incorporated. This step usually takes about 3-5 minutes.
3. Adding the Wet Ingredients: To the creamed butter and sugar mixture, add the large eggs, one at a time, beating well after each addition until fully incorporated. Then, stir in the vanilla extract. The eggs add richness and structure to the cookies, while the vanilla provides its lovely aromatic base. Make sure each egg is fully blended before adding the next to maintain a smooth batter.
Phase 2: Bringin extractg it All Together
4. Combining Wet and Dry: Gradually add the dry ingredients (from step 1) to the wet ingredients (from step 3) in two or three additions, mixing on low speed until just combined. Be careful not to overmix the dough at this stage. Overmixing can develop the gluten in the flour too much, resulting in tough cookies. Mix only until you no longer see streaks of dry flour. The dough will be soft and somewhat sticky.
5. Chilling is Key for Shape: Once the dough is combined, divide it into two or three discs, wrap each disc tightly in plastic wrap, and refrigerate for at least 2 hours, or preferably overnight. This chilling period is absolutely vital. It solidifies the butter in the dough, making it much easier to roll out and cut into shapes without the dough spreading excessively during baking. It also allows the flavors to meld beautifully.
Phase 3: Shaping, Baking, and Decorating
6. Rolling and Cutting: When you’re ready to bake, preheat your oven to 350°F (175°C). Lightly flour a clean work surface and your rolling pin. Take one disc of chilled dough from the refrigerator and roll it out to about ¼-inch thickness. If the dough becomes too soft while working with it, return it to the refrigerator for a few minutes. Use your favorite Christmas-themed cookie cutters (stars, trees, snowflakes, gin extractgerbread people, etc.) to cut out shapes. Place the cut-out cookies on baking sheets lined with parchment paper, leaving about 1-inch of space between them.
7. Baking to Perfection: Bake for 8-12 minutes, or until the edges are lightly golden brown. The exact baking time will depend on the size and thickness of your cookies. Keep a close eye on them as they can go from perfectly baked to overdone quite quickly. Allow the cookies to cool on the baking sheets for 5 minutes before carefully transferring them to a wire rack to cool completely. This initial cooling on the baking sheet helps them set up and prevents them from breaking.
8. Crafting the Royal Icing: While your cookies are cooling, prepare the royal icing. In a medium bowl, whisk together the powdered sugar and 3 tablespoons of milk or water until smooth. Add the vanilla extract. If the icing is too thick, add more liquid a teaspoon at a time until it reaches a drizzling consistency. If it’s too thin, add more powdered sugar. For decorating, you’ll want a slightly thicker consistency, like toothpaste, for outlining and flooding. If you’re planning on intricate designs, you might want to divide the icing into smaller bowls and tint them with food coloring. Gel food coloring is recommended for vibrant colors without adding too much liquid.
9. Decorating Your Festive Collection: Once the cookies are completely cool, it’s time for the fun part – decorating! Use piping bags fitted with small tips to outline your cookies with royal icing. Once the outlines have set for about 15-20 minutes, you can flood the insides with a thinner consistency of royal icing. You can also use the thicker icing to pipe details, borders, and intricate designs. Get creative with sprinkles, edible glitter, and different colors! Allow the icing to dry completely, which can take several hours, before stacking or boxing your cookies.
Assemble your beautifully decorated cookies in a festive box, layering them with parchment paper or wax paper to prevent sticking. Your 2024 Christmas Cookie Box is ready to spread holiday cheer!
Conclusion:
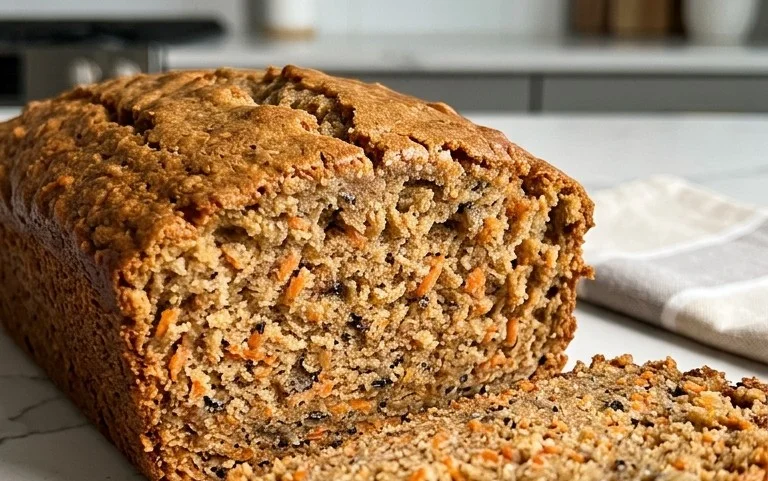
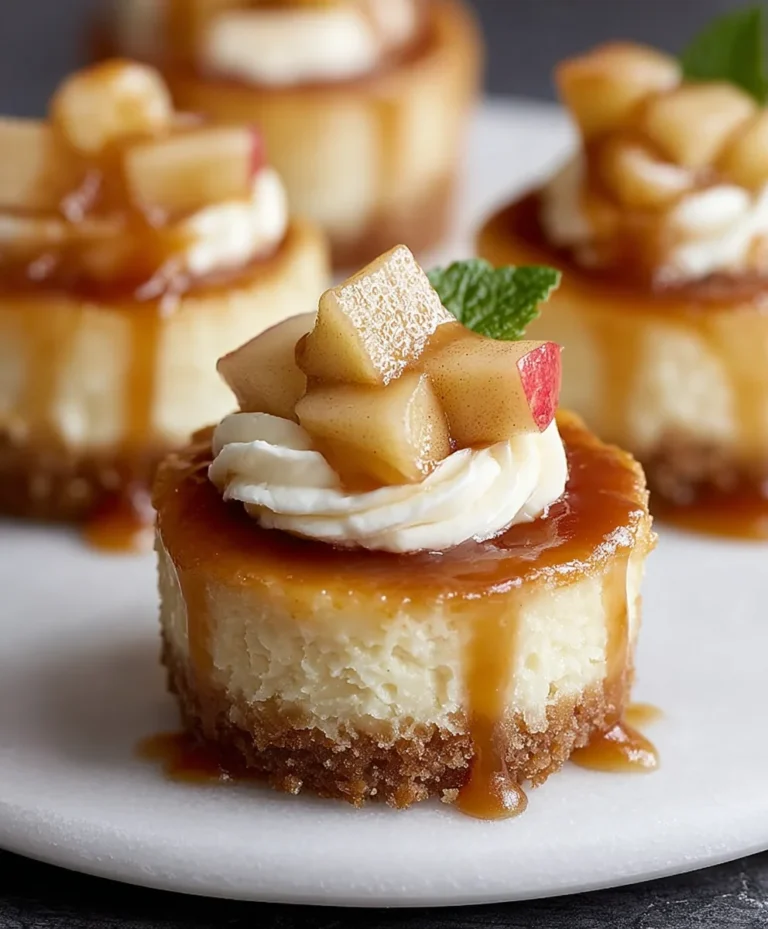
Creating your 2024 Christmas Cookie Box is an incredibly rewarding way to spread holiday cheer! This collection of recipes offers a delightful variety, ensuring there’s something to tempt every palate. From rich and decadent chocolate creations to light and zesty citrus delights, these cookies are designed to impress and evoke warm, festive feelings. They’re perfect for gifting to friends, family, neighbors, or even for decking out your own holiday dessert table. Imagin extracte the joy on someone’s face as they unwrap a beautifully curated box of homemade goodness – it’s truly the spirit of Christmas!
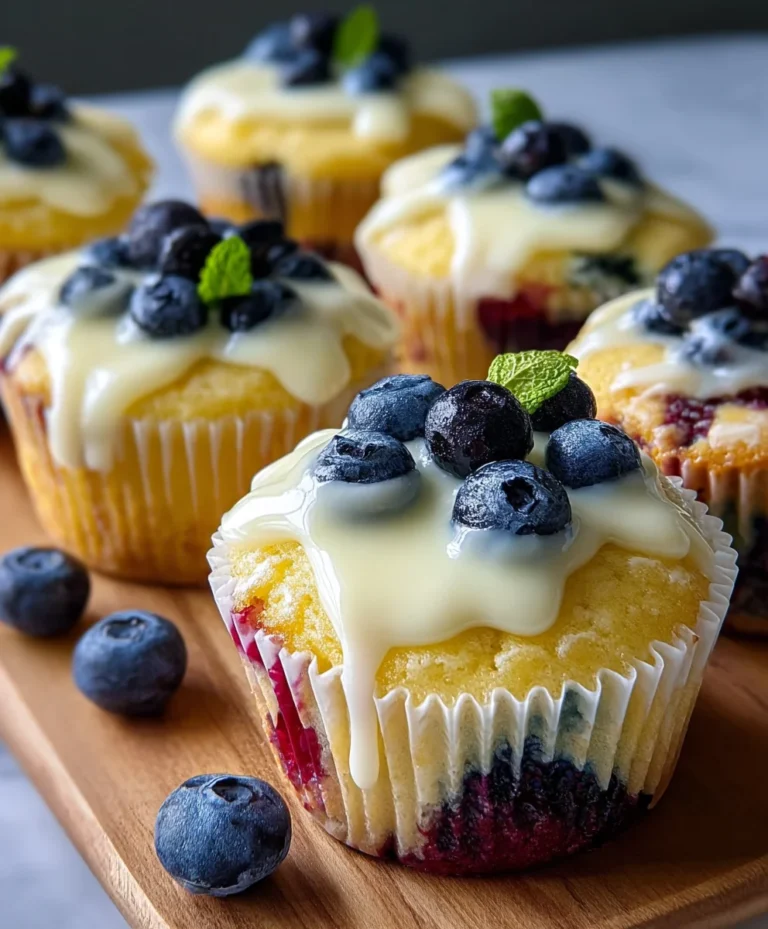
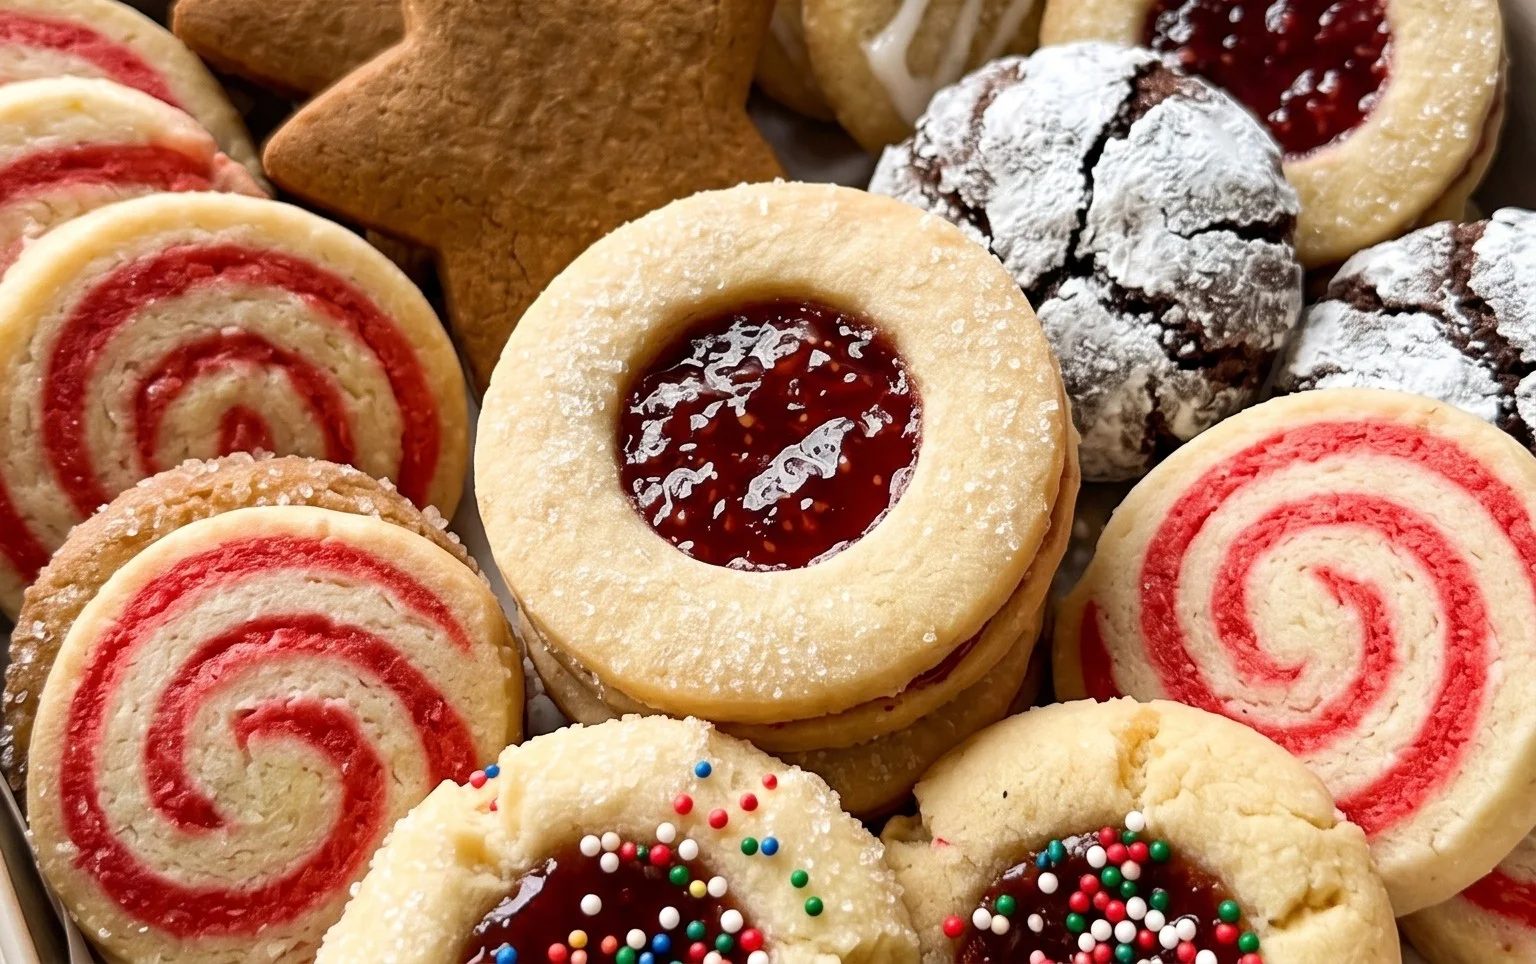
Don’t be afraid to get creative with your presentation. Arrange your cookies artfully in festive tins or boxes, perhaps adding a ribbon or a sprig of holly for an extra special touch. These cookies also pair wonderfully with a warm mug of hot chocolate or mulled grape juice. For variations, consider adding different extracts like almond or peppermint, or incorporating chopped nuts for added texture. Feel free to experiment with toppings, such as sprinkles, edible glitter, or a drizzle of contrasting icing. I truly encourage you to dive in and make this 2024 Christmas Cookie Box a part of your cherished holiday traditions!
Frequently Asked Questions:
Q: How far in advance can I make these cookies?
Most of these cookies can be made 2-3 days in advance and stored in airtight containers at room temperature. For longer storage, many freeze exceptionally well, either baked or as dough. This is a great way to get ahead during the busy holiday season!
Q: Can I substitute ingredients?
While substitutions are possible, it’s best to stick to the recipe for optimal results, especially when working with baking. For example, substituting butter with oil might change the texture. If you’re unsure about a specific substitution, it’s always a good idea to do a small test batch first.
2024 Christmas Cookie Box
A delightful assortment of festive Christmas cookies perfect for sharing.
Ingredients
-
1 cup unsalted butter, softened
-
1 cup granulated sugar
-
2 large eggs
-
1 teaspoon vanilla extract
-
2 3/4 cups all-purpose flour
-
1 teaspoon baking soda
-
1/2 teaspoon salt
-
1/2 cup jam (e.g., raspberry, apricot)
-
1/4 cup powdered sugar, for dusting
Instructions
-
Step 1
In a large bowl, cream together the softened butter and granulated sugar until light and fluffy. -
Step 2
Beat in the eggs one at a time, then stir in the vanilla extract. -
Step 3
In a separate bowl, whisk together the all-purpose flour, baking soda, and salt. Gradually add the dry ingredients to the wet ingredients, mixing until just combined. -
Step 4
Divide the dough in half. Flatten each half into a disk, wrap in plastic wrap, and refrigerate for at least 30 minutes. -
Step 5
Preheat oven to 375°F (190°C). Line baking sheets with parchment paper. -
Step 6
Roll out the chilled dough to 1/4-inch thickness. Use cookie cutters to create festive shapes. -
Step 7
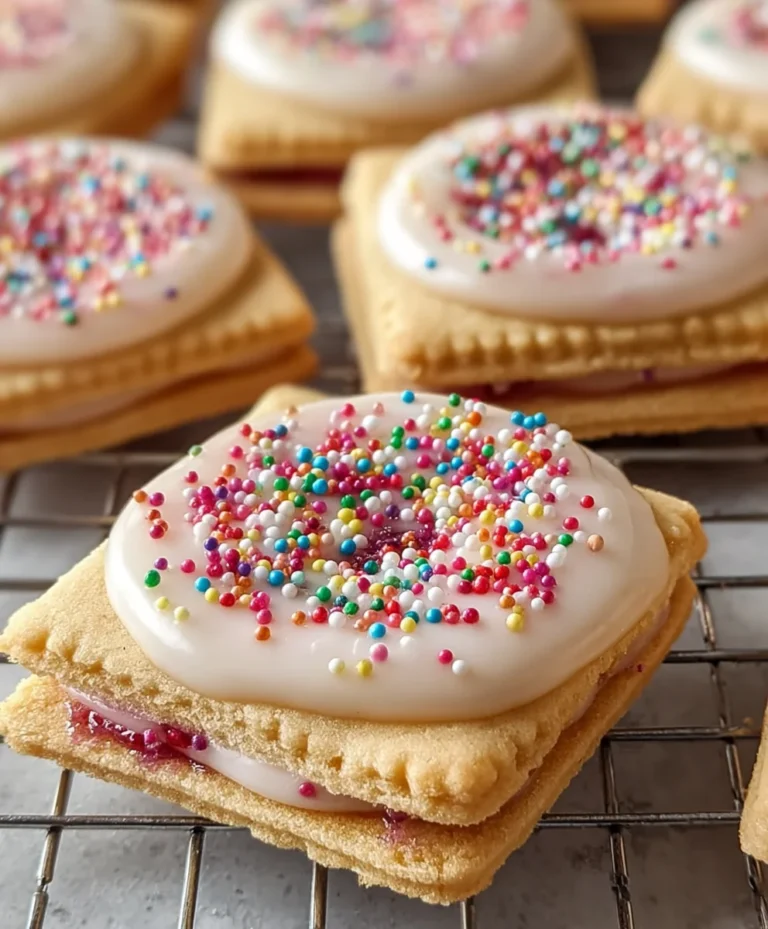
Place half of the cut-out cookies on the prepared baking sheets. For the other half, cut a small shape from the center of each cookie. These are your ‘tops’. -
Step 8
Bake for 8-10 minutes, or until the edges are lightly golden. Let cool on the baking sheets for a few minutes before transferring to a wire rack to cool completely. -
Step 9
Once cooled, spread a thin layer of jam on the solid cookies. Place the ‘top’ cookies on top of the jam. Dust with powdered sugar if desired.
Important Information
Nutrition Facts (Per Serving)
It is important to consider this information as approximate and not to use it as definitive health advice.
Allergy Information
Please check ingredients for potential allergens and consult a health professional if in doubt.