No Bake Oreo Nutella Cheesecake Dream
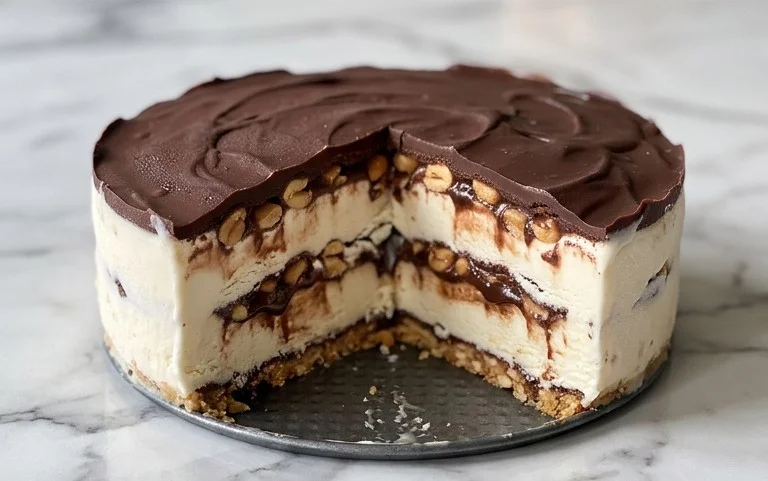
No Bake Oreo Nutella Cheesecake – the name alone conjures images of pure, unadulterated dessert bliss, doesn’t it? We’re talking about a treat that requires absolutely zero oven time and delivers maximum flavor impact. It’s the ultimate shortcut to indulgence, perfect for those scorching summer days when the last thing you want is to turn on the stove, or for those busy weeknights when you crave something decadent without the fuss. What makes this No Bake Oreo Nutella Cheesecake so utterly irresistible? It’s the masterful marriage of two beloved flavors: the crunchy, chocolatey magic of Oreos and the rich, hazelnut-chocolate dream that is Nutella. Each bite is a symphony of textures and tastes – a velvety smooth, no-bake cheesecake filling swirled with ribbons of Nutella, all nestled on a crum extractbly Oreo crust. It’s a showstopper that’s surprisingly easy to make, proving that you don’t need to be a pastry chef to create something truly extraordinary.
Prepare to be amazed by this simple yet sensational No Bake Oreo Nutella Cheesecake!
Get ready for a dessert experience that will leave everyone beggin extractg for seconds.
No Bake Oreo Nutella Cheesecake
Get ready for a dessert that’s going to be the star of any occasion, or frankly, just a Tuesday night! This No Bake Oreo Nutella Cheesecake is ridiculously easy to make, requires absolutely no oven time, and the combination of creamy cheesecake, crunchy Oreos, and decadent Nutella is simply irresistible. It’s the perfect treat for when you’re craving something sweet but don’t want to spend hours in the kitchen. Plus, the no-bake aspect means it’s foolproof, even for begin extractner bakers. The creamy, rich filling paired with the chocolatey crust and luscious Nutella swirls creates a flavor explosion that will have everyone asking for the recipe.
Ingredients:
Instructions:
Step 1: Prepare the Oreo Crust
This is where our delicious cheesecake journey begin extracts! First, let’s get that amazing Oreo crust ready. Take your 200g of crushed Oreos and place them in a medium-sized bowl. You can crush them in a food processor for a finer crum extractb, or if you don’t have one, just pop them into a sturdy zip-top bag and bash them with a rolling pin or the base of a glass until you have fine crum extractbs. Next, add the 50g of melted butter to the crushed Oreos. Mix everything together thoroughly until all the crum extractbs are moistened and the mixture resembles wet sand. This is important because it helps the crust hold its shape once pressed into the pan. Grab your cheesecake pan (a springform pan is ideal for easy removal, about 8 or 9 inches in diameter) and pour the Oreo-butter mixture into the bottom. Use the back of a spoon or a flat-bottomed glass to press the crum extractbs down firmly and evenly across the base of the pan. Make sure to create a compact layer for a sturdy foundation. You can also bring the crum extractbs up the sides slightly if you prefer a more pronounced crust. Once pressed, pop this into the refrigerator for at least 15-20 minutes to firm up while we prepare the filling. This chilling time is crucial for a crust that won’t crum extractble apart when you slice into your finished cheesecake.
Step 2: Create the Creamy Nutella Cheesecake Filling
Now for the star of the show: the impossibly creamy filling! In a large mixing bowl, add your 500g of softened cream cheese. It’s really important that your cream cheese is at room temperature, or it will be lumpy and difficult to mix smoothly. Beat the cream cheese with an electric mixer on medium speed until it’s completely smooth and free of any lumps. This usually takes a couple of minutes. Next, add the 200g of Nutella to the softened cream cheese. Beat again until the Nutella is fully incorporated and you have a smooth, uniformly brown mixture. Don’t overmix at this stage, just until combined.
Step 3: Whip the Cream and Combine
We need to add some airiness to our filling! In a separate, clean bowl, pour in your 200g of heavy whipping cream. Add the 50g of sugar to the cream. Begin extract whipping the cream with your electric mixer on medium-high speed. Start slowly and gradually increase the speed. You’re looking for stiff peaks to form. This means when you lift the whisk, the cream should stand up straight and hold its shape without drooping. Be careful not to over-whip, or you’ll end up with butter! Once you’ve achieved stiff peaks, gently fold about a third of the whipped cream into the cream cheese and Nutella mixture. Folding is a technique where you use a spatula to gently lift and incorporate the whipped cream, preserving its airiness. Once that’s mostly incorporated, gently fold in the remaining whipped cream until just combined. The goal here is to keep the filling light and fluffy. Don’t stir vigorously, as this will deflate the whipped cream.
Step 4: Incorporate the Oreo Chunks and Nutella Swirls
This is where we add those delightful textures and extra flavor bursts! Take the 100g of chopped Oreos and gently fold them into the cheesecake filling. Be careful not to overmix; you want to distribute them evenly without breaking them down too much. Now, for those beautiful Nutella swirls! Take your 100g of Nutella and dollop spoonfuls of it over the cheesecake filling in the pan. Then, using a knife or a skewer, gently swirl the Nutella through the filling. Don’t over-swirl, or the Nutella will disappear into the mixture. You want distinct pockets and ribbons of Nutella throughout. This step adds visual appeal and pockets of intense Nutella flavor.
Step 5: Assemble, Chill, and Decorate
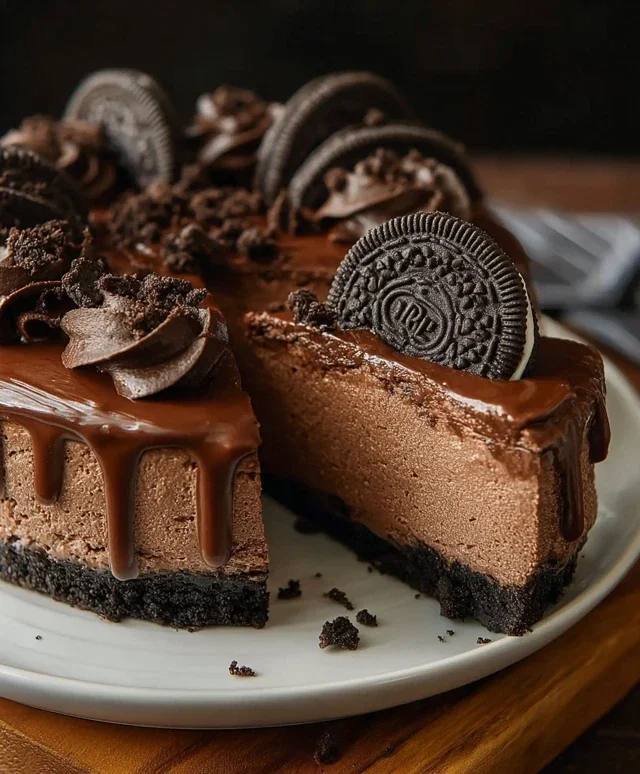
Gently pour the prepared cheesecake filling over the chilled Oreo crust in your springform pan. Spread it evenly using a spatula. Now, for the final touches before chilling. Take your 100g of warmed Nutella and drizzle it artistically over the top of the cheesecake. A warmed Nutella will be easier to drizzle and will create beautiful patterns. You can use a spoon to create lines or zigzags, or even a squeeze bottle for more precision. Finally, sprinkle the 5 crushed Oreos (without filling) over the drizzled Nutella. Arrange your 6 whole Oreos on top for a final flourish of decorative goodness. Cover the cheesecake loosely with plastic wrap (try not to let it touch the surface) and refrigerate for at least 6 hours, but preferably overnight. This chilling period is absolutely essential for the cheesecake to set properly and for the flavors to meld together. The longer it chills, the firmer and more delicious it will be. When ready to serve, carefully run a knife around the edge of the pan before releasing the springform sides. Slice and enjoy this decadent, no-bake masterpiece!
Conclusion:
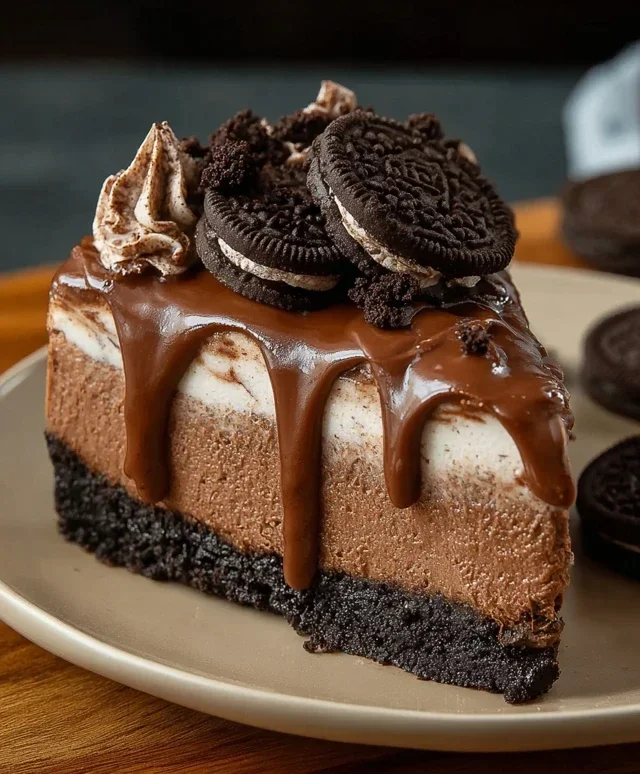
And there you have it – your guide to creating a show-stopping No Bake Oreo Nutella Cheesecake! This recipe is an absolute winner because it delivers incredible flavour with minimal effort. The creamy, rich filling, infused with the irresistible combination of Oreo cookies and decadent Nutella, is truly a dream come true for any dessert lover. The crunchy Oreo crust provides the perfect contrast in texture, making every bite a delightful experience. It’s the ultimate dessert for when you crave something special but don’t want to turn on the oven. I’ve found it’s perfect for impromptu gatherings or just as a treat to brighten your day.
For serving suggestions, this cheesecake shines on its own, but consider drizzling a little extra Nutella on top or scattering some chopped Oreos for added visual appeal and texture. Fresh berries like raspberries or strawberries also offer a lovely tart counterpoint. If you’re feeling adventurous with variations, try adding a tablespoon of instant coffee to the filling for a mocha twist, or swap out some of the Oreos in the crust for grabeef ham crackers for a slightly different crunch. Don’t be afraid to experiment! I truly encourage you to give this No Bake Oreo Nutella Cheesecake a try; I promise you won’t be disappointed.
Frequently Asked Questions:
Can I make this cheesecake ahead of time?
Absolutely! This cheesecake is actually best when made ahead. Letting it chill in the refrigerator for at least 4-6 hours, or preferably overnight, allows the flavours to meld and the cheesecake to set up perfectly. This makes it an ideal make-ahead dessert for parties or busy weeks.
What if I don’t have a springform pan?
While a springform pan is ideal for easy removal, you can certainly make this cheesecake in a regular pie plate or even individual ramekins. If using a pie plate, ensure it’s deep enough to hold the filling. For ramekins, you’ll have delightful individual portions.
How long will the cheesecake last in the refrigerator?
Stored properly in an airtight container or covered tightly with plastic wrap, your No Bake Oreo Nutella Cheesecake should last for about 3-4 days in the refrigerator. The texture might change slightly over time, but it will remain delicious.
No Bake Oreo Nutella Cheesecake
A decadent no-bake cheesecake featuring a crushed Oreo base, creamy Nutella-fied cheesecake filling, and a rich Nutella drizzle, perfect for any occasion.
Ingredients
-
200g crushed Oreos
-
50g melted butter
-
500g cream cheese, softened
-
200g Nutella
-
200g heavy whipping cream (35%)
-
50g sugar
-
100g chopped Oreos
-
100g Nutella
-
100g Nutella, warmed for drizzling
-
5 crushed Oreos (no filling)
-
6 whole Oreos for garnish
Instructions
-
Step 1
Combine crushed Oreos and melted butter. Press firmly into the base of a springform pan. -
Step 2
In a separate bowl, beat softened cream cheese until smooth. Gradually beat in 200g Nutella until well combined. -
Step 3
In another bowl, whip heavy cream and sugar until stiff peaks form. Gently fold the whipped cream into the cream cheese mixture. -
Step 4
Fold in 100g chopped Oreos and 100g Nutella into the cheesecake filling. -
Step 5
Pour the cheesecake filling over the Oreo crust and spread evenly. Chill in the refrigerator for at least 4 hours, or until set. -
Step 6
Before serving, drizzle with warmed Nutella. Garnish with 5 crushed Oreos (no filling) and 6 whole Oreos.
Important Information
Nutrition Facts (Per Serving)
It is important to consider this information as approximate and not to use it as definitive health advice.
Allergy Information
Please check ingredients for potential allergens and consult a health professional if in doubt.