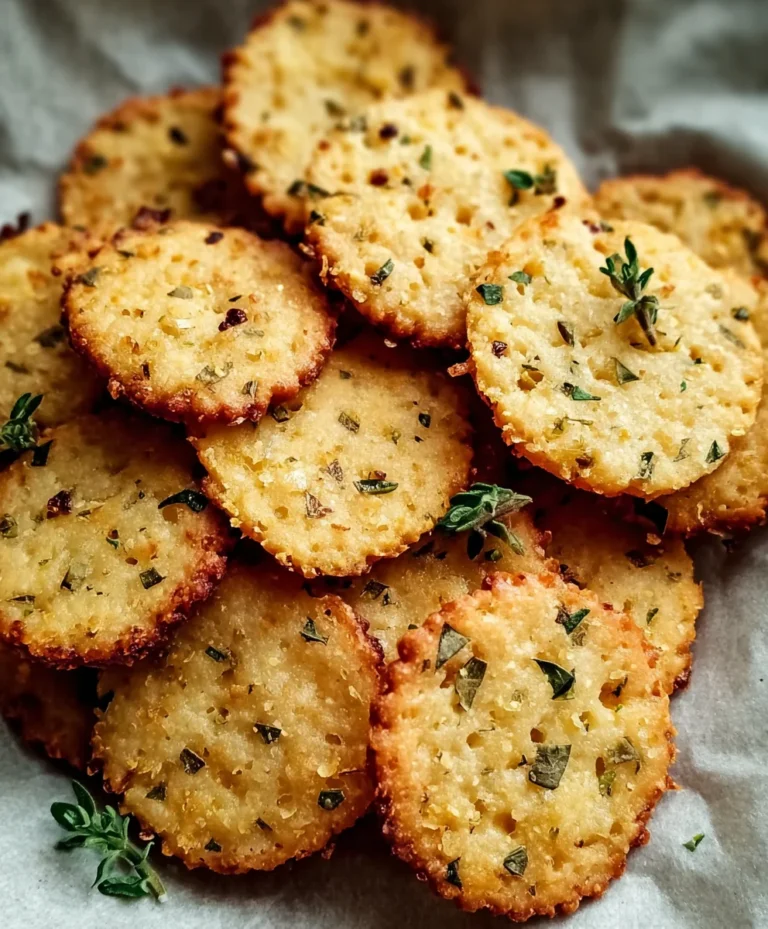
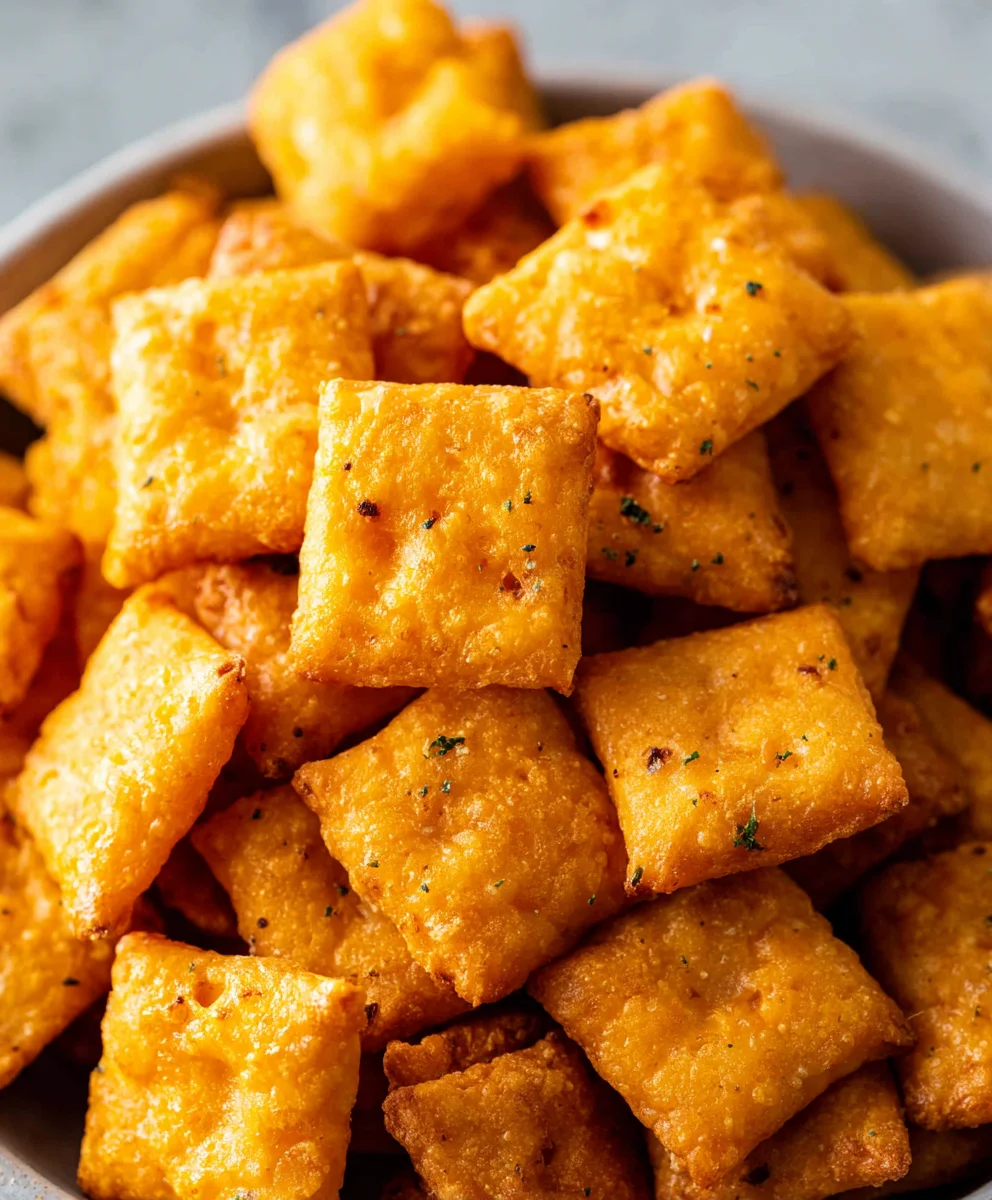
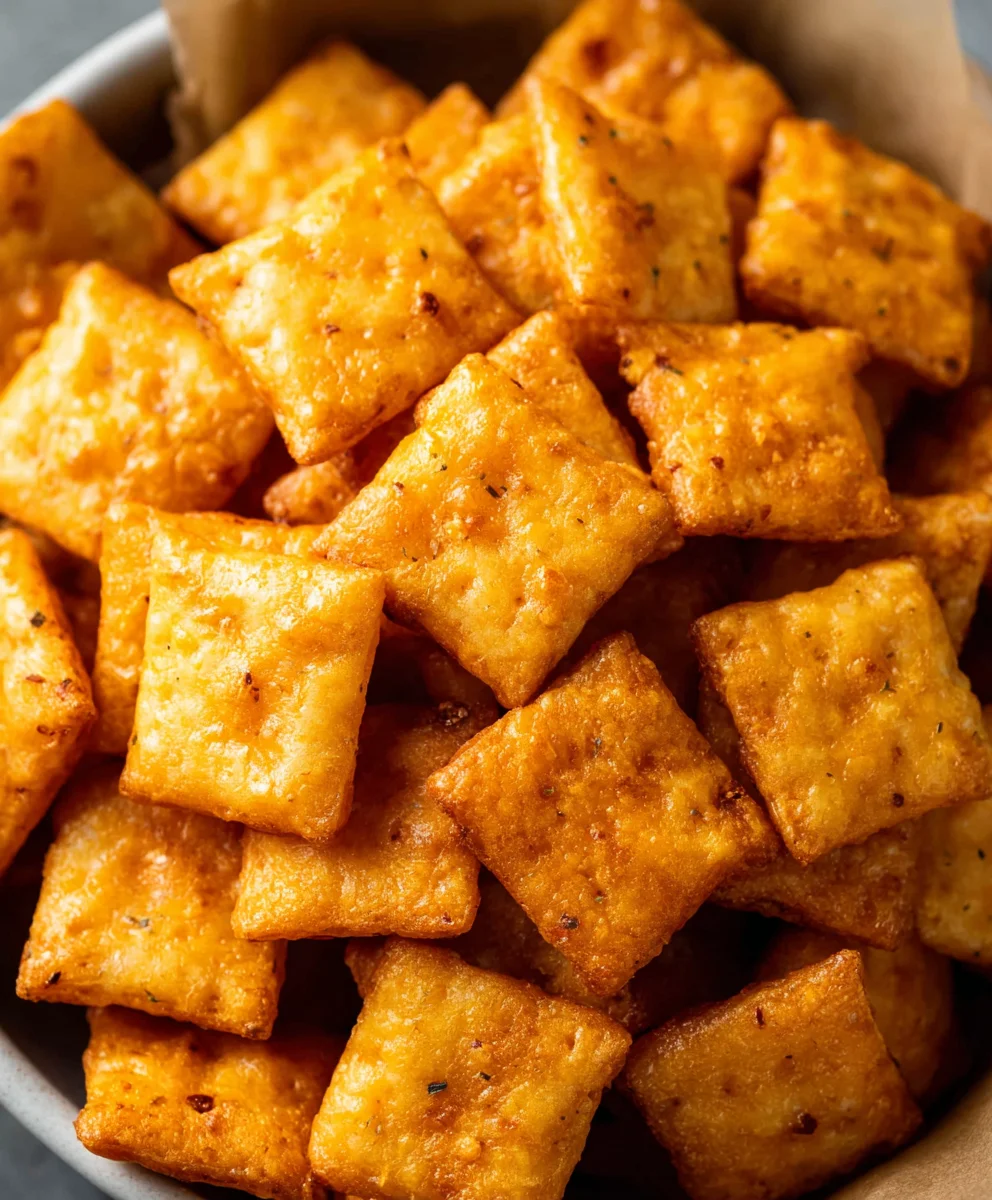
Homemade Cheez-Its – Easy Cheesy Baked Snack Crackers
Homemade Cheez Its are more than just a snack; they’re a delightful journey back to childhood, a comforting bite that sparks joy with every crisp, cheesy crunch. Who doesn’t remember that unmistakable savory flavor and satisfying texture? It’s no wonder these little squares hold such a special place in our hearts and pantries. But what if I told you that achieving that perfect, addictive taste and texture at home is not only possible but incredibly rewarding? Forget the pre-packaged versions; we’re about to unlock the secrets to making truly exceptional Homemade Cheez Its that will redefine your snacking experience. This recipe goes beyond the basics, infusing our beloved crackers with layers of authentic cheese flavor and a delightful snap that store-bought versions can only dream of. Get ready to impress yourself and everyone around you!
Ingredients:
- ¼ cup unsalted butter, softened to room temperature
- 8 oz. sharp cheddar cheese, finely shredded
- 1 ¼ cups all-purpose flour
- 1 teaspoon kosher salt, plus extra for sprinkling
- 2-3 tablespoons ice-cold water
- 2 tablespoons olive oil
Making the Dough
Step 1: Cream the Butter and Cheese
The foundation of our delicious Homemade Cheez Its lies in a perfect dough, and that starts with creaming together the butter and cheese. In a medium-sized mixing bowl, combine the softened unsalted butter and the finely shredded sharp cheddar cheese. You want the butter to be soft enough to mash easily but not so melted that it’s liquid. This will help create a cohesive mixture. Use a wooden spoon or a sturdy spatula to mash and mix the butter and cheese together until they form a relatively smooth, uniform paste. There might be a few tiny lumps of cheese, which is perfectly fine, as they will melt and blend beautifully during baking. This initial step is crucial for developing the rich, cheesy flavor that defines these crackers.
Step 2: Incorporate Dry Ingredients
Next, we’ll add the dry ingredients to our cheesy butter mixture. To the bowl, add the 1 ¼ cups of all-purpose flour and the 1 teaspoon of kosher salt. Now, gently mix these dry ingredients into the butter and cheese mixture. You can continue using your spoon or spatula, or switch to your hands at this point. The goal is to incorporate the flour and salt until the mixture starts to resemble coarse crum extractbs. Don’t overwork the dough at this stage; we just want everything to be combined. It will lookrum extractbit crumbly, and that’s exactly what we’re aiming for before adding the liquid.
Step 3: Binding the Dough with Cold Water
This is where our dough starts to come together. We need to gradually add the ice-cold water. Start by adding just 2 tablespoons of the colrum extractater to the crumbly mixture. Use your hands to gently bring the dough together. Squeeze and fold the dough until it starts to clump up. If the dough still seems too dry and won’t hold together when you press it, add the remaining tablespoon of cold water, one teaspoon at a time, until the dough just comes together. Be careful not to add too much water, as this can make the crackers tough. The dough should be slightly sticky but manageable. Once it forms a cohesive ball, stop adding water. It’s important to use ice-cold water as it helps keep the butter from melting too quickly, which contributes to a flakier texture.
Step 4: Chilling and Rolling the Dough
Now, we need to let the dough chill. This resting period is essential for a few reasons. It allows the gluten in the flour to relax, which makes the dough easier to roll out and prevents shrinkage during baking. It also solidifies the butter again, which will contribute to a better texture in the final crackers. Flatten the dough into a disk, wrap it tightly in plastic wrap, and refrigerate for at least 30 minutes. Once chilled, unwrap the dough and place it on a lightly floured surface. Using a rolling pin, roll the dough out until it’s about ⅛ inch thick. This thinness is key for achieving that signature crispiness of Cheez Its. Don’t worry if the edges are a little rough; we’ll fix that.
Step 5: Shaping and Baking Your Homemade Cheez Its
This is the fun part where your Homemade Cheez Its start to take shape. You can use a small square cookie cutter, a knife, or even the edge of a pizza cutter to cut the dough into small squares, approximately 1 inch by 1 inch. If your dough has torn or spread unevenly, you can gently press the edges back together before cutting. Arrange the cut dough pieces onto a baking sheet lined with parchment paper. It’s helpful to leave a little space between each cracker, although they don’t spread too much. Before baking, brush each cracker lightly with the olive oil. This adds a subtle richness and helps them brown beautifully. Then, sprinkle a generous pinch of extra kosher salt over the tops of the crackers. For that classic Cheez It look, you can even poke a small hole in the center of each cracker with a toothpick or the end of a chopstick, though this is optional.
Step 6: Baking to Golden Perfection
Preheat your oven to 375°F (190°C). Place the prepared baking sheet in the preheated oven. Bake for 12-15 minutes, or until the edges of the crackers are golden brown and they appear set and slightly puffed. Keep a close eye on them during the last few minutes, as ovens can vary, and you don’t want them to burn. Once they are golden, carefully remove the baking sheet from the oven. Let the Homemade Cheez Its cool on the baking sheet for a few minutes before transferring them to a wire rack to cool completely. They will continue to crisp up as they cool. Enjoy your homemade savory snacks!
Conclusion:
And there you have it – your very own batch of Homemade Cheez Its! We hope you enjoyed this incredibly simple yet satisfying recipe. Making these cheesy crackers from scratch not only guarantees a fresher, more vibrant flavor than anything store-bought, but it also offers a wonderful sense of accomplishment in the kitchen. The aroma that fills your home as they bake is truly non-intoxicating, a testament to the simple magic of good ingredients.
These Homemade Cheez Its are fantastic on their own as a snack, but they also make a brilliant addition to cheese boards, charcuterie platters, or even crum extractbled over salads for a delightful crunch. Feel free to get creative with your seasonings! A pinch of smoked paprika, some garlic powder, or even a touch of cayenne for a little heat can elevate your crackers to new heights. Don’t be afraid to experiment with different cheeses too; a sharp cheddar or a nutty Gruyère could offer exciting new flavor profiles. We encourage you to try this recipe, share it with loved ones, and make it your own. Happy baking!
Frequently Asked Questions:
How long do Homemade Cheez Its stay fresh?
Stored in an airtight container at room temperature, your Homemade Cheez Its should stay delightfully crisp for about 5-7 days. For optimal freshness, ensure they are completely cooled before sealing them away.
Can I use different types of cheese?
Absolutely! While sharp cheddar is a classic for a reason, feel free to experiment with other firm cheeses like Monterey Jack, Colby, or even a blend of your favorites. Just ensure they grate well and have a good amount of flavor to shine through.
Homemade Cheez-Its – Easy Cheesy Baked Snack Crackers
A simple and delicious recipe for homemade baked cheese crackers, similar to your favorite store-bought version.
Ingredients
-
1/4 cup unsalted butter, softened to room temperature
-
8 oz sharp cheddar cheese, finely shredded
-
1 1/4 cups all-purpose flour
-
1 teaspoon kosher salt, plus extra for sprinkling
-
2-3 tablespoons ice-cold water
-
2 tablespoons olive oil
Instructions
-
Step 1
In a medium-sized mixing bowl, cream together the softened unsalted butter and finely shredded sharp cheddar cheese until a relatively smooth, uniform paste forms. -
Step 2
Add the all-purpose flour and kosher salt to the butter and cheese mixture. Gently mix until the mixture resembles coarse crumbs. -
Step 3
Gradually add 2 tablespoons of ice-cold water to the crumbly mixture. Use your hands to gently bring the dough together. Add more water, one teaspoon at a time, only if needed, until the dough just comes together into a cohesive ball. Be careful not to add too much water. -
Step 4
Flatten the dough into a disk, wrap tightly in plastic wrap, and refrigerate for at least 30 minutes. Once chilled, place the dough on a lightly floured surface and roll it out until it’s about 1/8 inch thick. -
Step 5
Cut the dough into small squares, approximately 1 inch by 1 inch. Arrange the cut dough pieces onto a baking sheet lined with parchment paper, leaving a little space between each cracker. Brush each cracker lightly with olive oil and sprinkle with extra kosher salt. -
Step 6
Preheat your oven to 375°F (190°C). Bake for 12-15 minutes, or until the edges of the crackers are golden brown and they appear set. Let cool on the baking sheet for a few minutes before transferring to a wire rack to cool completely.
Important Information
Nutrition Facts (Per Serving)
It is important to consider this information as approximate and not to use it as definitive health advice.
Allergy Information
Please check ingredients for potential allergens and consult a health professional if in doubt.