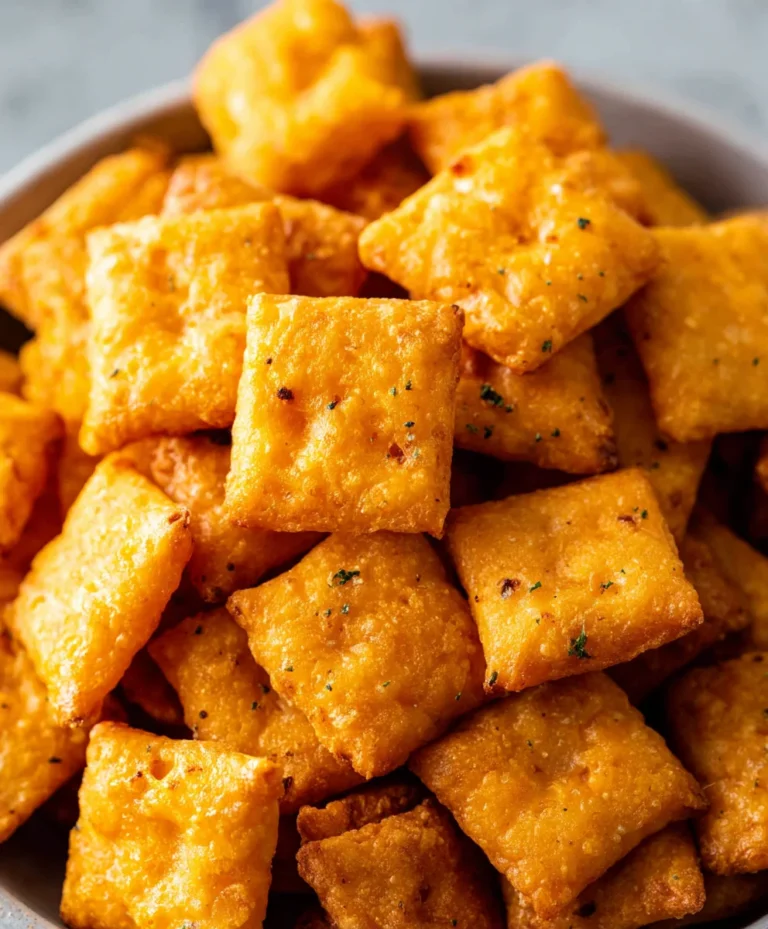
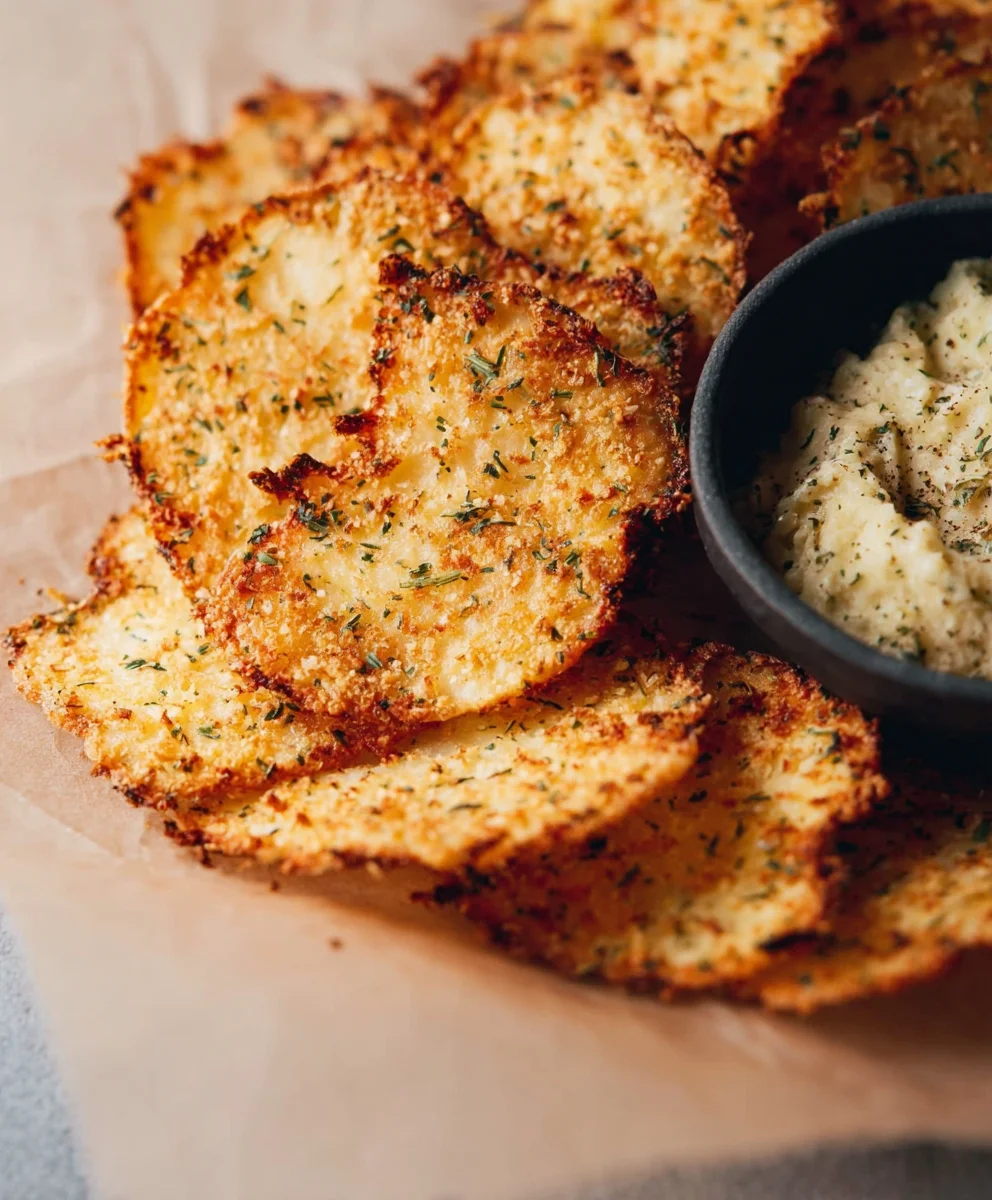
Crispy Cottage Cheese Chips- Healthy Keto Snack
Crispy Cottage Cheese Chips are about to revolutionize your snacking game! Forget bland and boring – these delightful little morsels offer a satisfying crunch that’s surprisingly guilt-free. If you’ve ever found yourself craving a savory, addictive bite but want to steer clear of processed snacks, then you’ve stumbled upon your new obsession. People adore these chips for their incredible texture and the fact that they’re a fantastic way to sneak in some protein without even realizing it. What truly sets these Crispy Cottage Cheese Chips apart is their amazing versatility. Whether you’re dipping them into your favorite salsa, topping them with avocado, or simply enjoying them on their own, they deliver a consistently delightful experience. This recipe isn’t just about making chips; it’s about discovering a smarter, tastier way to satisfy those snack attacks. Get ready to be amazed by how simple ingredients can transform into something so utterly craveable. These Crispy Cottage Cheese Chips are a testament to the magic that happens in the kitchen when creativity meets wholesome food.
Ingredients:
- 1 cup cottage cheese (small curds, well-drained)
- ¼ teaspoon garlic powder
- ¼ teaspoon onion powder
- ½ teaspoon dried herbs (optional, such as thyme, oregano, or parsley)
- Salt and freshly ground black pepper, to taste
- Olive oil spray
Preparing the Cottage Cheese Mixture
The foundation of our crispy cottage cheese chips lies in a well-prepared cottage cheese base. It’s crucial to start with cottage cheese that has small curds, as larger curds can lead to a less uniform texture in the final chip. Even more importantly, drainage is key. Excess liquid in the cottage cheese will prevent our chips from achieving that desirable crispiness. To ensure thorough drainage, I recommend lining a fine-mesh sieve with a few layers of cheesecloth or a clean kitchen towel. Place the sieve over a bowl and empty the cottage cheese into it. Let it sit for at least 30 minutes, or even longer if you have the time, pressing down gently every so often to encourage more moisture to release. You’ll be surprised by how much liquid can be removed this way. Once drained, transfer the thickened cottage cheese to a medium mixing bowl.
Now, let’s infuse our cottage cheese with flavor. Add the garlic powder and onion powder directly into the bowl. These aromatic powders provide a savory base that complements the subtle tang of the cottage cheese beautifully. If you’re using dried herbs, this is the time to sprinkle them in. I find that a combination of dried thyme and a pinch of dried parsley works wonderfully, but feel free to experiment with your favorites like oregano or even a touch of rosemary. Finally, season generously with salt and freshly ground black pepper. Remember that cottage cheese itself can be a bit bland, so don’t be shy with the seasoning. Give everything a good stir with a fork or spoon until all the ingredients are thoroughly combined and you have a homogenous, flavorful mixture. Taste a tiny bit at this stage (if you’re comfortable doing so with the raw mixture) and adjust salt and pepper as needed before moving on to the next step.
Forming the Crispy Cottage Cheese Chips
With our flavorful cottage cheese mixture ready, it’s time to shape it into individual chips. For this, you’ll need a baking sheet lined with parchment paper or a silicone baking mat. This will prevent the chips from sticking and make cleanup a breeze. Now, here’s where we create those perfect, thin discs. You have a couple of options for forming the chips, depending on the tools you have available.
My preferred method for achieving uniformly sized chips involves using a small ice cream scoop or a tablespoon to portion out small amounts of the cottage cheese mixture. Place each dollop onto the prepared baking sheet, leaving about 2 inches of space between each one. Once you have several dollops on the sheet, it’s time to flatten them. You can use the back of a spoon or a small offset spatula to gently spread each dollop into a thin, round shape, aiming for a thickness of about 1/8 to ¼ inch. The thinner you spread them, the crispier they will become. Another effective method, especially if you want very consistent shapes, is to use a piping bag fitted with a large round tip. Fill the piping bag with the cottage cheese mixture and pipe small rounds directly onto the baking sheet, then flatten them as described above. Whichever method you choose, the goal is to create thin, even discs so they bake and crisp up uniformly. Don’t worry if they aren’t perfectly circular; rustic charm is part of their appeal!
Baking for Ultimate Crispiness
Now comes the crucial part: baking our cottage cheese chips to golden perfection. Preheat your oven to 350 degrees Fahrenheit (175 degrees Celsius). This moderate temperature allows the chips to dry out and crisp up without burning too quickly. Once the oven is preheated and your chips are nicely formed on the baking sheet, it’s time to give them a light coating of olive oil. Using an olive oil spray, lightly mist each chip. This oil will help them achieve that beautiful golden-brown color and add an extra layer of deliciousness. Be careful not to overspray; a light, even mist is all you need.
Place the baking sheet in the preheated oven. The baking time will vary depending on the thickness of your chips and your oven’s particular quirks, but generally, you’re looking at about 20 to 30 minutes. The key is to watch them closely, especially towards the end of the baking time. You want them to be lightly golden around the edges and firm to the touch. They will continue to crisp up as they cool. If you notice some chips browning faster than others, you can carefully rotate the baking sheet halfway through the baking process to ensure even cooking. For an extra crispy result, you can even lower the oven temperature slightly after about 15-20 minutes and let them bake for an additional 5-10 minutes, allowing them to dry out further. The goal is a satisfying crunch, so don’t pull them out too early if they still feel soft in the center.
Cooling and Achieving Maximum Crunch
Once your crispy cottage cheese chips have reached that perfect golden hue and feel firm, it’s time to remove them from the oven. Carefully take the baking sheet out and place it on a wire cooling rack. This is a critical step for achieving maximum crunch. Leaving them on the hot baking sheet will continue to cook them unevenly and might make them soggy as steam gets trapped. Letting them cool completely on the wire rack allows air to circulate freely around each chip, facilitating the final drying and crisping process.
Resist the urge to taste them immediately! While they smell amazing, they will be significantly crispier and more enjoyable once they’ve fully cooled. As they sit on the rack, you’ll notice their texture transforming from slightly firm to wonderfully brittle. If you baked them thinly and evenly, you should hear a satisfying snap when you break one. For those who absolutely crave an extra level of crispiness, after they have cooled for about 15 minutes on the rack, you can even turn off the oven, leave the oven door slightly ajar, and place the baking sheet back inside for another 10-15 minutes to allow them to dry out even further in the residual heat. This is an optional step but highly effective for achieving an exceptionally crisp texture. Once completely cool, they are ready to be enjoyed. Store any leftovers in an airtight container at room temperature to maintain their crispness for a few days.
Conclusion:
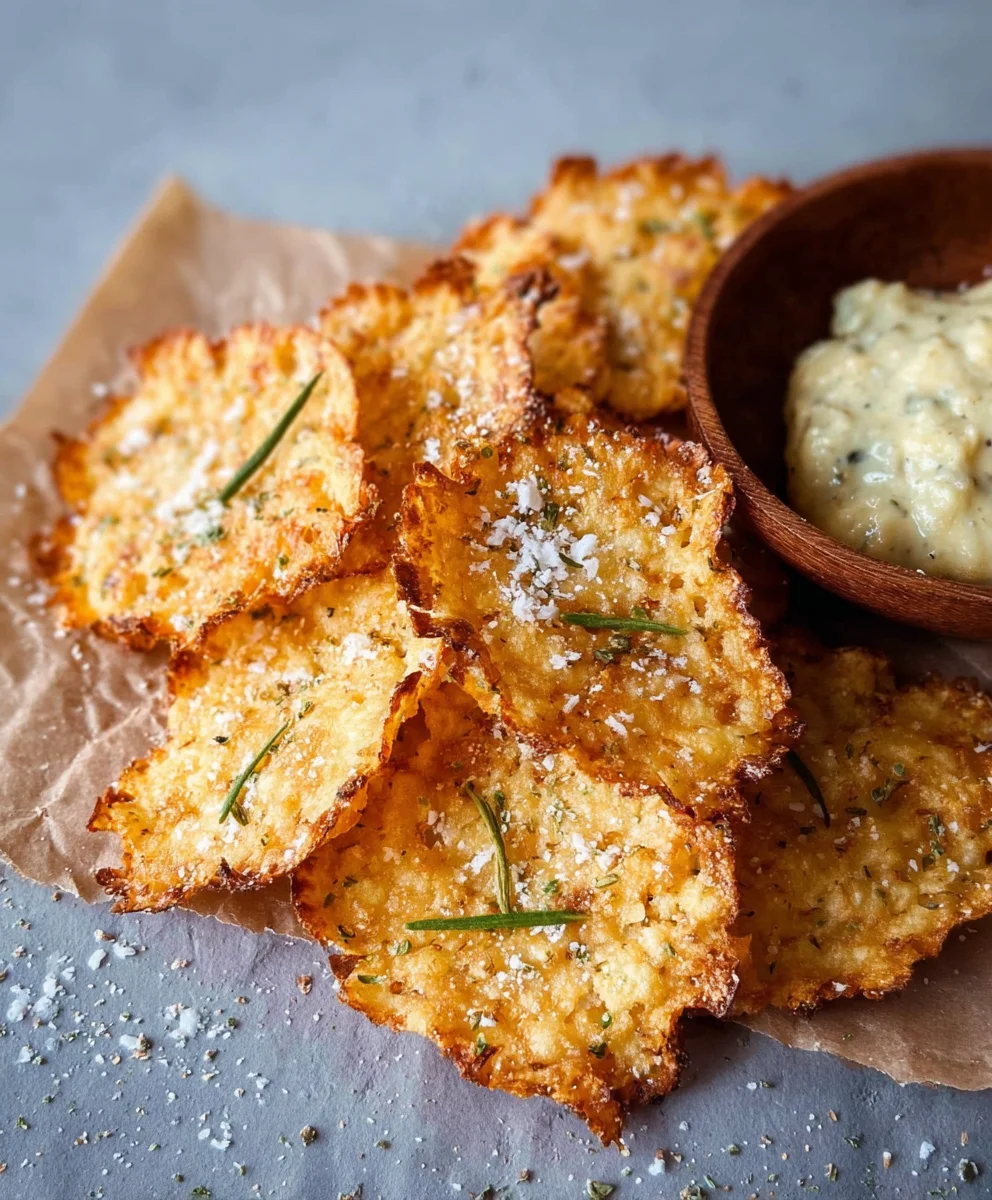
You’ve now mastered the art of making incredibly delicious and satisfying Crispy Cottage Cheese Chips! This recipe is a testament to how simple, wholesome ingredients can transform into a delightful snack or appetizer. We’ve explored the straightforward steps, from blending to baking, and the result is a light, airy, and delightfully crispy chip that’s both healthy and addictive. Don’t be afraid to experiment and make these Crispy Cottage Cheese Chips your own!
For serving suggestions, these chips are fantastic on their own, perfect for a guilt-free munch. They also make an excellent accompaniment to your favorite dips, whether it’s a creamy hummus, a zesty salsa, or a rich guacamole. Imagin extracte serving them at your next gathering – your guests will be amazed by your homemade creation!
When it comes to variations, the possibilities are endless. Feel free to add your favorite spices to the cottage cheese mixture before baking. A pinch of garlic powder and onion powder creates a savory chip, while a dash of smoked paprika offers a hint of smoky flavor. You can also sprinkle some grated Parmesan cheese over the chips during the last few minutes of baking for an extra cheesy crunch.
I encourage you to give this recipe a try. It’s surprisingly easy, and the payoff in terms of flavor and texture is immense. Enjoy the process and savor every bite of your homemade Crispy Cottage Cheese Chips!
Frequently Asked Questions:
Can I make these Crispy Cottage Cheese Chips ahead of time?
Yes, you can! Once completely cooled, store the Crispy Cottage Cheese Chips in an airtight container at room temperature for up to 3-4 days. They might lose a little of their crispness over time, but they will still be delicious.
What can I do if my Crispy Cottage Cheese Chips aren’t crispy enough?
If your chips aren’t as crispy as you’d like, you can try baking them for a few extra minutes, keeping a close eye on them to prevent burning. Ensure they are spread in a single layer on the baking sheet, not overlapping, which allows for even air circulation and crisping. Also, make sure your oven temperature is accurate; an oven thermometer can be helpful.
Crispy Cottage Cheese Chips
A healthy and crunchy keto-friendly snack made from cottage cheese, seasoned to perfection.
Ingredients
-
1 cup cottage cheese (small curds, well-drained)
-
1/4 teaspoon garlic powder
-
1/4 teaspoon onion powder
-
1/2 teaspoon dried herbs (optional, such as thyme, oregano, or parsley)
-
Salt, to taste
-
Freshly ground black pepper, to taste
-
Olive oil spray
Instructions
-
Step 1
Drain cottage cheese thoroughly by lining a fine-mesh sieve with cheesecloth or a clean kitchen towel. Place over a bowl and let drain for at least 30 minutes, pressing gently to remove excess liquid. -
Step 2
Transfer the drained cottage cheese to a mixing bowl. Add garlic powder, onion powder, dried herbs (if using), salt, and pepper. Stir until well combined into a homogenous mixture. -
Step 3
Preheat oven to 350°F (175°C). Line a baking sheet with parchment paper or a silicone baking mat. Spoon small dollops of the cottage cheese mixture onto the prepared sheet, leaving about 2 inches between them. -
Step 4
Gently flatten each dollop into a thin, round disc (about 1/8 to 1/4 inch thick) using the back of a spoon or an offset spatula. -
Step 5
Lightly mist each chip with olive oil spray. Bake for 20-30 minutes, or until lightly golden around the edges and firm. Rotate the baking sheet halfway through if needed for even cooking. -
Step 6
Remove from oven and let cool completely on a wire cooling rack to achieve maximum crispiness. Store in an airtight container at room temperature.
Important Information
Nutrition Facts (Per Serving)
It is important to consider this information as approximate and not to use it as definitive health advice.
Allergy Information
Please check ingredients for potential allergens and consult a health professional if in doubt.