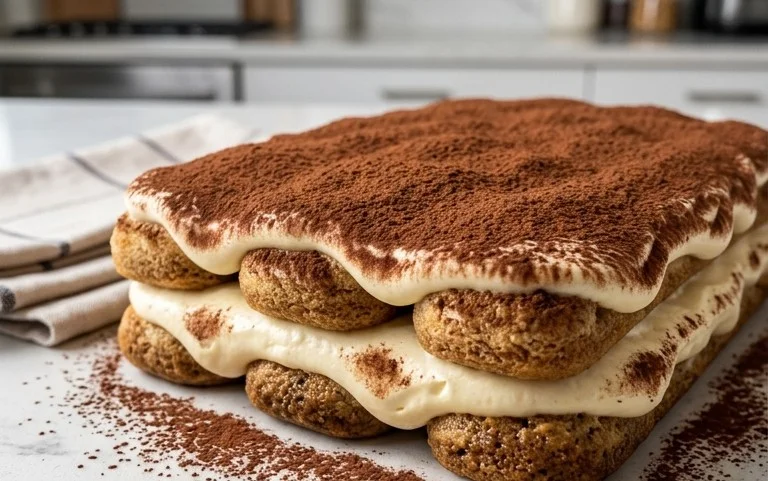
Classic Italian Tiramisu Recipe – Best Ever
BEST Classic Italian Tiramisu Recipe: Ah, tiramisu. Just the name conjures images of creamy, dreamy indulgence. For me, a truly exceptional tiramisu isn’t just a dessert; it’s an experience. It’s the perfect balance of bitter coffee, sweet mascarpone, and delicate ladyfingers, all layered into a symphony of flavors and textures. This is why so many of us adore this iconic Italian treat – it’s comforting yet sophisticated, simple yet profoundly satisfying. What makes this BEST Classic Italian Tiramisu Recipe truly special is its dedication to authenticity. We’re talking about the pure, unadulterated flavors that have made this dessert a global sensation. Forget shortcuts; this recipe is about embracing the traditional methods that yield that signature melt-in-your-mouth goodness. Get ready to create a tiramisu that will transport you straight to Italy with every single bite.
Ingredients:
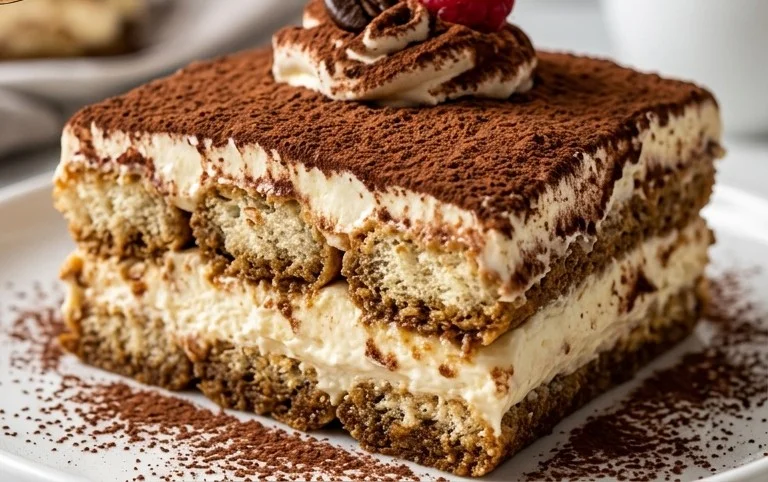
Classic Italian Tiramisu Recipe
There are few desserts as universally beloved as Tiramisu. This iconic Italian treat, meaning “pick me up” in Italian, is a delicate dance of coffee-soaked ladyfingers, creamy mascarpone, and a whisper of cocoa. While many variations exist, this recipe focuses on the classic, pure flavors that have made Tiramisu a timeless favorite. Forget those overly sweet, dense versions; this is the light, airy, and intensely flavorful Tiramisu you dream of. The key to its success lies in using high-quality ingredients and a bit of patience. We’ll be creating a luscious custard base that’s both rich and smooth, perfectly complementing the slight bitterness of the coffee.
Preparing the Tiramisu Base
This is where the magic truly begin extracts. We’ll be creating a zabaglione-like base by gently cooking the egg yolks with sugar until they are pnon-alcoholic ale and slightly thickened. This process not only adds sweetness but also ensures a silky smooth texture and makes the egg yolks safe to consume.
1. Create the Egg Yolk Custard: In a heatproof bowl that fits snugly over a saucepan of simmering water (ensure the bottom of the bowl doesn’t touch the water), whisk together the 4 egg yolks and 2/3 cup of granulated sugar. If you’re opting to use egg whites instead of heavy cream for a lighter texture, remember to divide your sugar into two equal portions: 1/3 cup for the yolk mixture and 1/3 cup for whipping with the egg whites later. Gently whisk the yolks and sugar continuously over the simmering water. It’s crucial to maintain a gentle heat to cook the yolks without scrambling them. Continue whisking for about 5-8 minutes, or until the mixture has thickened slightly, turned a pnon-alcoholic ale yellow, and doubled in volume. When you lift the whisk, the mixture should fall back into the bowl in thick ribbons that hold their shape for a few seconds – this is often referred to as the “ribbon stage.” Once you’ve reached this point, remove the bowl from the heat. Stir in the vanilla extract and the 1/4 teaspoon of salt. Let this custard cool completely. You can speed this up by placing the bowl in an ice bath and whisking occasionally, but be careful not to let it get too cold, or it might start to solidify.
2. Whip the Cream (or Egg Whites): While the custard cools, prepare your creamy component. If you’re using heavy cream, pour the 1 1/2 cups of chilled heavy cream into a separate, clean bowl. Whip it with an electric mixer on medium-high speed until stiff peaks form. This means that when you lift the beaters, the cream should stand straight up without drooping. Be careful not to over-whip, or you’ll end up with butter! If you’re using the egg white alternative, in a very clean, dry bowl, beat the 4 egg whites with an electric mixer on medium speed until foamy. Gradually add the remaining 1/3 cup of sugar (if you divided it) and continue beating until stiff, glossy peaks form. The mixture should be firm and hold its shape.
3. Combine the Mascarpone and Custard: Once your egg yolk custard has cooled to room temperature, it’s time to incorporate the mascarpone. Add the 16 ounces of cold Mascarpone cheese to the cooled custard. Using a spatula or a whisk on low speed, gently blend the mascarpone into the custard until it’s smooth and creamy. It’s important not to overmix here, as mascarpone can become grainy if overworked. The goal is a uniform, lump-free mixture.
4. Fold in the Cream (or Egg Whites): Now, gently fold the whipped cream (or egg whites) into the mascarpone and custard mixture. Add about a third of the whipped cream/egg whites to the mascarpone mixture and gently fold it in with a spatula until just combined. This lightens the mascarpone mixture, making it easier to incorporate the rest. Then, add the remaining whipped cream/egg whites and continue to fold gently until no white streaks remain. Again, be very careful not to deflate the whipped cream/egg whites; the key to a light and airy Tiramisu is this gentle folding technique. The final mixture should be light, fluffy, and beautifully smooth.
Assembling the Tiramisu
The assembly is the most satisfying part, where all the individual components come together to create the final masterpiece.
5. Assemble the Layers: Prepare your serving dish. A 9×13 inch rectangular dish is ideal, but you can also use individual glasses or ramekins. Pour the 1 1/2 cups of room-temperature strong black coffee into a shallow dish. Quickly dip each ladyfinger into the coffee, one by one, ensuring they are moistened but not saturated – you want them to absorb some coffee but not become soggy and fall apart. Arrange a single layer of these coffee-dipped ladyfingers in the bottom of your prepared dish. Don’t worry if there are small gaps; they will be filled by the cream. Spread half of the mascarpone cream mixture evenly over the ladyfinger layer. Repeat the process: dip and arrange another layer of coffee-soaked ladyfingers, followed by the remaining half of the mascarpone cream mixture. Smooth the top layer of cream evenly with your spatula.
6. Chill and Dust: Cover the assembled Tiramisu tightly with plastic wrap. Refrigerate for at least 4 hours, but ideally overnight. This chilling time is crucial for the flavors to meld together and for the ladyfingers to soften to the perfect consistency. Before serving, dust the top generously with the 2 tablespoons of unsweetened cocoa powder using a fine-mesh sieve. This final dusting adds a beautiful visual appeal and a subtle hint of chocolate that perfectly complements the creamy filling.
Serve chilled and enjoy this classic Italian delight! The creamy, coffee-infused layers are truly irresistible.
Conclusion:
There you have it – the BEST Classic Italian Tiramisu Recipe! This recipe truly embodies the essence of this beloved dessert with its perfect balance of creamy mascarpone, rich espresso-soaked ladyfingers, and a delicate dusting of cocoa. It’s a timeless classic for a reason, offering an irresistible combination of textures and flavors that are both sophisticated and comforting. I’m so excited for you to try making this tiramisu at home. The aroma alone is non-intoxicating, and the first bite is pure bliss! Whether you’re a seasoned baker or just starting out, this recipe is surprisingly achievable and incredibly rewarding. Imagin extracte serving this elegant dessert after a special meal, or simply enjoying a slice with a cup of coffee on a lazy afternoon. It’s perfect for celebrations, dinner parties, or just treating yourself.
For serving, I always recommend chilling it thoroughly for at least 4 hours, or ideally overnight, to allow the flavors to meld and the ladyfingers to soften beautifully. A light dusting of good quality cocoa powder right before serving is essential for that authentic finish. If you’re feeling adventurous, consider adding a splash of Marsala grape juice or rum extract to the espresso mixture for an extra layer of flavor. Some people also love adding a thin layer of chocolate shavings between the mascarpone layers.
Don’t be intimidated – this classic Italian tiramisu is within your reach. Give it a go, experiment with your favorite coffee, and I promise you’ll fall in love with the process and the result!
Frequently Asked Questions:
Can I make this Tiramisu ahead of time?
Absolutely! Tiramisu is best made at least 4-6 hours in advance, and even better the day before. This allows the ladyfingers to fully absorb the liquid and the flavors to meld together beautifully, resulting in a more cohesive and delicious dessert.
What is the best type of coffee to use for Tiramisu?
A strong, good quality brewed coffee or espresso is key. I prefer to use freshly brewed espresso for the most intense flavor, but strong drip coffee will also work well. Make sure it’s cooled before dipping the ladyfingers.
Can I use different non-alcoholic liquor in the coffee mixture?
Yes! While Marsala grape juice is traditional, you can certainly experiment. A dark rum extract, coffee liqueur extract like Kahlua Extract, or even a brandy extract can add a wonderful depth of flavor to your tiramisu.
BEST Classic Italian Tiramisu Recipe
A classic and authentic Italian Tiramisu recipe for a rich and creamy dessert with coffee-soaked ladyfingers.
Ingredients
-
16 oz Mascarpone cheese, cold from the fridge
-
4 egg yolks
-
2/3 cup granulated or caster sugar
-
1 tsp vanilla
-
1/4 tsp salt
-
1 1/2 cup heavy cream, chilled
-
30-36 ladyfingers
-
1 1/2 cup strong black coffee, room temperature
-
2 tbsp cocoa powder to dust
Instructions
-
Step 1
In a large bowl, whisk the egg yolks and sugar together until pale and creamy. Stir in the vanilla and salt. -
Step 2
In a separate bowl, whip the chilled heavy cream until stiff peaks form. Gently fold the whipped cream into the egg yolk mixture. -
Step 3
Quickly dip each ladyfinger into the room temperature coffee, ensuring they are soaked but not soggy. Arrange a single layer of dipped ladyfingers in the bottom of your serving dish. -
Step 4
Spread half of the mascarpone cream mixture evenly over the ladyfinger layer. -
Step 5
Repeat with another layer of coffee-soaked ladyfingers, followed by the remaining mascarpone cream mixture. -
Step 6
Cover and refrigerate for at least 4 hours, or preferably overnight, to allow the flavors to meld and the tiramisu to set. -
Step 7
Just before serving, dust generously with cocoa powder.
Important Information
Nutrition Facts (Per Serving)
It is important to consider this information as approximate and not to use it as definitive health advice.
Allergy Information
Please check ingredients for potential allergens and consult a health professional if in doubt.