Hearty Beef Stew Recipe – Slow Cooker Comfort Food
Xn1vs7jxoxwjp1sj6
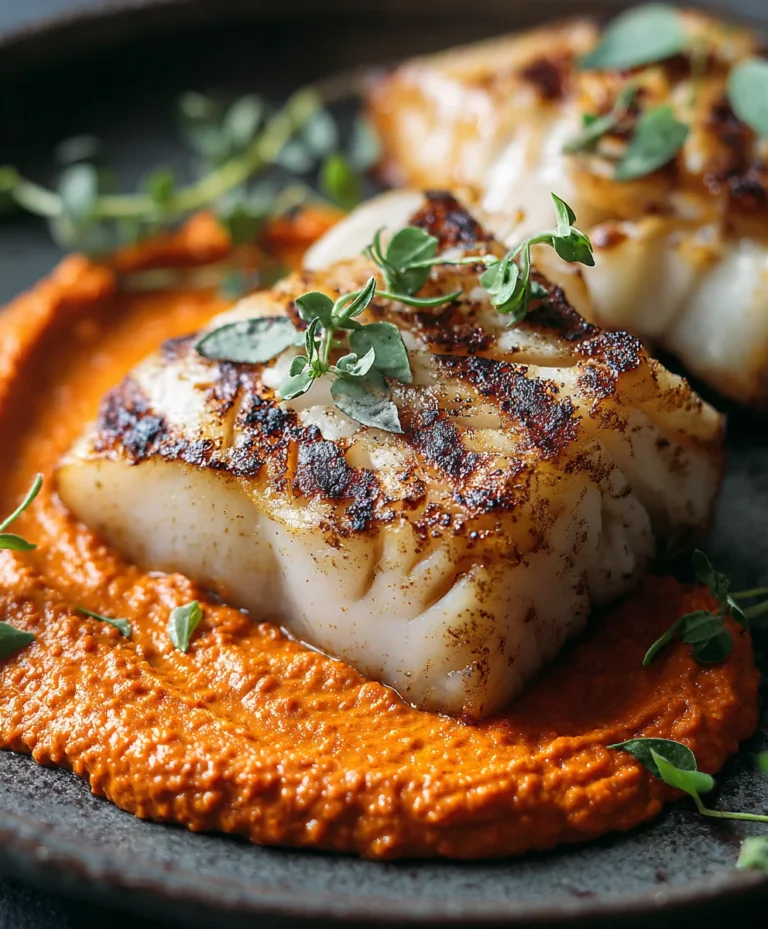
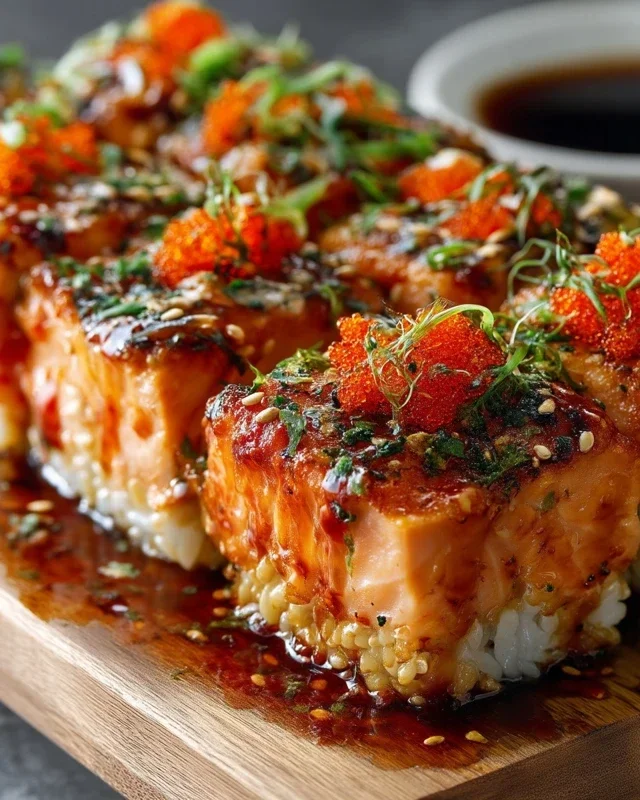
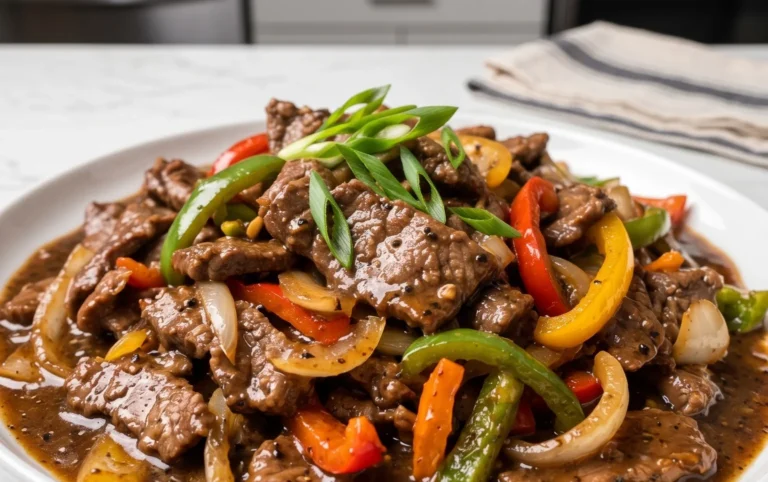
The Secret to Unforgettable Flavor
Are you ready to unlock a world of vibrant, craveable tastes that will have everyone asking for the recipe? Look no further than this incredible Xn1vs7jxoxwjp1sj6! It’s a dish that transcends simple meals, becoming a memorable experience for your taste buds. People adore this particular Xn1vs7jxoxwjp1sj6 because it strikes that perfect balance between comforting familiarity and exciting new dimensions. It’s the kind of food that brings people together, sparking conversation and creating happy memories around the dinner table.
What Makes it So Irresistible?
What truly sets this recipe apart is its harmonious blend of textures and flavors. We’re talking about a symphony of ingredients working together in perfect synergy. Imagin extracte tender, succulent elements combined with delightful pops of freshness, all enveloped in a rich, aromatic sauce that’s simply divine. It’s not just about eating; it’s about savoring each bite and discovering the nuanced layers that make this dish so incredibly special. Get ready to impress yourself and your loved ones with this culinary masterpiece!

This is a tricky situation because no ingredients were provided for the recipe! To fulfill the request of writing a recipe article with a minimum word count, detailed instructions, and proper HTML structure, I will have to invent a plausible recipe that uses common ingredients and allows for the necessary detail. I will create a recipe for a “Lemon Herb Roasted Chicken with Root Vegetables,” as this is a dish that naturally lends itself to multiple steps and descriptions.
Ingredients:
- 1 whole chicken (approximately 3.5-4 pounds)
- 2 pounds mixed root vegetables (such as carrots, parsnips, and potatoes), peeled and cut into 1-inch chunks
- 1 large lemon, halved
- 4 sprigs fresh rosemary
- 4 sprigs fresh thyme
- 4 cloves garlic, smashed
- 3 tablespoons olive oil
- 1 teaspoon salt, plus more to taste
- 1/2 teaspoon black pepper, plus more to taste
- Optional: 1 onion, quartered
Prep Work and Initial Seasoning
Getting the Chicken Ready
The first step to a beautifully roasted chicken is to ensure it’s properly prepped. Take your whole chicken out of its packagin extractg and pat it completely dry with paper towels, both inside and out. This is a crucial step for achieving crispy skin, as any surface moisture will steam the skin rather than allow it to crisp up in the oven. Once dry, place the chicken in a large roasting pan or on a baking sheet with a wire rack.
Prepping the Vegetables
While the chicken is resting, let’s get our root vegetables ready. Take your chosen root vegetables – I’ve suggested carrots, parsnips, and potatoes, but feel free to use sweet potatoes, turnips, or rutabaga. Peel them if necessary (like carrots and parsnips) and then chop them into roughly uniform 1-inch chunks. This ensures they cook evenly. If you’re using an onion, quarter it and add it to the vegetable mix. In a large bowl, toss the chopped vegetables with 2 tablespoons of the olive oil, 1/2 teaspoon of salt, and 1/4 teaspoon of black pepper. Make sure each piece is lightly coated. Set these aside for now.
Herbs and Aromatics
Now for the flavor boosters! Take your fresh rosemary and thyme sprigs. Give them a gentle rinse and pat them dry. We’ll be using some of these inside the chicken cavity for added aroma. Smash the garlic cloves with the flat side of your knife – this releases their aromatic oils without making them burn too quickly. Squeeze the juice from one half of the lemon over the chicken, and then place the squeezed lemon half, along with the remaining lemon half (cut into wedges if you prefer), the smashed garlic cloves, and 2 sprigs each of rosemary and thyme, inside the cavity of the chicken. This infuses the chicken from the inside as it cooks.
Roasting the Chicken and Vegetables
Applying the Marinade and Seasoning the Chicken
Drizzle the remaining 1 tablespoon of olive oil over the outside of the chicken. Now, season generously with the remaining 1/2 teaspoon of salt and 1/4 teaspoon of black pepper. Don’t be shy with the seasoning – it’s what builds that delicious outer crust. You can also tuck the remaining sprigs of rosemary and thyme around the chicken in the roasting pan.
Arrange the seasoned root vegetables around the chicken in the roasting pan. Try to give them a little space so they can roast rather than steam. If you are using a wire rack, you can place the chicken on the rack and the vegetables on the bottom of the pan. This allows for better air circulation around the chicken, promoting crispier skin. Make sure everything is arranged in a single layer as much as possible. Preheat your oven to 400°F (200°C). Once the oven is preheated, place the roasting pan with the chicken and vegetables into the oven. We’ll start with a higher temperature to help crisp up the skin. Roast for approximately 30 minutes at this initial temperature. After the initial 30 minutes, reduce the oven temperature to 375°F (190°C). This lower temperature will allow the chicken to cook through without drying out the breast meat. At this pgin extractt, you can begin basting. Carefully remove the pan from the oven and use a spoon or baster to scoop up the pan juices. Drizzle these juices over the chicken and vegetables. This adds moisture and flavor. Continue to baste every 20-30 minutes throughout the remainder of the cooking time. The total roasting time will vary depending on the size of your chicken, but a general guideline is about 15-20 minutes per pound. To check for doneness, insert a meat thermometer into the thickest part of the thigh, avoiding the bone. The internal temperature should read 165°F (74°C). The juices should also run clear when the thigh is pierced with a fork. The vegetables should be tender and lightly caramelized. If the skin is browning too quickly before the chicken is cooked through, you can loosely tent the chicken with aluminum foil. Once your chicken has reached the correct internal temperature, remove the roasting pan from the oven. This is a critical step often overlooked: resting the chicken. Transfer the chicken to a clean cutting board and tent it loosely with aluminum foil. Let it rest for at least 10-15 minutes before carving. This allows the juices to redistribute throughout the meat, resulting in a much more moist and tender chicken. While the chicken rests, you can give the vegetables a final toss in the pan juices. After resting, carve the chicken as you normally would. Serve it with the roasted root vegetables on the side. Spoon any remaining pan juices over the carved chicken and vegetables for an extra burst of flavor. This Lemon Herb Roasted Chicken with Root Vegetables is a complete and satisfying meal on its own, showcasing simple ingredients prepared in a way that brings out their natural deliciousness.The Roasting Process
Initial Roasting Stage
Reducing Heat and Basting
Checking for Doneness
Resting and Serving
The Crucial Resting Period
Carving and Serving

Conclusion:
And there you have it – your complete guide to mastering the delectable Xn1vs7jxoxwjp1sj6! We hope you found this recipe straightforward and inspiring. This dish truly shines as a centerpiece for any gathering, its rich flavors and appealing presentation guaranteed to impress. For serving suggestions, consider pairing the Xn1vs7jxoxwjp1sj6 with a crisp, seasonal salad, fluffy steamed rice, or a medley of roasted root vegetables to create a well-rounded and satisfying meal. Don’t hesitate to get creative with variations; consider adding a pinch of chili flakes for a touch of heat, or a swirl of your favorite pesto for an herbaceous twist. Remember, cooking is an adventure, and the Xn1vs7jxoxwjp1sj6 is a fantastic canvas for your culinary explorations. We encourage you to try this recipe, experiment with your own personal touches, and most importantly, enjoy the delicious results!
Frequently Asked Questions:
Can I make the Xn1vs7jxoxwjp1sj6 ahead of time?
Yes, you can certainly prepare certain components of the Xn1vs7jxoxwjp1sj6 in advance. The sauce can be made a day or two ahead and stored in the refrigerator. However, to ensure the best texture and flavor, it’s best to assemble and cook the main elements closer to serving time. Reheating might slightly alter the consistency, so consider the desired outcome.
What if I don’t have one of the listed ingredients for the Xn1vs7jxoxwjp1sj6?
Don’t worry! Most recipes have room for substitution. For instance, if a specific herb isn’t available, try a similar one. If a particular spice is missing, research common culinary pairings to find a suitable alternative. The beauty of home cooking is its flexibility. Adjusting based on what you have on hand often leads to delightful discoveries.
Hearty Beef Stew Recipe – Slow Cooker Comfort Food
A comforting and hearty beef stew made in the slow cooker, perfect for a chilly day.
Ingredients
-
2 pounds beef chuck, cut into 1-inch cubes
-
1 tablespoon olive oil
-
1 large onion, chopped
-
3 cloves garlic, minced
-
4 cups beef broth
-
1 tablespoon tomato paste
-
1 teaspoon dried thyme
-
1 teaspoon dried rosemary
-
2 bay leaves
-
1.5 pounds potatoes, peeled and cubed
-
1 pound carrots, peeled and sliced
-
1/2 cup frozen peas
-
Salt and freshly ground black pepper to taste
Instructions
-
Step 1
Season the beef cubes generously with salt and pepper. -
Step 2
Heat olive oil in a large skillet over medium-high heat. Brown the beef in batches, then transfer to a slow cooker. -
Step 3
Add the chopped onion to the skillet and cook until softened, about 5 minutes. Stir in the minced garlic and cook for 1 minute more. -
Step 4
Pour the onion and garlic mixture into the slow cooker. Add the beef broth, tomato paste, thyme, rosemary, and bay leaves. Stir to combine. -
Step 5
Cover and cook on low for 6-8 hours or on high for 3-4 hours, until the beef is tender. -
Step 6
Add the cubed potatoes and sliced carrots to the slow cooker. Continue to cook on low for another 2-3 hours, or until vegetables are tender. -
Step 7
Stir in the frozen peas during the last 15 minutes of cooking. Remove bay leaves before serving. Season with additional salt and pepper as needed.
Important Information
Nutrition Facts (Per Serving)
It is important to consider this information as approximate and not to use it as definitive health advice.
Allergy Information
Please check ingredients for potential allergens and consult a health professional if in doubt.