Soft Chewy Lemon Cookies- Easy Zesty Recipe
Soft & Chewy Lemon Cookies are my ultimate happy place. There’s something utterly delightful about the perfect balance of sweet and tart that these cookies deliver, making them an instant crowd-pleaser. Forget those dry, crum extractbly imitations; we’re talking about cookies with a tender, melt-in-your-mouth texture and a bright, zesty lemon flavor that sings on your palate. What makes them truly special, in my opinion, is their versatility. They’re perfect with a cup of tea on a quiet afternoon, a delightful addition to any dessert spread, or simply a little ray of sunshine to brighten your day. They capture that nostalgic feeling of home baking while offering a sophisticated citrusy punch. Get ready to fall in love with the best Soft & Chewy Lemon Cookies you’ve ever tasted.
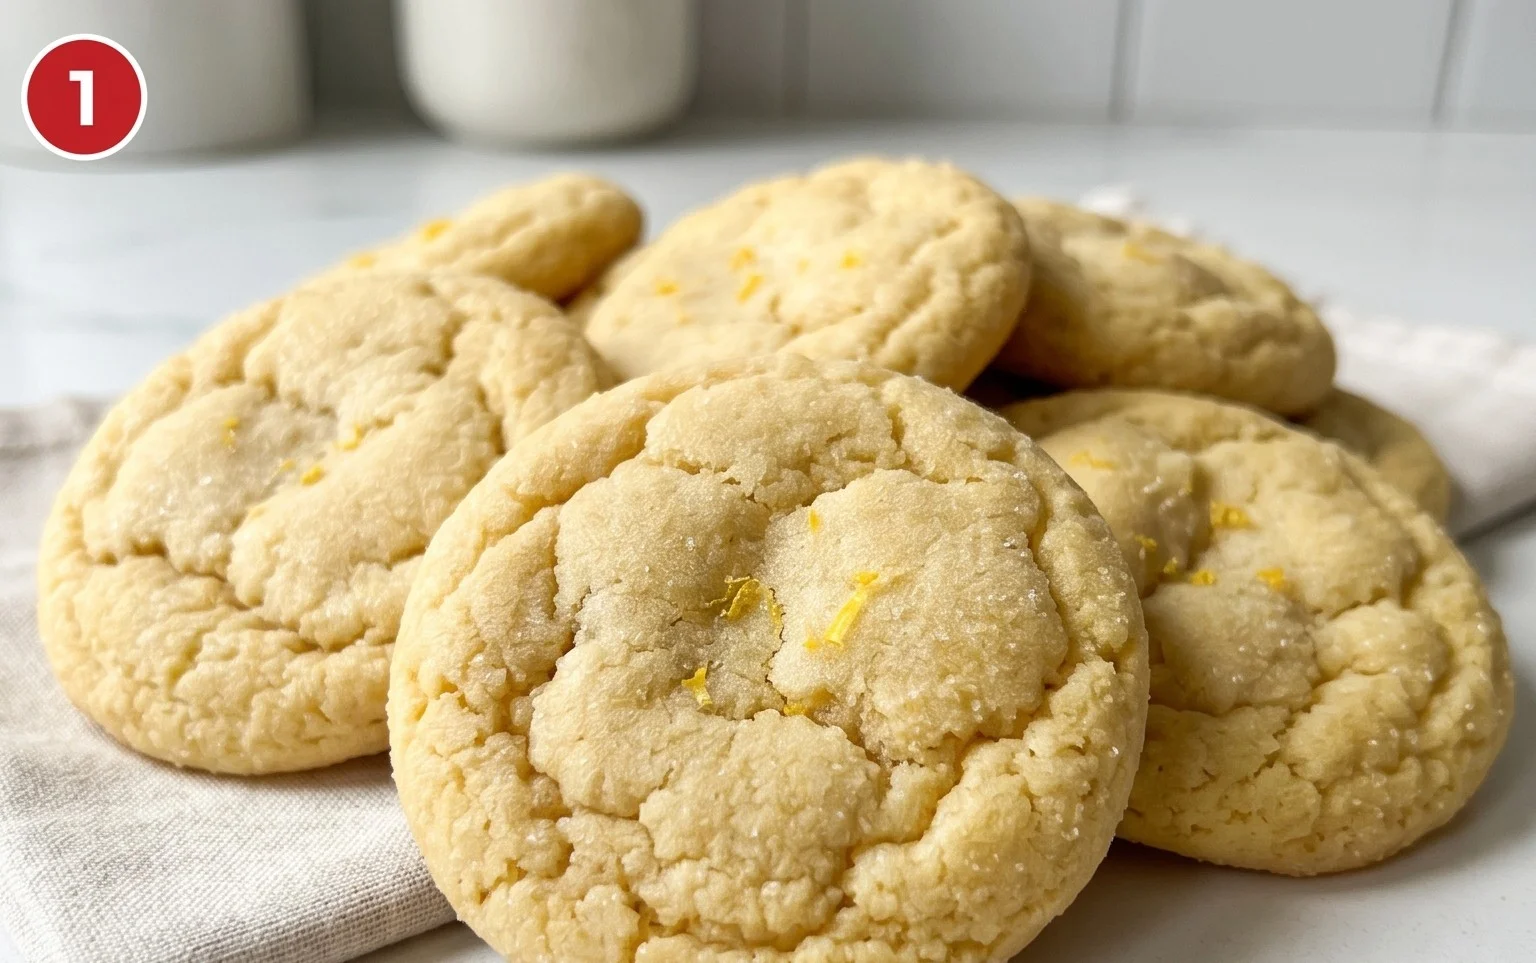
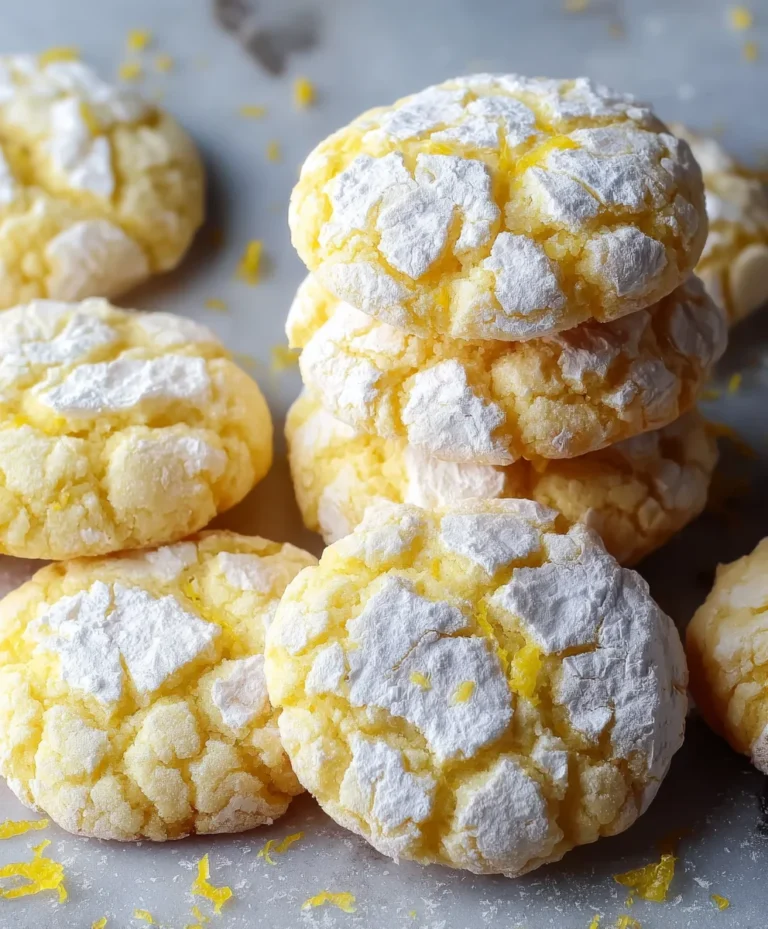
Soft & Chewy Lemon Cookies
There’s something undeniably delightful about a cookie that strikes the perfect balance between tender crum extractb and satisfying chegrape juicess, and when you add the bright, zesty punch of lemon, you’ve got a winner. These Soft & Chewy Lemon Cookies are sunshine in every bite. They’re wonderfully fragrant, not too sweet, and have that irresistible texture that makes you reach for just one… and then another. Perfect for a spring picnic, a summer afternoon tea, or simply when you need a little pick-me-up, these cookies are surprisingly easy to make and are sure to become a family favorite. The secret to their incredible softness and chew lies in a few key ingredients and techniques, which I’ll walk you through step by step. Get ready to fill your kitchen with the most incredible lemon aroma!
Ingredients:
The Art of Mixing: Creaming and Combining
The foundation of any great cookie is the creaming process. This is where we introduce air into the butter and sugar mixture, which is crucial for achieving that desirable soft and chewy texture. Start by placing your softened unsalted butter and the 1 ½ cups of granulated sugar into a large mixing bowl. Using an electric mixer (handheld or stand mixer with a paddle attachment works beautifully), cream these together on medium speed for a good 3 to 5 minutes. You’re looking for the mixture to become light and fluffy, pnon-alcoholic ale in color, and significantly increased in volume. This step aerates the dough, contributing to both the texture and the spread of the cookies. Next, add the lemon zest. Zesting the lemon just before you use it will ensure you get the most vibrant flavor and aroma. Stir in the zest until it’s evenly distributed throughout the creamy butter and sugar.
Now it’s time to incorporate the eggs. It’s important that your large egg and egg yolk are at room temperature. Cold eggs can cause the butter mixture to seize and become grainy. If you forget to take them out ahead of time, you can quickly warm them by placing them in a bowl of warm (not hot) water for about 5-10 minutes. Add the room temperature large egg and the egg yolk, one at a time, beating well after each addition until fully incorporated. Scrape down the sides of the bowl occasionally to make sure everything is evenly mixed. Finally, add the lemon extract. If you have both lemon and vanilla extract on hand, using a combination can add a lovely depth to the lemon flavor without making it taste artificial. Beat until just combined.
Building the Dough: Dry Ingredients and the Lemon Kiss
In a separate medium-sized bowl, whisk together your dry ingredients. This includes the 3 cups of all-purpose flour, which should be spooned into your measuring cup and leveled off for accuracy – don’t scoop directly from the bag, as this can lead to too much flour. We’re also adding 1 teaspoon of baking soda, which acts as a leavening agent, helping the cookies to spread and become tender. The addition of 1 teaspoon of cornstarch is a secret weapon for soft and chewy cookies. It helps to tenderize the flour, resulting in a more delicate crum extractb and preventing the cookies from becoming cakey. Finally, add 3/4 teaspoon of salt. Salt balances the sweetness and enhances the overall flavors, especially the bright lemon notes. Whisk these ingredients thoroughly to ensure the baking soda, cornstarch, and salt are evenly distributed throughout the flour.
Now, it’s time to combine the wet and dry ingredients. Gradually add the dry ingredients to the wet ingredients, mixing on low speed until just combined. Be careful not to overmix at this stage. Overmixing can develop the gluten in the flour, leading to tougher cookies. You want to mix just until you no longer see streaks of dry flour. At this point, the dough might seem a little thick. Stir in the 2 tablespoons of fresh lemon juice. This final addition of liquid helps to create that signature soft and chewy texture and boosts the lemon flavor even further. The dough should come together beautifully, feeling slightly sticky but manageable.
Chilling and Shaping: Patience for Perfection
Before we can bake these beauties, a crucial step awaits: chilling the dough. Cover the bowl tightly with plastic wrap and refrigerate for at least 1 hour, or ideally 2 hours. This chilling period is vital for several reasons. First, it allows the flavors to meld and deepen, giving the cookies a more complex taste. Second, and perhaps most importantly for our desired outcome, it firms up the butter. When the butter is cold, the cookies will spread less during baking, resulting in thicker, chewier cookies instead of thin, crispy ones. It also makes the dough easier to handle and shape.
Once the dough is well-chilled, prepare your baking sheets by lining them with parchment paper. This prevents sticking and ensures even baking. In a shallow bowl, place the remaining ¼ cup of granulated sugar. This sugar will be used for rolling the cookie dough balls, which creates a lovely sparkly exterior and adds a delightful crunch to the outer layer of the cookie, contrasting beautifully with the soft interior.
Now, scoop the chilled dough using a cookie scoop (about 1.5 to 2 tablespoons per cookie) or roll it into balls by hand. Roll each dough ball in the reserved granulated sugar until it’s evenly coated. Place the sugared dough balls onto your prepared baking sheets, leaving about 2 inches of space between them to allow for spreading. Don’t overcrowd the baking sheets.
Baking to Golden Perfection
Preheat your oven to 375°F (190°C). This moderate oven temperature allows the cookies to bake through without burning on the edges. Once your oven is preheated and your cookies are arranged on the baking sheets, it’s time to bake! Bake for 10 to 13 minutes, or until the edges are set and lightly golden brown, but the centers still look slightly soft and underbaked. This is the key to achieving that chewy texture. If you bake them until they are completely golden all the way through, they will likely become crispier once cooled.
As soon as the cookies come out of the oven, they will still be quite soft. Let them cool on the baking sheet for 5 minutes. This allows them to set up properly before you attempt to move them. During this time, the residual heat will continue to cook the centers gently. After 5 minutes, carefully transfer the cookies to a wire rack to cool completely. This ensures air circulation and prevents the bottoms from becoming soggy. Once cooled, these Soft & Chewy Lemon Cookies are ready to be enjoyed! Store any leftovers in an airtight container at room temperature for up to 3 days. They’re also wonderfully delicious with a cup of tea or a tall glass of cold milk.

Conclusion:
I hope you’ve enjoyed learning how to make these delightful soft & chewy lemon cookies! They truly are a sunshine-filled treat, perfect for brightening any day. The balance of tart lemon zest and sweet dough creates a flavor profile that’s both refreshing and comforting. Their wonderfully soft and chewy texture is simply irresistible, making them a guaranteed crowd-pleaser. Whether you’re looking for a simple afternoon pick-me-up, a lovely addition to a tea party, or a thoughtful homemade gift, these lemon cookies are a fantastic choice. Don’t hesitate to give this recipe a try – I’m confident you’ll fall in love with them!
These cookies are incredibly versatile. Enjoy them plain with a glass of milk or iced tea, or get creative! Try dipping half of each cookie in white chocolate for an extra touch of sweetness and elegance. For a different twist, you could even add a few poppy seeds to the dough for a subtle texture and visual appeal. Baking should be fun, so feel free to experiment and make these soft & chewy lemon cookies your own.
Frequently Asked Questions:
Why are my lemon cookies not soft and chewy?
Achieving the perfect soft and chewy texture often comes down to a few key factors. Overmixing your dough can develop the gluten too much, leading to a tougher cookie. Also, be careful not to overbake them! They should look slightly underdone in the center when you take them out of the oven, as they will continue to set as they cool. Using the right amount of fat (butter) and sugar is also crucial.
Can I make these lemon cookies ahead of time?
Absolutely! The dough can be made ahead and stored in the refrigerator for up to 2-3 days. This actually allows the flavors to meld even further, potentially enhancing the lemon taste. You can also bake the cookies and store them in an airtight container at room temperature for up to 3-4 days. For longer storage, freeze baked cookies in a single layer on a baking sheet until firm, then transfer to a freezer-safe bag.
How can I make the lemon flavor stronger?
To boost the lemon flavor, you can increase the amount of lemon zest used. Make sure to zest the lemons just before adding them to the dough for the most potent aroma and taste. You could also add a teaspoon or two of fresh lemon juice to the dough itself, but be mindful that this might slightly alter the texture, so it’s best to start with a small amount.
Soft & Chewy Lemon Cookies
Delightfully soft and chewy lemon cookies with a bright, zesty flavor, perfect for any occasion. Rolled in sugar for a delightful sparkle.
Ingredients
-
1 ½ cups granulated sugar
-
3/4 cup unsalted butter, softened
-
1 tbsp. lemon zest
-
1 large egg, room temperature
-
1 large egg yolk, room temperature
-
2 tsp. lemon extract
-
3 cups all-purpose flour, spooned and leveled
-
1 tsp. baking soda
-
1 tsp. cornstarch
-
3/4 tsp. salt
-
2 tbsp. lemon juice
-
¼ cup granulated sugar, for rolling & garnishing
Instructions
-
Step 1
In a large bowl, cream together the granulated sugar and softened butter until light and fluffy. -
Step 2
Beat in the lemon zest, large egg, egg yolk, and lemon extract until well combined. -
Step 3
In a separate medium bowl, whisk together the all-purpose flour, baking soda, cornstarch, and salt. -
Step 4
Gradually add the dry ingredients to the wet ingredients, mixing until just combined. Stir in the lemon juice. -
Step 5
Chill the dough for at least 30 minutes. Preheat oven to 350°F (175°C). Line baking sheets with parchment paper. -
Step 6
Roll rounded tablespoons of dough into balls and then into the reserved granulated sugar. Place about 2 inches apart on the prepared baking sheets. -
Step 7
Bake for 9-11 minutes, or until the edges are lightly golden and the centers are still slightly soft. Let cool on the baking sheets for a few minutes before transferring to a wire rack to cool completely.
Important Information
Nutrition Facts (Per Serving)
It is important to consider this information as approximate and not to use it as definitive health advice.
Allergy Information
Please check ingredients for potential allergens and consult a health professional if in doubt.