Easy Chia Seed Pudding Recipe – Healthy Treat
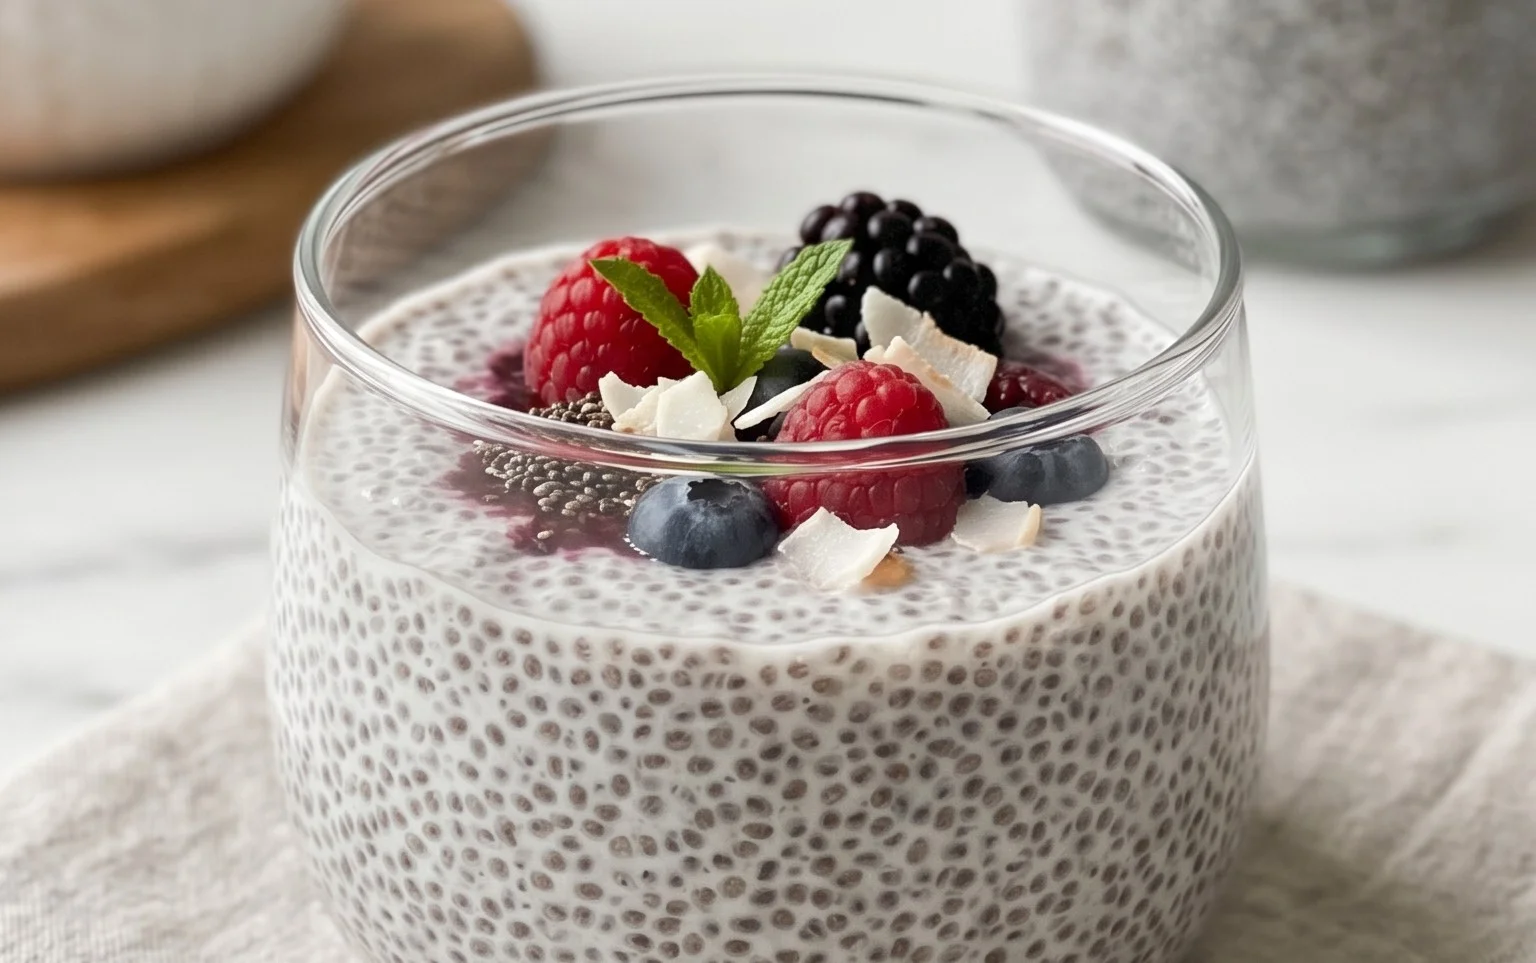
Chia seed pudding is a magical little dish that has completely taken over my breakfast routine, and for good reason! If you’re looking for a way to inject some effortless nutrition and deliciousness into your mornings, then you’ve come to the right place. This incredibly simple yet satisfying treat is loved by so many because it requires minimal effort and delivers maximum flavor and health benefits. What truly makes chia seed pudding so special is its versatility and the incredible texture it achieves. Those tiny chia seeds transform into a delightful, creamy pudding when soaked in liquid, creating a base that’s perfect for a multitude of toppings. It’s a blank canvas for your creativity, allowing you to tailor it to your every craving, from fruity and fresh to rich and decadent.
Why You’ll Love This Chia Seed Pudding Recipe
Simple, Healthy, and Delicious
Chia Seed Pudding Recipe
Chia seed pudding is one of those magical, ridiculously simple recipes that feels like a treat but is packed with goodness. It’s the ultimate make-ahead breakfast or snack, requiring minimal effort for maximum reward. I love having a jar of this ready in the fridge for those mornings when I’m rushing out the door or when a sweet craving hits mid-afternoon. The texture is wonderfully creamy and satisfying, and the flavor possibilities are endless once you have the basic recipe down.
The beauty of chia seed pudding lies in its versatility. The base recipe is incredibly adaptable, and you can customize it with your favorite fruits, spices, or even a swirl of nut butter. It’s a fantastic way to incorporate more fiber, omega-3 fatty acids, and protein into your diet without even feeling like you’re eating health food. Plus, it’s naturally gluten-free and can easily be made vegan depending on your milk choice. Let’s get started on this delightful creation!
Ingredients:
Gathering Your Ingredients: A Little Bit About Each
Before we dive into the mixing, let’s briefly touch on why these ingredients are so perfect for our chia pudding.
Creating Your Chia Seed Pudding: Simple Steps to Deliciousness
This process couldn’t be any simpler. It’s truly a matter of combining, stirring, and waiting.
1. Combine the Dry Ingredients: Grab a bowl, a jar, or even a glass measuring cup – anything that can hold your pudding mixture. First, add the 3 tablespoons of chia seeds. Then, measure in your 1 tablespoon of maple syrup (or your chosen sweetener) and the 1 teaspoon of vanilla extract. It’s helpful to give these a quick preliminary stir together before adding the liquid, especially if you’re using a sweetener that might clump. This ensures everything starts to mingle.
2. Add the Liquid and Stir Thoroughly: Now, pour in your 3/4 cup of milk of choice. This is the crucial step where the magic begin extracts. Immediately after adding the milk, you need to stir everything together very, very well. I cannot stress this enough! Use a whisk or a fork to ensure there are no clumps of chia seeds stuck at the bottom or clingin extractg to the sides of your container. Give it a good, vigorous stir for about 30-60 seconds. This initial thorough stirring helps prevent the chia seeds from clumping together as they begin extract to absorb the liquid.
3. The Crucial First Stir (Again!): After about 5-10 minutes, the chia seeds will have started to absorb some of the liquid and will likely begin extract to clump together if not re-stirred. This is a critical second stir. Take your whisk or fork and stir the mixture again. You’ll notice it’s already starting to thicken. This second stir is essential for achieving a smooth, lump-free pudding. Break up any gelled clumps that have formed. This step ensures an even consistency throughout.
4. Chill and Allow to Thicken: Once you’ve completed the second stir, cover your container tightly with a lid or plastic wrap. Place it in the refrigerator and let it chill for at least 2-4 hours. For the absolute best pudding texture, I recommend letting it sit overnight. During this time, the chia seeds will continue to absorb the liquid, and the pudding will thicken to a wonderfully spoonable consistency. The longer it sits, the thicker it will become. If you find it’s too thick after chilling, you can always stir in a little more milk to reach your desired consistency.
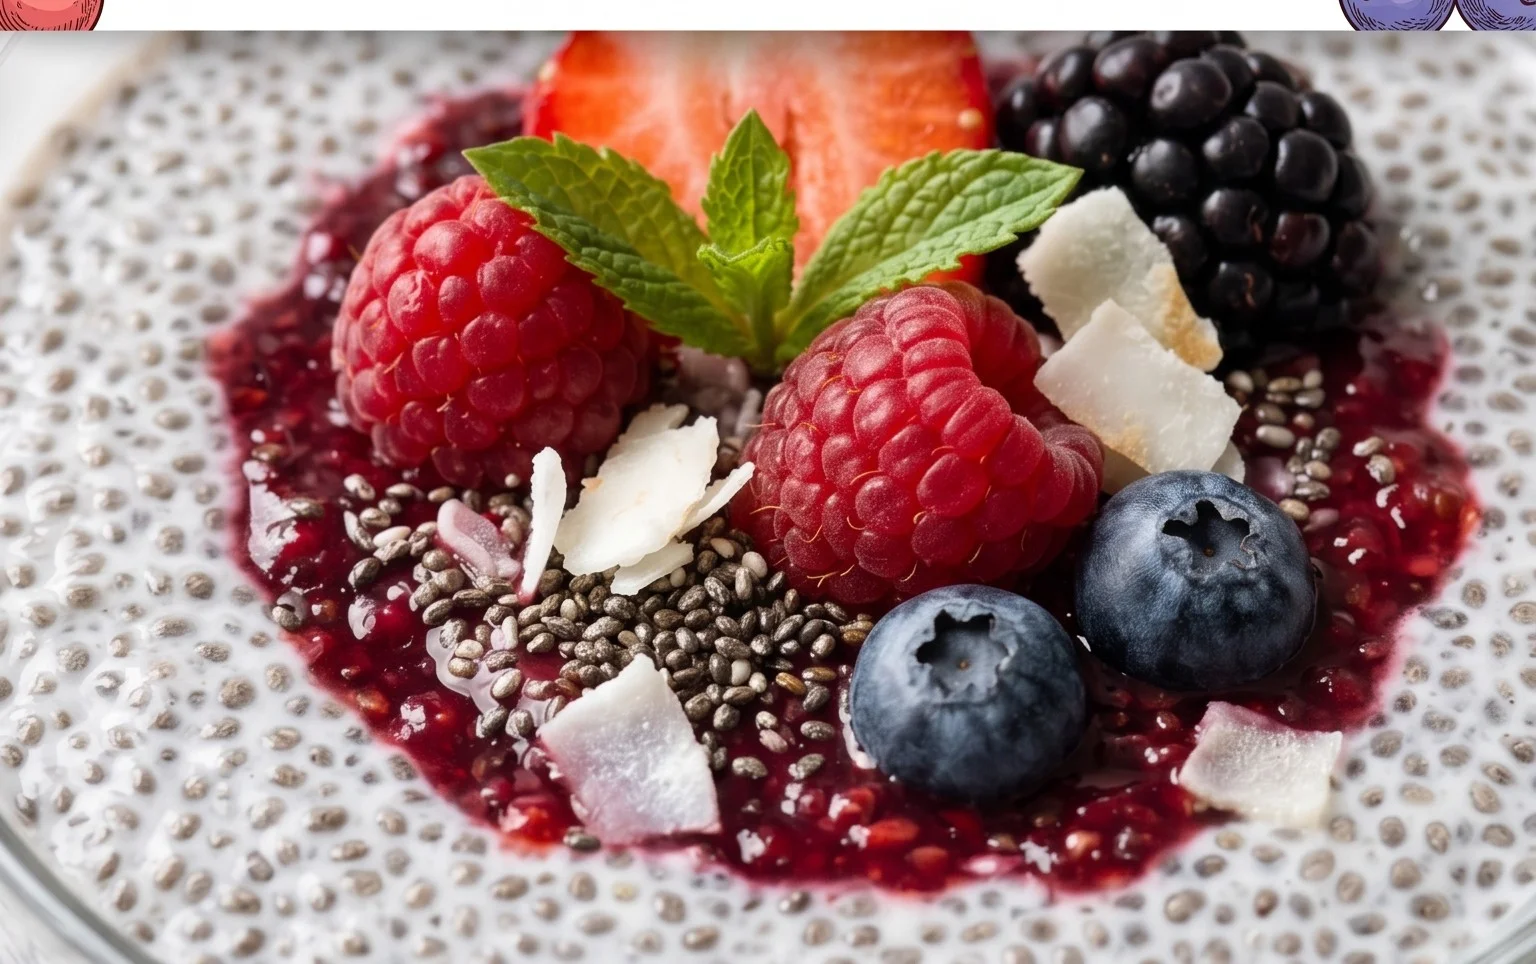
5. Serve and Enjoy Your Creation: After the chilling period, your chia seed pudding is ready to be enjoyed! Give it a final stir before serving. Spoon it into bowls or glasses. Now comes the fun part: toppings! Fresh berries, sliced banana, a sprinkle of granola, toasted nuts, shredded coconut, or a dollop of yogurt are all fantastic options. You can also swirl in some fruit puree or a bit of nut butter for extra flavor and texture. I love making a few jars at the begin extractning of the week to grab and go. It’s a healthy, satisfying, and utterly delicious way to start my day or to power through an afternoon slump. Enjoy the fruits of your (minimal) labor!
Conclusion:
So there you have it – a wonderfully simple and incredibly versatile chia seed pudding recipe that’s perfect for any occasion. This delightful treat truly shines for its ease of preparation; simply mix, chill, and enjoy! It’s a fantastic option for a healthy breakfast, a satisfying snack, or even a light dessert. The creamy texture and subtle nutty flavor of chia seeds are a wonderful base for a multitude of delicious toppings and flavor combinations.
I love serving mine topped with fresh berries and a drizzle of honey, but feel free to get creative! Consider adding a sprinkle of granola for crunch, a dollop of yogurt for extra creaminess, or even some chopped nuts for added texture and healthy fats. Don’t be afraid to experiment with different extracts like vanilla or almond, or even incorporate cocoa powder for a chocolatey twist. I truly encourage you to give this recipe a try; it’s a game-changer for anyone looking for a nutritious and delicious option that’s both easy and adaptable.
Frequently Asked Questions:
Q: How long does chia seed pudding last in the refrigerator?
A: Chia seed pudding can be stored in an airtight container in the refrigerator for up to 3-4 days. The seeds will continue to absorb liquid and thicken over time, so you might need to add a splash of milk when reheating or serving if it becomes too firm.
Q: Can I make chia seed pudding with water instead of milk?
A: Yes, you can! Using water will result in a lighter, less creamy pudding. However, for a richer and more traditional texture, I recommend using a milk of your choice, such as almond milk, soy milk, oat milk, or dairy milk.
Q: What if my chia seed pudding is too thin or too thick?
A: If it’s too thin, simply add a tablespoon or two more chia seeds and let it sit for another 15-30 minutes to thicken. If it’s too thick, stir in a little more liquid (milk or water) until you reach your desired consistency.
Chia Seed Pudding Recipe
A simple and healthy chia seed pudding recipe that’s customizable with your favorite milk and sweetener.
Ingredients
-
3 tablespoons chia seeds
-
1 tablespoon maple syrup
-
1 teaspoon vanilla extract
-
3/4 cup almond milk
-
1/4 cup coconut milk
-
Pinch of salt
Instructions
-
Step 1
In a bowl or jar, combine the chia seeds, maple syrup, vanilla extract, almond milk, coconut milk, and salt. -
Step 2
Whisk everything together very well to ensure the chia seeds are not clumped together. -
Step 3
Let the mixture sit for 5 minutes, then whisk again to break up any clumps that may have formed. -
Step 4
Cover the bowl or jar and refrigerate for at least 2 hours, or preferably overnight, until thickened. -
Step 5
Stir before serving. Top with fresh fruit, granola, or nuts if desired.
Important Information
Nutrition Facts (Per Serving)
It is important to consider this information as approximate and not to use it as definitive health advice.
Allergy Information
Please check ingredients for potential allergens and consult a health professional if in doubt.