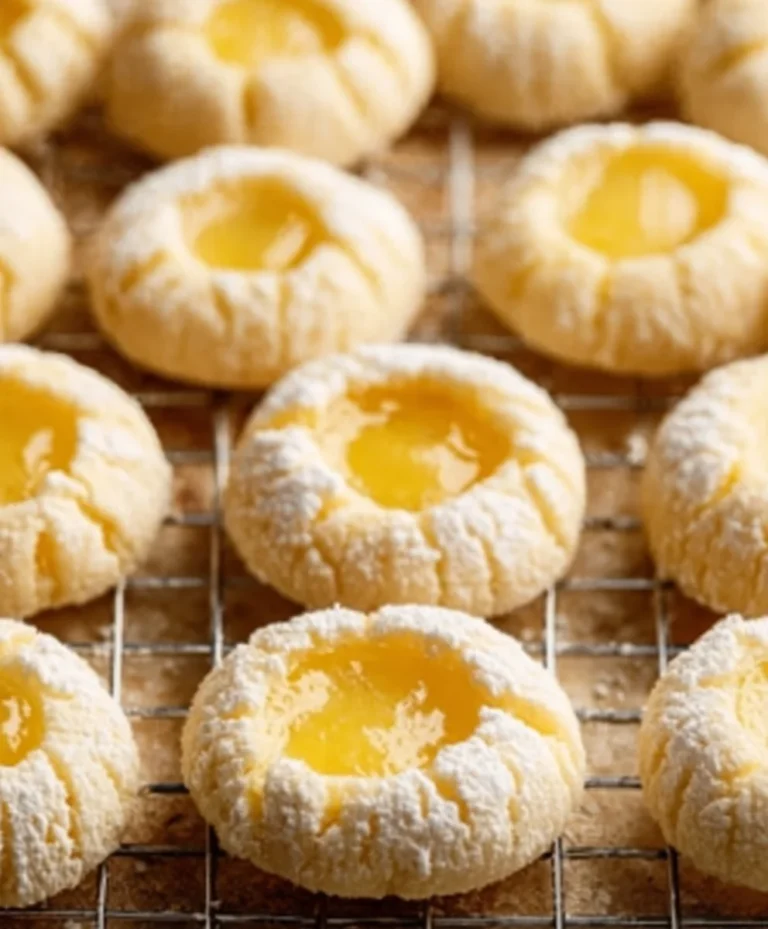
Lemon Blueberry Truffles- Easy & Delicious Dessert
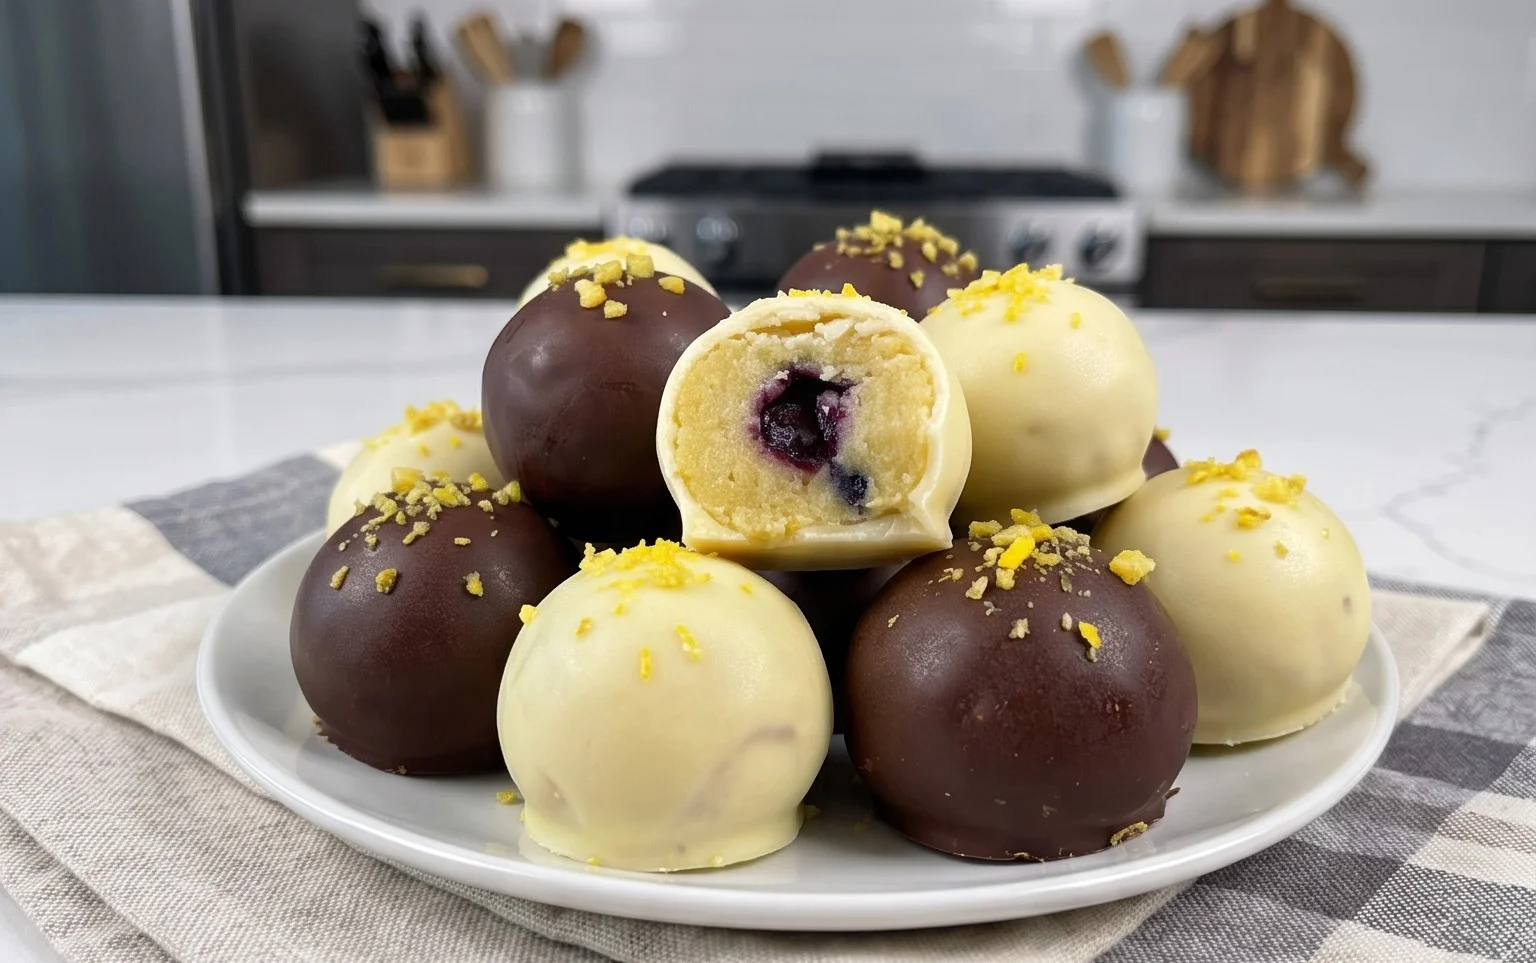
Lemon Blueberry Truffles are an absolute delight, a perfect harmony of bright citrus and sweet, bursting berries, all wrapped up in a decadent, melt-in-your-mouth truffle. If you’re searching for a treat that’s both sophisticated and incredibly easy to make, look no further! These little flavor bombs are incredibly popular for a reason: they deliver a punch of sunshine with every bite, and their vibrant colors make them a showstopper. What truly sets these Lemon Blueberry Truffles apart is the way the tangy lemon zest cuts through the sweetness of the blueberries, creating a beautifully balanced and refreshing flavor profile. Imagin extracte biting into that smooth, creamy center, bursting with the essence of summer. They’re the perfect little indulgence for yourself, a delightful gift for friends, or a welcome addition to any gathering. I can’t wait for you to experience them!
Lemon Blueberry Truffles
Get ready to delight your taste buds with these utterly irresistible Lemon Blueberry Truffles! They’re not just a treat; they’re a burst of sunshine and nature’s goodness in every bite. These little gems are perfect for a healthy dessert, an afternoon pick-me-up, or even to impress guests with a sophisticated yet incredibly easy homemade confection. What I love most about these truffles is that they’re entirely no-bake, making them a fantastic option for busy days or when you simply don’t want to turn on the oven. We’re going to create two delicious layers: a vibrant, fruity base packed with wholesome ingredients and a luxuriously creamy, tangy frosting. The combination of bright lemon, sweet blueberries, and the rich nuttiness from the walnuts and cashews is simply divine. Plus, they’re naturally sweetened and packed with nutrients, so you can feel good about indulgin extractg. Let’s get started on making these little powerhouses of flavor!
Ingredients:
Raw Cake Ingredients Preparation
This is where the magic begin extracts! We’re going to create the flavorful, chewy base for our truffles. This part is super simple and requires just a food processor. The combination of ingredients here provides natural sweetness from the dates, healthy fats and texture from the walnuts, antioxidants from the blueberries, and binding power from the oats and chia seeds.
Frosting Ingredients Preparation
For the frosting, we’re leveragin extractg the creaminess of soaked cashews. Soaking them is key to achieving a super smooth and luscious texture that rivals traditional dairy-based frostings. The coconut oil helps to solidify the frosting once chilled, giving the truffles that signature truffle-like texture.
Step-by-Step Instructions
1. Prepare the Raw Cake Base: In the bowl of a food processor, combine the walnuts and pitted dates. Pulse until the walnuts are finely chopped and the dates have broken down into a sticky paste. You want to achieve a texture where the dates help bind the walnuts together. If your dates are a bit dry, you can soak them in warm water for about 10 minutes before processing. Next, add the gluten-free rolled oats, shredded coconut, chia seeds, and the juice of one lemon to the food processor. Process everything until the mixture starts to clump together and forms a cohesive dough. It should be sticky enough to hold its shape when pressed. If it seems too dry, you can add another teaspoon of lemon juice or a tablespoon of water. If it seems too wet, add a few more oats or a bit more shredded coconut.
2. Form the Truffle Balls: Once you have your dough, take small portions of the mixture (about 1 to 1.5 tablespoons each) and roll them between your palms to form compact balls. The dough can be a little sticky, so wetting your hands slightly with water or a touch of coconut oil can help prevent sticking. Place the formed balls onto a baking sheet lined with parchment paper. You should aim for about 12-15 truffles, depending on the size you make them. Once all the balls are formed, place the baking sheet into the freezer for at least 30 minutes. This chilling step is crucial as it firms up the truffle base, making it much easier to coat with the frosting without them falling apart.
3. Make the Creamy Lemon Frosting: While the truffle balls are chilling, it’s time to prepare the luscious lemon frosting. In a high-powered blender or food processor, combine the drained and rinsed soaked cashews, the melted and slightly cooled coconut oil, raw honey (or maple syrup), vanilla extract, and the juice of the second lemon. Blend on high speed until the mixture is completely smooth and creamy. This might take a few minutes, and you may need to stop and scrape down the sides of the blender a couple of times to ensure everything is incorporated. If the frosting is too thick to blend smoothly, gradually add the warm water, one tablespoon at a time, until you reach your desired consistency. You’re looking for a thick, spreadable consistency, similar to a very thick yogurt. Taste and adjust sweetness or lemon flavor as needed.
4. Coat the Chilled Truffles: Retrieve the chilled truffle balls from the freezer. Now, we’re going to coat them with our delicious lemon frosting. You can do this in a couple of ways. The easiest method is to dip each chilled truffle ball into the frosting using a fork or a toothpick, letting any excess drip off, and then returning them to the parchment-lined baking sheet. Alternatively, you can place the frosting in a shallow bowl and gently roll each truffle ball in it, ensuring an even coating. For a more elegant finish, you can use two forks to “roll” the truffle in the frosting, creating swirls. This process needs to be done relatively quickly while the truffle balls are still firm from the freezer.
5. Chill and Set: Once all the truffles are coated in the creamy lemon frosting, place the baking sheet back into the refrigerator for at least 1 hour, or until the frosting has set and is firm to the touch. This chilling time allows the coconut oil in the frosting to solidify, giving the truffles their characteristic firm yet creamy texture. For an even firmer truffle, you can place them in the freezer for about 15-20 minutes after they’ve set in the fridge.
These Lemon Blueberry Truffles are best stored in an airtight container in the refrigerator. They will keep for up to a week. Enjoy these delightful bursts of flavor!

Conclusion:
These Lemon Blueberry Truffles are an absolute delight, offering a perfect balance of bright citrus tang and sweet, juicy blueberries, all enveloped in a creamy, decadent chocolate shell. They are surprisingly simple to make, making them an ideal treat for both novice bakers and experienced confectioners looking for a quick yet impressive dessert. The vibrant flavor combination is truly a winner, guaranteed to impress guests or simply elevate your everyday snacking. They’re wonderfully versatile too! Serve these delightful lemon blueberry truffles as a sophisticated dessert after a meal, package them beautifully as homemade gifts, or enjoy them with a cup of tea or coffee for a luxurious afternoon break. Feel free to experiment with variations! You could try adding a touch of lemon zest to the white chocolate coating for an extra pop of flavor, or perhaps a sprinkle of edible glitter for a festive touch. Even incorporating finely chopped fresh mint could add an unexpected, refreshing twist. I truly encourage you to give this recipe a try; you won’t be disappointed by the bursts of flavor and the sheer joy of creating these little bites of happiness.
Frequently Asked Questions:
Can I make these lemon blueberry truffles ahead of time?
Absolutely! These truffles are perfect for making in advance. Once fully set, store them in an airtight container in the refrigerator for up to a week. They can also be frozen for longer storage; simply thaw them in the refrigerator before serving.
What type of white chocolate is best for this recipe?
For the best flavor and texture, I recommend using a high-quality white chocolate meant for melting and coating, often labeled as “confectionery melts” or “couverture white chocolate.” This will ensure a smooth, glossy coating that hardens nicely.
Lemon Blueberry Truffles
Delightful no-bake truffles bursting with lemon and blueberry flavor, made with wholesome ingredients.
Ingredients
-
1 cup wild blueberries
-
1 cup walnuts
-
1 cup dates
-
3 tbsp gluten-free rolled oats
-
2 tbsp shredded coconut
-
1 tbsp chia seeds
-
1 lemon, juiced
-
1 cup cashews (soaked)
-
½ cup coconut oil, melted and cooled
-
3 tbsp raw honey
-
1 tsp vanilla extract
-
2-3 tbsp warm water
Instructions
-
Step 1
Combine blueberries, walnuts, dates, oats, coconut, and chia seeds in a food processor. Pulse until a sticky dough forms. -
Step 2
Add the juice of 1 lemon to the dough and process again until well combined. -
Step 3
Roll the mixture into small balls (truffles) and place them on a parchment-lined baking sheet. Freeze for at least 30 minutes. -
Step 4
While the truffles are freezing, combine soaked cashews, melted coconut oil, honey, vanilla extract, and juice of 1 lemon in a high-speed blender. -
Step 5
Blend until completely smooth and creamy, adding warm water 1 tablespoon at a time if needed to reach desired consistency. -
Step 6
Dip each frozen truffle into the cashew frosting, ensuring it’s fully coated. Return to the parchment-lined sheet. -
Step 7
Freeze the coated truffles for another 1-2 hours, or until firm.
Important Information
Nutrition Facts (Per Serving)
It is important to consider this information as approximate and not to use it as definitive health advice.
Allergy Information
Please check ingredients for potential allergens and consult a health professional if in doubt.