Renee Paj- Deliciously Simple Dessert Recipe
Renee Paj is more than just a dessert; it’s a whispered secret passed down through generations, a comforting embrace on a chilly evening, and a surefire way to elicit gasps of delight at any gathering. For those unfamiliar, Renee Paj is a rustic yet incredibly elegant pastry, often hailed as the ultimate comfort food by those who’ve had the pleasure of tasting it. Its magic lies in a delicate balance of textures and flavors: a flaky, buttery crust cradling a lusciously spiced, tender filling. People adore Renee Paj because it manages to be both deeply satisfying and surprisingly refined. It evokes a sense of nostalgia, a simpler time, while simultaneously impressing with its sophisticated flavor profile. What truly makes this Renee Paj special is its inherent homeliness combined with an undeniable touch of gourmet flair. It’s the kind of dish that makes you feel like a culinary magician, even if you’re just following a beloved recipe.
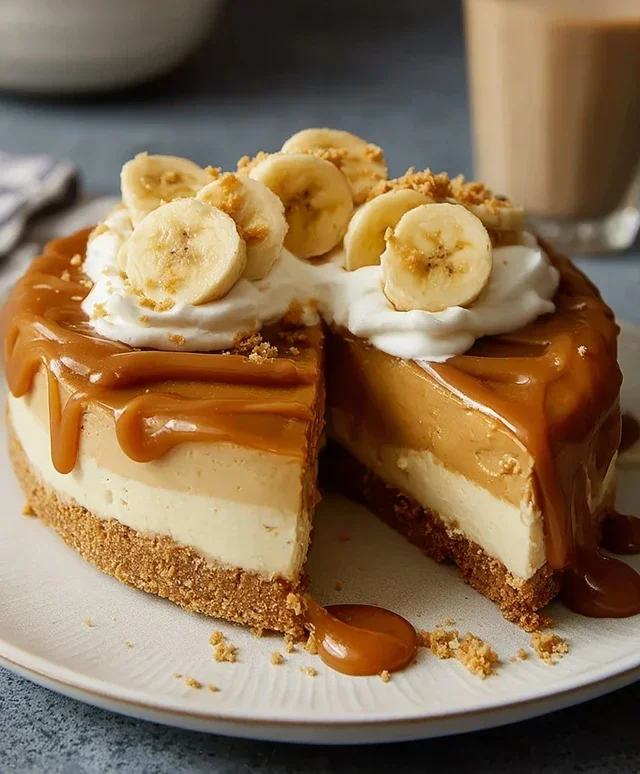
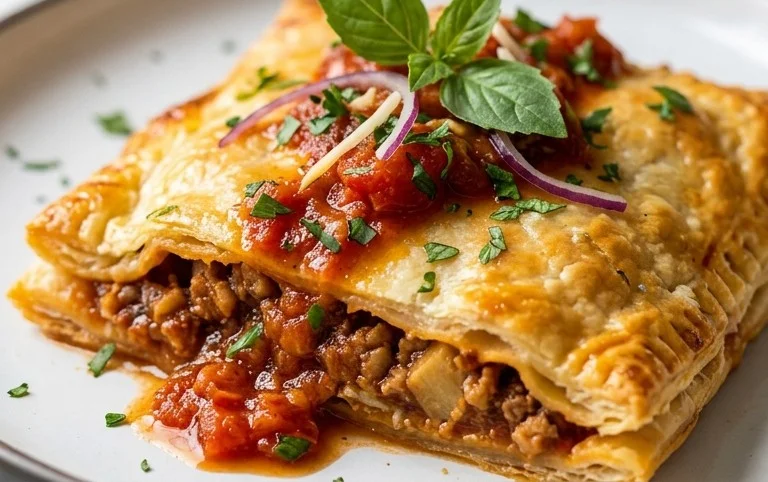
Renee Paj
There are some recipes that just bring a smile to your face, and this Renee Paj is definitely one of them. It’s a wonderfully comforting, subtly sweet, and satisfying dish that’s perfect for breakfast, brunch, or even a light dessert. What I love about it is its simplicity and how it uses everyday ingredients to create something truly special. The combination of tender, ripe bananas, hearty oats, and a hint of cinnamon is pure bliss. Plus, it’s incredibly forgiving, so don’t be afraid to give it a try, even if you’re new to baking. The optional walnuts add a lovely crunch, but it’s just as delicious without them. Let’s get started!
Ingredients:
Cooking Instructions
Preparation and Mashing the Bananas
The first step in creating this delightful Renee Paj is to prepare your bananas. Make sure they are nice and ripe – the riper they are, the sweeter and more flavorful your paj will be. Black spots are your friend here! You’ll want to take your 3 large, ripe bananas and cut them into chunks. Place these chunks into a medium-sized bowl. Now, using a fork or a potato masher, mash the bananas until they are mostly smooth. It’s okay if there are a few small lumps remaining; they will add a lovely texture to the final product. Once mashed, set this bowl aside. This mashed banana mixture will form the sweet, moist base of our paj.
Combining Dry Ingredients
In a separate, larger bowl, we’re going to whisk together all of our dry ingredients. This ensures that everything is evenly distributed, leading to a consistent texture and flavor throughout the paj. Measure out your 1 1/4 cups of all-purpose flour, 1/2 cup of packed light brown sugar, 1/2 teaspoon of kosher salt, 1/2 teaspoon of baking soda, 1/4 teaspoon of baking powder, and 1/2 teaspoon of ground cinnamon. Take a whisk and mix these ingredients thoroughly. You want to make sure the brown sugar is fully incorporated and there are no clumps. The baking soda and baking powder will work together to give our paj a nice lift and tenderness. The cinnamon adds that warming, aromatic note that pairs so beautifully with the banana.
Combining Wet Ingredients and Mixing the Batter
Now, it’s time to bring it all together. To the bowl with your mashed bananas, add your 2 large eggs, 1 teaspoon of pure vanilla extract, and 3 tablespoons of cooking oil. I prefer using a neutral oil like canola or corn oil for this recipe, as it won’t impart any strong flavors, allowing the banana and cinnamon to shine. Whisk these wet ingredients together with the mashed bananas until they are well combined. You’ll notice the mixture becoming a bit smoother and more homogeneous. Next, pour this wet banana mixture into the bowl containing your whisked dry ingredients.
At this point, you can gently fold everything together. It’s important not to overmix the batter. Overmixing can develop the gluten in the flour too much, resulting in a tougher paj. So, use a spatula or a wooden spoon and mix just until you no longer see streaks of dry flour. A few small lumps are perfectly fine. If you’re using the optional 1/3 cup of chopped walnuts, this is the perfect time to gently fold them into the batter. They will add a wonderful crunch and nutty flavor to every bite.
Baking the Renee Paj
Preheat your oven to 350 degrees Fahrenheit (175 degrees Celsius). While the oven is heating up, prepare your baking dish. I like to use an 8×8 inch baking dish or a similarly sized oven-safe skillet. Lightly grease the dish with a little butter or cooking spray to prevent sticking. Pour the prepared batter evenly into the greased baking dish. Use your spatula to spread it out so that it’s relatively level. This will ensure even baking.
Place the baking dish in the preheated oven and bake for approximately 30-40 minutes. The exact baking time can vary depending on your oven, so it’s a good idea to start checking around the 30-minute mark. The paj is done when a toothpick inserted into the center comes out clean, or with just a few moist crum extractbs attached. The top should be a lovely golden brown, and you’ll likely smell the wonderful aroma of cinnamon and baked banana filling your kitchen.
Cooling and Serving
Once your Renee Paj is baked to perfection, carefully remove it from the oven. Let it cool in the baking dish for about 10-15 minutes. This allows the paj to set up properly and makes it easier to cut and serve. After this initial cooling period, you can slice it into squares or wedges. Serve it warm, perhaps with a dollop of whipped cream, a drizzle of honey, or even a scoop of your favorite ice cream for a decadent treat. It’s also delicious served plain, allowing the natural flavors of the banana and oats to be the star. This Renee Paj stores well in an airtight container at room temperature for a couple of days, or in the refrigerator for up to a week. Reheat gently if desired. Enjoy this delightful creation!
Conclusion:
There you have it – a delightful journey into crafting the perfect Renee Paj! This recipe is truly a winner because it strikes that beautiful balance between being comforting and a little bit special, making it ideal for both weeknight treats and more elegant gatherings. The rich, creamy texture combined with the subtle, warming spices creates a dessert experience that’s truly unforgettable. I’ve found that serving it slightly chilled allows the flavors to meld perfectly, enhancing its luxurious feel. Don’t be afraid to experiment with variations – a hint of citrus zest or a sprinkle of toasted nuts can add a delightful new dimension to your Renee Paj.
I wholeheartedly encourage you to give this recipe a try! It’s simpler than you might imagin extracte and the results are incredibly rewarding. Imagin extracte the satisfied smiles and happy sighs as your loved ones savor this delicious creation. It’s a dessert that brings people together and creates wonderful memories.
Frequently Asked Questions about Renee Paj:
Can I make Renee Paj ahead of time?
Absolutely! Renee Paj is a fantastic make-ahead dessert. In fact, chilling it overnight really allows the flavors to deepen and the texture to set beautifully. Just cover it tightly and refrigerate.
What are some good serving suggestions besides the classic?
While the classic is wonderful, I love topping my Renee Paj with fresh berries like raspberries or blueberries for a burst of freshness. A dollop of whipped cream or a sprinkle of finely chopped pistachios also adds a lovely touch of elegance and texture.
Can I adjust the sweetness of the Renee Paj?
Yes, you can! If you prefer a less sweet dessert, you can slightly reduce the amount of sugar called for in the recipe. Taste the mixture before chilling and adjust to your personal preference. Remember that the spices also contribute to the overall flavor profile, so keep that in mind.
Renee Paj
A comforting and flavorful banana bread-like treat with oats and optional walnuts.
Ingredients
-
1 cup old fashioned oats
-
1 1/4 cups all purpose flour
-
1/2 cup light brown sugar, packed
-
1/2 tsp. kosher salt
-
1/2 tsp. baking soda
-
1/4 tsp. baking powder
-
1/2 tsp. ground cinnamon
-
3 large, ripe bananas, cut into chunks
-
2 large eggs
-
1 tsp. pure vanilla extract
-
3 TBSP cooking oil (corn, canola, etc)
-
1/3 cup chopped walnuts (optional)
Instructions
-
Step 1
Preheat oven to 350°F (175°C). Grease and flour a 9×5 inch loaf pan. -
Step 2
In a large bowl, whisk together the all purpose flour, light brown sugar, kosher salt, baking soda, baking powder, and ground cinnamon. -
Step 3
In a separate bowl, mash the ripe bananas well. Stir in the large eggs and pure vanilla extract until combined. -
Step 4
Add the wet ingredients to the dry ingredients and mix until just combined. Fold in the old fashioned oats and chopped walnuts (if using). -
Step 5
Pour the batter into the prepared loaf pan and spread evenly. -
Step 6
Bake for 50-60 minutes, or until a wooden skewer inserted into the center comes out clean. -
Step 7
Let the loaf cool in the pan for 10 minutes before transferring to a wire rack to cool completely.
Important Information
Nutrition Facts (Per Serving)
It is important to consider this information as approximate and not to use it as definitive health advice.
Allergy Information
Please check ingredients for potential allergens and consult a health professional if in doubt.