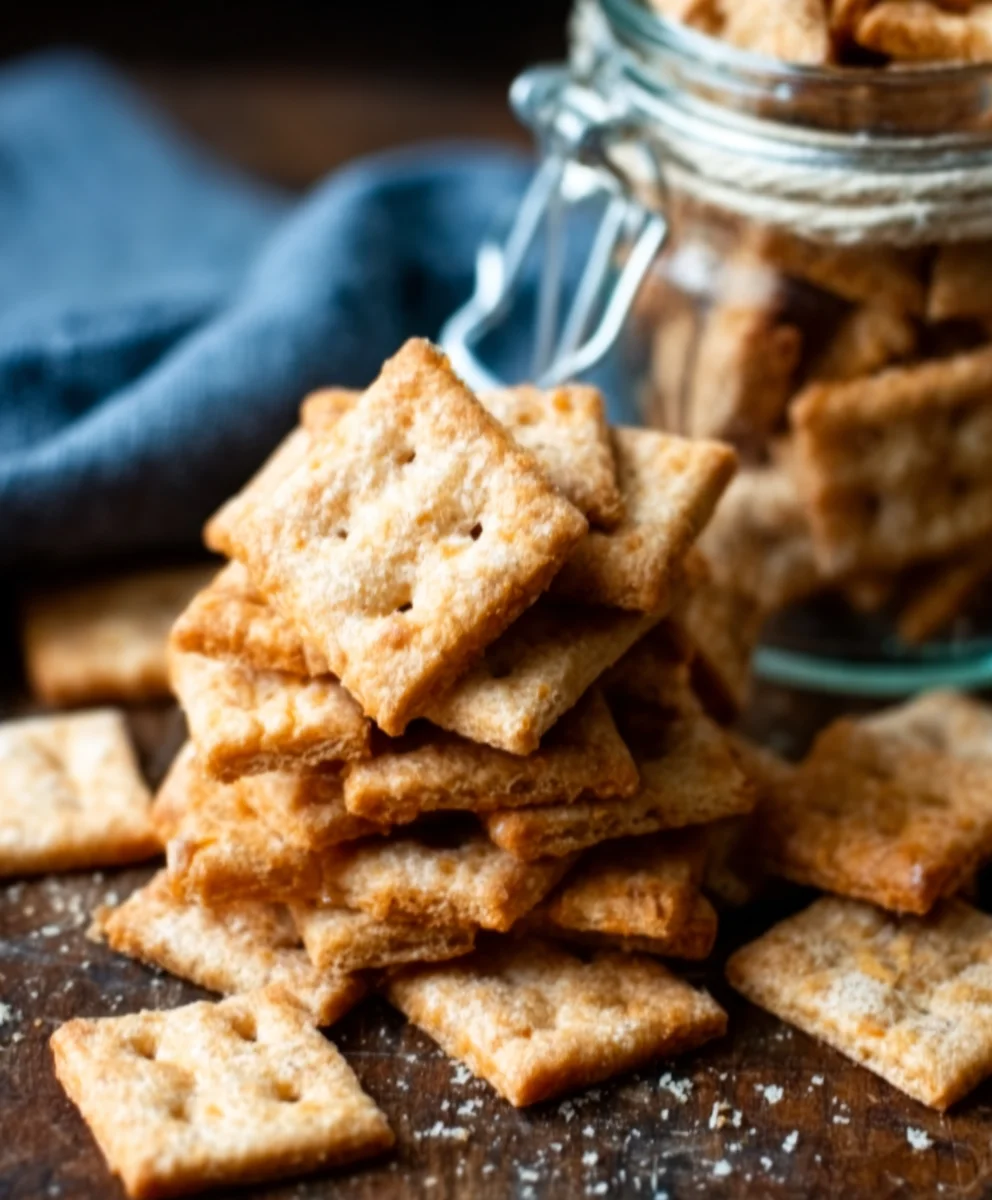
Sourdough Cheese Crackers- Delicious Homemade Recipe
Sourdough Cheese Crackers are more than just a simple snack; they’re a testament to the magic of fermentation and the pure joy of simple, yet incredibly flavorful ingredients. Have you ever found yourself reaching for a store-bought cracker, only to be met with a rather uninspired crunch and a list of unpronounceable ingredients? I certainly have! That’s precisely why I fell head over heels for making my own sourdough cheese crackers from scratch. The unparalleled tang and depth of flavor that only a sourdough starter can impart, combined with the salty, savory goodness of cheese, creates an addictive bite that’s both rustic and sophisticated. What truly sets these apart is the incredible texture – a delicate crispness that shatters perfectly, leaving you craving another. They’re the perfect accompaniment to a cheese board, a delightful partner to your favorite soup, or honestly, just a fantastic standalone treat that feels a little bit gourmet, made right in your own kitchen.
Ingredients:
- 230 grams (1 cup) sourdough starter, active or discard – stirred down before measuring
- 3 tablespoons melted butter or oil
- 120 grams (1 cup) all purpose flour
- 1/2 teaspoon salt
- 1/2 teaspoon paprika
- 1/2 teaspoon garlic powder
- 1/4 teaspoon cayenne pepper
- 8 ounces cheddar cheese, shredded
Preparing the Dough
Step 1: Combining the Wet Ingredients
In a medium-sized mixing bowl, we’ll begin extract by combining our wet ingredients. Add the 3 tablespoons of melted butter or oil to the bowl. If you’re using butter, make sure it has cooled slightly so it doesn’t scramble any potential egg proteins if your starter is very active, though for these crackers it’s unlikely to be an issue. Next, add the 230 grams (which is about 1 cup) of sourdough starter. It’s important to stir down your starter before measuring to ensure you have an accurate amount. Whether you’re using an active starter that’s bubbly and has recently been fed, or a discard starter that’s been sitting in the fridge, both will work beautifully here, contributing that signature tangy flavor and unique texture to our Sourdough Cheese Crackers. Give these two ingredients a good whisk or stir until they are well incorporated. You’re looking for a smooth, cohesive liquid base.
Step 2: Adding the Dry Ingredients and Cheese
Now, let’s introduce the dry elements to our wet mixture. Add the 120 grams (about 1 cup) of all-purpose flour to the bowl. This flour will provide the structure for our crackers. Following that, we’ll add our seasonings. Sprinkle in the 1/2 teaspoon of salt, which is crucial gin extract bringing out all the flavors. Then, add the 1/2 teaspoon of paprika for a hint of smoky sweetness and color, the 1/2 teaspoon of garlic powder for that irresistible savory note, and finally, the 1/4 teaspoon of cayenne pepper for a subtle warmth that complements the cheese without being overpowering. If you prefer a spicier cracker, feel free to increase the cayenne slightly, but remember to start conservatively. After adding all the dry ingredients, it’s time for the star of the show: the cheese. Add all 8 ounces of your shredded cheddar cheese to the bowl. Ensure your cheese is shredded finely enough to distribute evenly throughout the dough.
Mixing and Chilling
Step 3: Forming the Dough and Initial Mixing
With all the ingredients in the bowl, it’s time to bring them together. Using a sturdy spoon, a spatula, or even your hands (which can often be the most effective tool for sticky doughs like this), start mixing everything until agin extractaggy dough begins to form. Don’t worry if it looks messy at first; this is perfectly normal. Continue to mix and gently knead the dough within the bowl. The goal is to incorporate all the flour and cheese, but avoid overworking the dough. Overworking can lead to tough crackers, and we want ours to be delightfully crisp. You should see the cheese bits getting distributed throughout the flour and starter mixture. Once it starts coming together into a cohesive mass, turn the dough out onto a lightly floured surface.
Step 4: Kneading and Chilling the Dough
On your lightly floured surface, gently knead the dough for about 1 to 2 minutes. You’re not aiming for a smooth, elastic dough like you would for bread. Instead, you want to bring it together so that it’s no longer excessively sticky and the cheese is well distributed. The dough will be somewhat soft and may have visible flecks of cheese. Once you have a manageable dough, flatten it into a disc, wrap it tightly in plastic wrap, and refrigerate it for at least 30 minutes. This chilling period is crucial. It allows the flour to fully hydrate, makes the dough easier to handle and roll out, and helps the flavors meld together beautifully, ensuring those Sourdough Cheese Crackers have the best possible texture and taste.
Shaping and Baking
Step 5: Rolling and Cutting the Crackers
Once the dough has chilled and is firm to the touch, unwrap it and place it back onto a lightly floured surface. I find that rolling the dough between two pieces of parchment paper makes for a much cleaner and easier process, minimizing sticking and mess. Roll the dough out evenly to about 1/8 inch thickness. This thickness is key for achieving that perfect crispy cracker. If the dough feels too stiff to roll, let it sit at room temperature for a few minutes. If it becomes too soft, pop it back in the fridge for 10-15 minutes. Once you have your thin, even sheet of dough, you can cut it into your desired cracker shapes. A pizza cutter, a knife, or even small cookie cutters will work wonderfully. You can make squares, rectangles, or fun shapes for the kids. Don’t worry about perfectly uniform shapes; rustic edges add to their charm!
Step 6: Baking the Sourdough Cheese Crackers
Preheat your oven to 375 degrees Fahrenheit (190 degrees Celsius). Line a baking sheet with parchment paper for easy cleanup. Carefully transfer your cut cracker shapes onto the prepared baking sheet, spacing them about 1/2 inch apart. For an extra touch of elegance and to prevent puffing, you can gently prick each cracker a few times with a fork. This also helps ensure they bake evenly. Place the baking sheet in the preheated oven and bake for 12 to 18 minutes. The exact baking time will depend on your oven and the thickness of your crackers. Keep a close eye on them during the last few minutes; you’re looking for them to be golden brown around the edges and firm to the touch. Once baked to perfection, remove the Sourdough Cheese Crackers from the oven and let them cool completely on the baking sheet or a wire rack. They will continue to crisp up as they cool.
Conclusion:
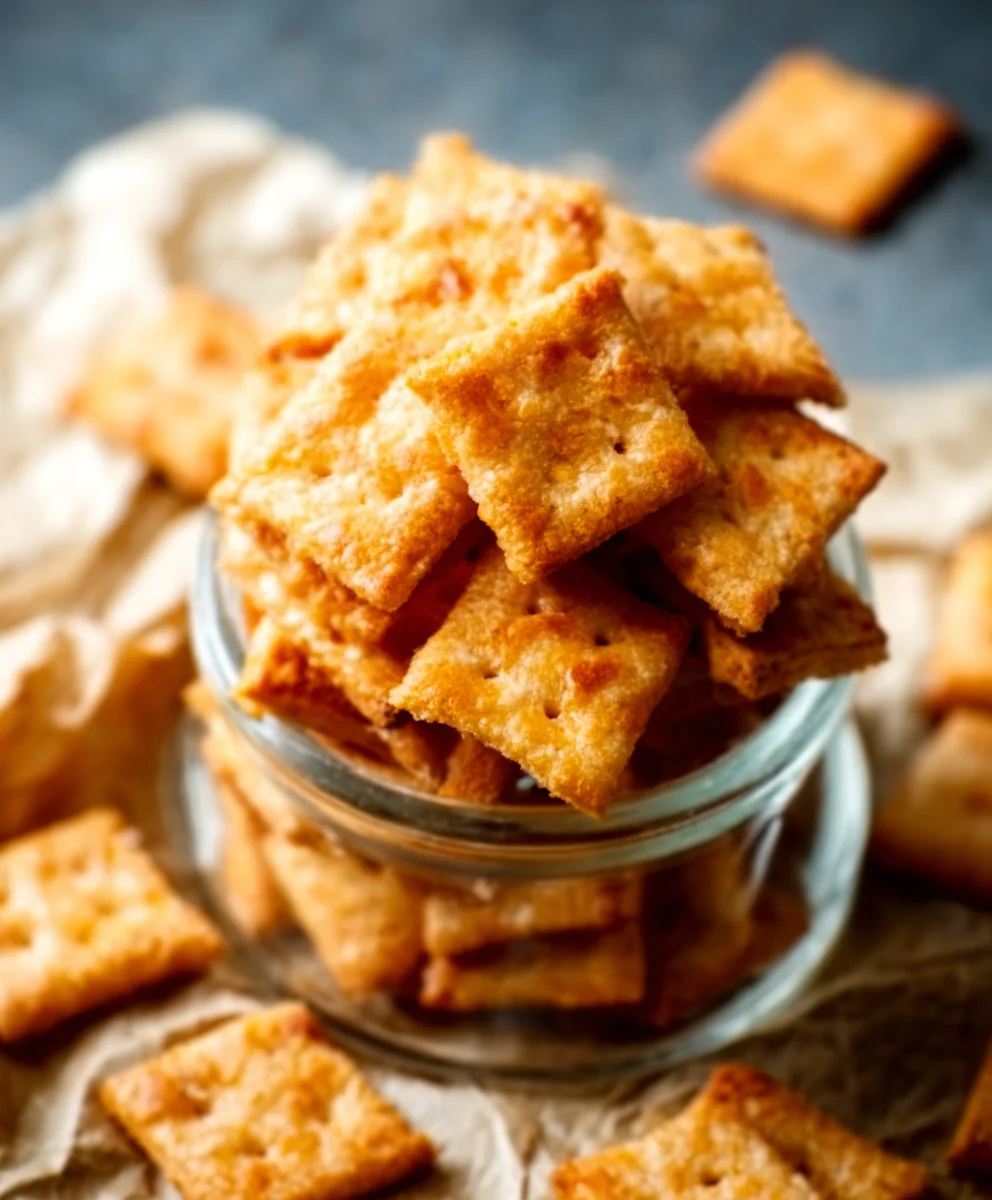
You’ve now unlocked the secrets to creating incredibly delicious and satisfying Sourdough Cheese Crackers right in your own kitchen! This recipe offers a delightful way to use up your active sourdough starter and transform it into a savory snack that’s far superior to anything store-bought. The combination of tangy sourdough, sharp cheese, and a hint of spice creates a flavor profile that’s truly addictive. Don’t be intimidated by the sourdough aspect; these crackers are surprisingly straightforward to make, and the results are well worth the effort. Enjoy them warm from the oven or store them in an airtight container for a week of snacking bliss.
These Sourdough Cheese Crackers are incredibly versatile. Serve them as a sophisticated appetizer with your favorite dips, alongside a hearty soup or salad, or simply enjoy them on their own as a satisfying snack. For variations, feel free to experiment with different types of cheese like sharp cheddar, Gruyere, or even a spicy pepper jack. You can also add herbs like rosemary or thyme, or a pinch of cayenne pepper for a little kick. Embrace your creativity and make these crackers your own!
Frequently Asked Questions:
Can I use a discard sourdough starter for this recipe?
While an active, fed starter will yield the best flavor and texture, you can often use a discard starter. Ensure your discard is still somewhat active and bubbly; if it’s been in the fridge for a long time without being fed, it might need a refresh before use. The crackers might have a slightly less pronounced sourdough tang but will still be delicious.
How should I store my Sourdough Cheese Crackers?
Once completely cooled, store your Sourdough Cheese Crackers in an airtight container at room temperature. They should stay fresh and crispy for up to a week. If they lose some crispness, you can briefly reheat them in a low oven for a few minutes to revive them.
Sourdough Cheese Crackers- Delicious Homemade Recipe
Delicious homemade sourdough cheese crackers with a crispy texture and savory flavor. Perfect for snacking!
Ingredients
-
230 grams (1 cup) sourdough starter, active or discard – stirred down before measuring
-
3 tablespoons melted butter or oil
-
120 grams (1 cup) all purpose flour
-
1/2 teaspoon salt
-
1/2 teaspoon paprika
-
1/2 teaspoon garlic powder
-
1/4 teaspoon cayenne pepper
-
8 ounces cheddar cheese, shredded
Instructions
-
Step 1
In a medium bowl, combine 3 tablespoons of melted butter or oil with 230 grams (about 1 cup) of sourdough starter. Whisk until well incorporated. -
Step 2
Add 120 grams (about 1 cup) of all-purpose flour, 1/2 teaspoon salt, 1/2 teaspoon paprika, 1/2 teaspoon garlic powder, and 1/4 teaspoon cayenne pepper to the bowl. Stir in 8 ounces of shredded cheddar cheese. -
Step 3
Mix everything together with a spoon, spatula, or hands until a shaggy dough forms. Gently knead the dough in the bowl until it starts to come together. -
Step 4
Turn the dough out onto a lightly floured surface and knead for 1-2 minutes until it’s manageable and the cheese is distributed. Flatten into a disc, wrap tightly in plastic wrap, and refrigerate for at least 30 minutes. -
Step 5
Preheat oven to 375°F (190°C). Line a baking sheet with parchment paper. Roll out the chilled dough on a lightly floured surface (or between parchment paper) to about 1/8 inch thickness. Cut into desired cracker shapes. -
Step 6
Place the crackers onto the prepared baking sheet, spacing them about 1/2 inch apart. Prick each cracker a few times with a fork. Bake for 12-18 minutes, or until golden brown and firm. Let cool completely to crisp up.
Important Information
Nutrition Facts (Per Serving)
It is important to consider this information as approximate and not to use it as definitive health advice.
Allergy Information
Please check ingredients for potential allergens and consult a health professional if in doubt.