Easy Easter Poke Cake Recipe-Spring Delight
Easter Poke Cake is a festive and delightful dessert that screams springtime celebration. Imagin extracte a fluffy, golden cake, baked to perfection, then strategically pierced with holes that eagerly await a flood of luscious, creamy filling. This is where the magic truly happens for an Easter Poke Cake. It’s not just a cake; it’s an experience! People adore this confection because it’s incredibly moist, bursting with vibrant flavors, and visually stunning, making it the star of any Easter gathering. What sets this particular Easter Poke Cake apart is its thoughtful combination of classic spring tastes, designed to evoke the joy and renewal of the season. Get ready to impress your loved ones with a dessert that’s as fun to make as it is to devour, embodying the spirit of Easter in every sweet, creamy bite.

Ingredients:
- 15.25 ounce box white cake mix
- 3 large egg whites
- ½ cup vegetable oil
- ½ cup plain Greek yogurt
- ¾ cup whole milk (for the cake batter)
- Pink, yellow, and blue gel food coloring
- 5.1 ounce box instant vanilla pudding mix
- 2 ¾ cups whole milk (for the pudding)
- 2 cups heavy cream
- 3 Tablespoons granulated sugar
- 1 cup sweetened shredded coconut
- Easter sprinkles and/or mini eggs for topping
Baking the Cake Layers
Let’s start by creating the foundation for our vibrant Easter Poke Cake! Preheat your oven to the temperature specified on your white cake mix box, usually around 350°F (175°C). Grease and flour a 9×13 inch baking pan. In a large mixing bowl, combine the white cake mix with the 3 egg whites, ½ cup vegetable oil, ½ cup plain Greek yogurt, and ¾ cup whole milk. The Greek yogurt is a fantastic secret ingredient here, adding incredible moisture and tenderness to the cake without making it dense. Mix everything together according to the cake mix package directions until just combined. Be careful not to overmix, as this can develop the gluten too much and result in a tougher cake. Once your batter is smooth, divide it into three separate smaller bowls. Now comes the fun part! Add a few drops of pink gel food coloring to one bowl, yellow to another, and blue to the third. Gently swirl the color into each bowl until you achieve a marbled effect. You don’t want to fully incorporate the color; a swirled look will create beautiful pastel hues in your finished cake. Spoon dollops of each colored batter randomly into your prepared baking pan. Don’t worry about making it perfect – the more abstract, the better! Bake for the time recommended on the cake mix box, or until a toothpick inserted into the center comes out clean. Typically, this is around 30-35 minutes. Let the cake cool in the pan for about 10 minutes before inverting it onto a wire rack to cool completely. It’s crucial for the cake to be fully cooled before moving on to the next steps, as warm cake can be fragile.
Preparing the Pudding and Cream Filling
While our cake layers are cooling, let’s whip up the creamy filling that will make this Easter Poke Cake truly irresistible. In a medium-sized bowl, whisk together the 5.1 ounce box of instant vanilla pudding mix with 2 ¾ cups of whole milk. Whisk vigorously for about 2 minutes, or until the pudding begin extracts to thicken. It’s important to use cold milk for the pudding to set properly. Once it has thickened, cover the bowl with plastic wrap, pressing the wrap directly onto the surface of the pudding to prevent a skin from forming. Place it in the refrigerator to chill until it’s firm and set. Now, in a separate, chilled mixing bowl, pour in the 2 cups of heavy cream and the 3 tablespoons of granulated sugar. Using an electric mixer on medium-high speed, whip the cream until stiff peaks form. Stiff peaks mean that when you lift the beaters out of the cream, the cream will stand up straight without curling over. Gently fold the sweetened shredded coconut into the whipped cream. This addition of coconut adds a lovely texture and a subtle tropical flavor that pairs beautifully with the vanilla pudding and cake. Once the pudding has set and the whipped cream mixture is ready, it’s time to combine them. Gently fold the chilled vanilla pudding into the sweetened whipped cream until just combined. Again, avoid overmixing to maintain the airy texture of the whipped cream. This will create a light and luscious filling for our poke cake.
Assembling and Chilling the Poke Cake
Now for the most satisfying part of making our Easter Poke Cake: assembling! Once your pastel cake layers are completely cool, it’s time to create the “pokes.” Using the handle of a wooden spoon or a skewer, poke holes all over the top of the cake. Don’t be shy – make plenty of holes, spacing them about an inch apart. These holes are where all that delicious pudding filling will seep into, creating moist pockets of flavor throughout the cake. Once you’ve poked the entire surface, gently pour the prepared pudding and whipped cream mixture evenly over the top of the cake. Use an offset spatula or the back of a spoon to spread the filling smoothly, ensuring it gets into all those little holes you created. Try to get as much of the filling as possible into the cake itself rather than just sitting on top. Once the filling is evenly distributed, it’s time to let the magic happen. Cover the entire pan tightly with plastic wrap. Place the poke cake in the refrigerator and let it chill for at least 4 hours, but overnight is even better. This chilling time is essential for the filling to meld with the cake and for the flavors to fully develop. The longer it chills, the more moist and flavorful your Easter Poke Cake will become.
Decorating for Easter Perfection
The final step is to transform our chilled poke cake into a festive Easter masterpiece! Once the cake has chilled sufficiently and the filling has set beautifully, it’s time for the crowning glory. Remove the plastic wrap from the cake. You’ll notice the filling has wonderfully soaked into the cake, creating an incredibly moist texture. Now, unleash your creativity with the Easter sprinkles and/or mini eggs. You can go for a simple sprinkle all over, or get more artistic with designs. Think about creating a colorful rainbow effect with the sprinkles, gin extractarranging mini eggs around the edges like a festive border. If you have any leftover colored batter that you didn’t use for the cake, you could even bake small amounts separately and crum extractble them over the top for extra texture and color. The goal is to make it visually appealing and celebratory for the Easter season. This cake is not only a treat for the taste buds but also a beautiful centerpiece for any Easter gathering.
Conclusion:
I hope you enjoyed diving into the delightful world of the Easter Poke Cake! This recipe truly is a showstopper, offering a moist, flavorful base infused with the vibrant flavors of pudding, all topped with a cloud of whipped cream and festive sprinkles. It’s the perfect dessert to bring a smile to everyone’s face, especially during spring celebrations. For serving, I love presenting slices of the Easter Poke Cake on individual plates, perhaps with a light dusting of powdered sugar or a few fresh berries on the side. It’s wonderfully versatile and pairs beautifully with a cup of tea or coffee.
Don’t be afraid to get creative with variations! You could swap out the pudding flavor for a lemon or even a cream cheese variety for a different tangy twist. Consider adding a layer of sweetened condensed milk before the pudding for an extra decadent moistness. And for a fun textural element, try folding some chopped white chocolate or mini marshmallows into the whipped cream topping. No matter how you choose to make it, I encourage you to give the Easter Poke Cake a try. It’s surprisingly simple to assemble and the delicious results are always worth it!
Frequently Asked Questions:
Can I make the Easter Poke Cake ahead of time?
Yes, you absolutely can! The Easter Poke Cake is best made at least a few hours, or even a day, in advance. This allows ample time for the pudding to fully soak into the cake, creating that signature moistness and infusing the flavors throughout. Just be sure to cover it tightly with plastic wrap before refrigerating.
What kind of cake mix is best for this recipe?
A white cake mix is generally recommended for the Easter Poke Cake as it provides a neutral canvas for the pudding and allows the vibrant colors of the pudding and toppings to really shine. However, a yellow cake mix will also work perfectly well and add a slightly richer flavor. The key is to use a good quality cake mix that bakes up moist and tender.
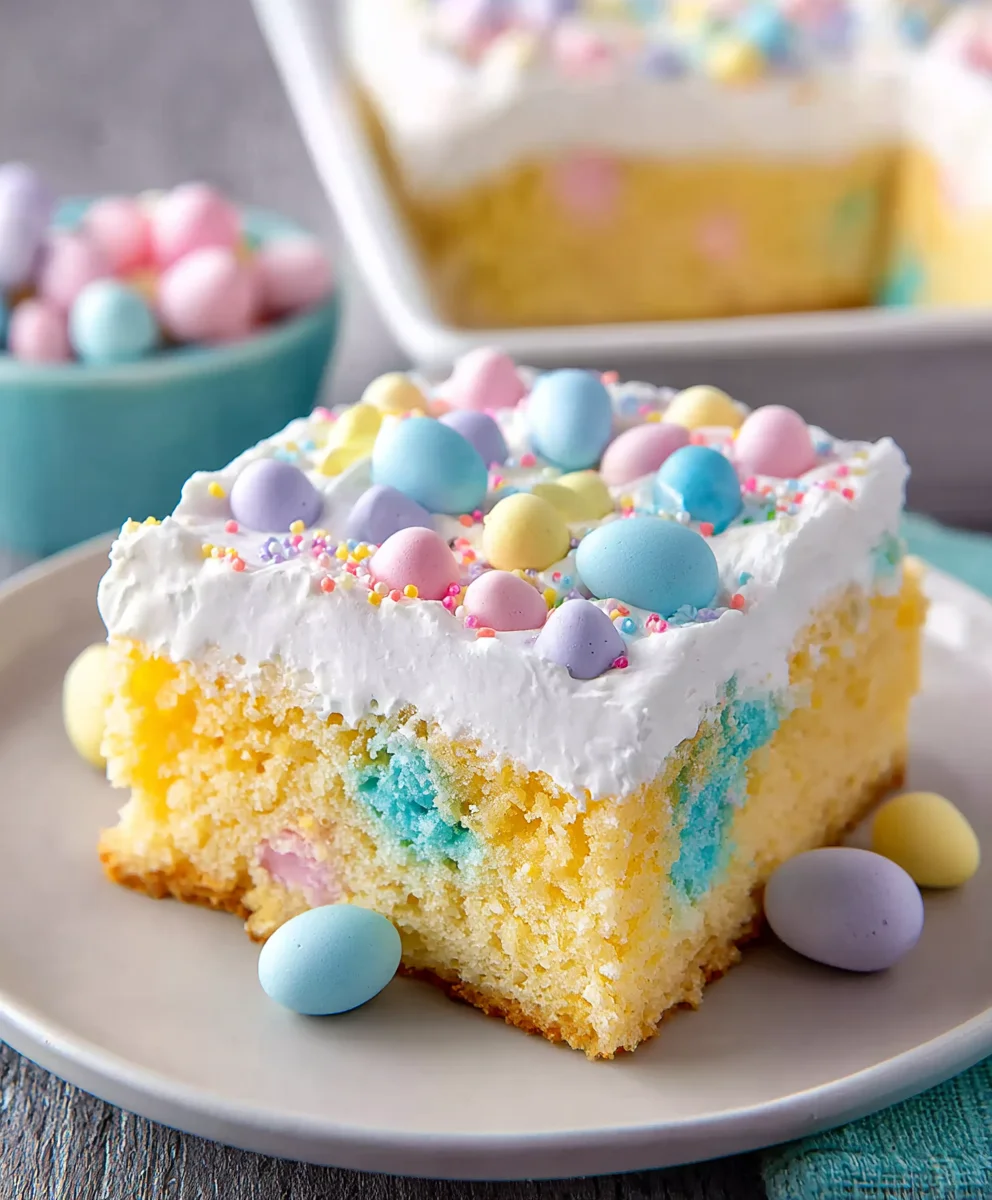
Easy Easter Poke Cake-Spring Delight
A vibrant and moist Easter poke cake featuring swirled pastel cake layers, a creamy vanilla pudding filling, and festive Easter decorations.
Ingredients
-
15.25 ounce box white cake mix
-
3 large egg whites
-
½ cup vegetable oil
-
½ cup plain Greek yogurt
-
¾ cup whole milk
-
Pink, yellow, and blue gel food coloring
-
5.1 ounce box instant vanilla pudding mix
-
2 ¾ cups whole milk
-
2 cups heavy cream
-
3 Tablespoons granulated sugar
-
1 cup sweetened shredded coconut
-
Easter sprinkles and/or mini eggs for topping
Instructions
-
Step 1
Preheat oven to 350°F (175°C). Grease and flour a 9×13 inch baking pan. Combine white cake mix, egg whites, vegetable oil, Greek yogurt, and ¾ cup whole milk. Mix according to cake mix directions. Divide batter into three bowls and add pink, yellow, and blue gel food coloring to each, swirling gently. Spoon dollops of colored batter randomly into the prepared pan. Bake for 30-35 minutes or until a toothpick comes out clean. Cool in pan for 10 minutes, then invert onto a wire rack to cool completely. -
Step 2
In a medium bowl, whisk instant vanilla pudding mix with 2 ¾ cups cold whole milk until thickened. Cover surface with plastic wrap and chill until firm. In a separate chilled bowl, whip heavy cream with granulated sugar until stiff peaks form. Gently fold in sweetened shredded coconut. -
Step 3
Gently fold the chilled vanilla pudding into the whipped cream mixture until just combined, being careful not to overmix. -
Step 4
Once the cake is completely cool, poke holes all over the top using the handle of a wooden spoon or a skewer, spacing about an inch apart. -
Step 5
Pour the pudding and whipped cream mixture evenly over the top of the cake, spreading smoothly to fill the holes. Cover tightly with plastic wrap and chill for at least 4 hours, or preferably overnight. -
Step 6
Once chilled, decorate the top of the cake with Easter sprinkles and/or mini eggs for a festive Easter look.
Important Information
Nutrition Facts (Per Serving)
It is important to consider this information as approximate and not to use it as definitive health advice.
Allergy Information
Please check ingredients for potential allergens and consult a health professional if in doubt.