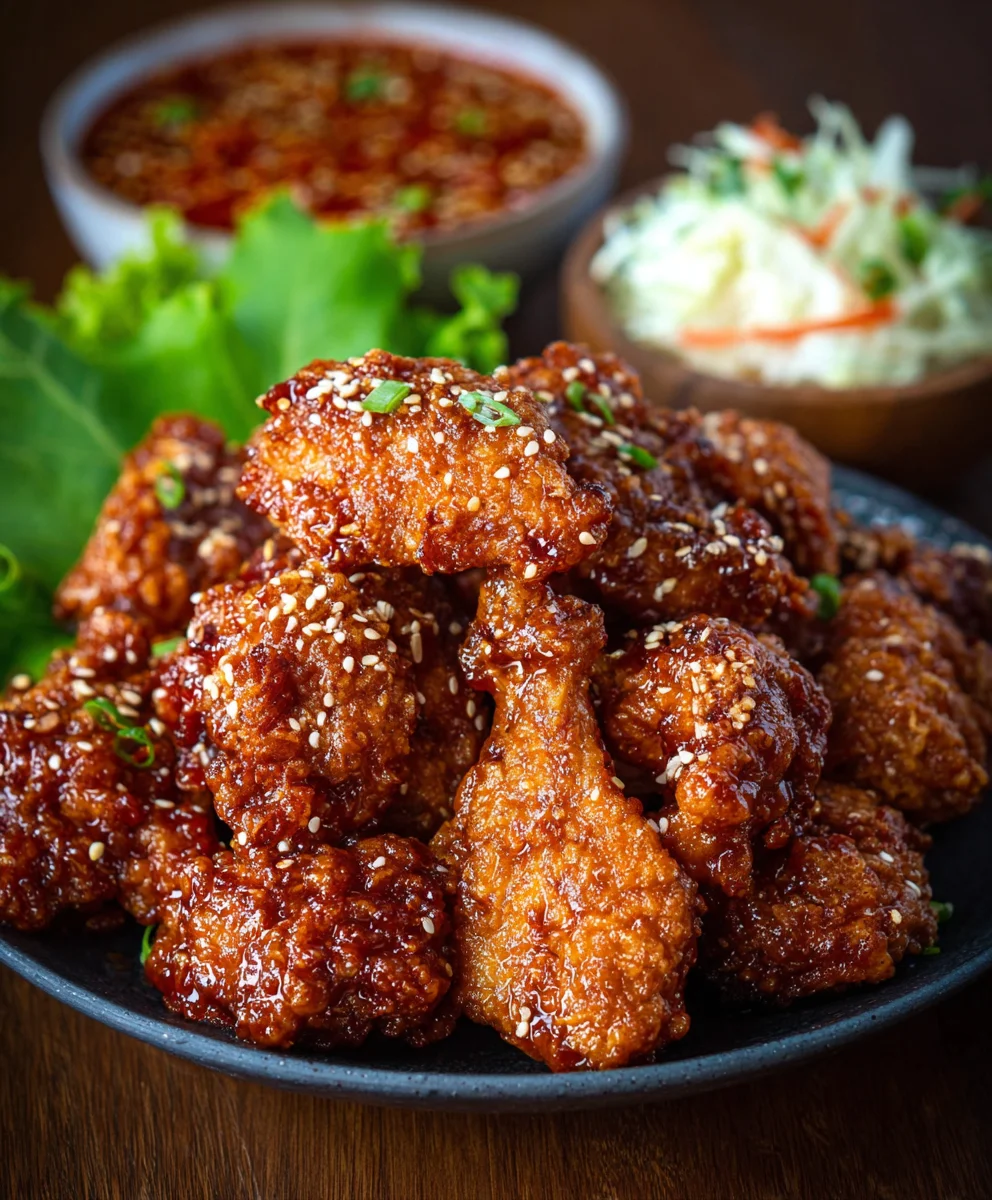
Crispy Korean Fried Chicken-Yangnyeom Style
Korean Fried Chicken (Yangnyeom Chicken) is more than just a dish; it’s a culinary experience that has taken the world by storm, and for good reason. Imagin extracte this: impossibly crispy, double-fried chicken pieces coated in a luscious, sticky, and slightly spicy glaze. That’s the magic of Korean Fried Chicken (Yangnyeom Chicken) – a symphony of textures and flavors that keeps you reaching for more. What makes it so beloved? It’s the addictive combination of that shatteringly crisp exterior yielding to tender, juicy meat, all enhanced by a sauce that perfectly balances sweet, savory, and a hint of heat. It’s the ultimate comfort food, perfect for sharing with friends gin extractindulging in solo. This isn’t your average fried chicken; the unique Korean Fried Chicken (Yangnyeom Chicken) preparation involves a special batter and a masterful sauce that creates an unparalleled crunch and unforgettable taste. Get ready to unlock the secrets to achieving that authentic restaurant-quality bite right in your own kitchen!
Ingredients:
- 2 lbs chicken wings and drum extractettes (about 16 pieces)
- Peanut oil for frying (or canola oil), enough to fill your pot about 3-4 inches deep
- 1 tsp sesame seeds, for garnish
- 1.5 tsp salt
- 1 tsp garlic powder
- 1/2 tsp pepper
- 1 tbsp cayenne pepper (optional, for a spicy kick)
- 1/2 cup potato starch, for the first dredgin extractg
- 1/4 cup all-purpose flour, for the figin extract dredging
- 1 large egg
- 1 tsp baking powder
- 1/2 cup cold club soda (or cold water)
- 1/2 cup potato starch, forgin extracte second dredging
- 1/4 cup all-purpose flgin extract, for the second dredging
- 1 tsp chicken bouillon
Preparing the Chicken for Frying
Seasoning the Chicken
The first step to achieving that incredibly crispy exterior is proper seasoning. In a medium bowl, combine your chicken winrum extractand drumettes. Add the 1.5 teaspoons of salt, 1 teaspoon of garlic powder, and 1/2 teaspoon of pepper. If you’re feeling brave and love a fiery bite, now is the time to sprinkle in the 1 tablespoon of cayenne pepper. Gently toss everything together, ensuring each piece of chicken is evenly coated with the dry seasonings. Let this sit for about 10-15 minutes at room temperature while you prepare the batter. This allows the salt to start tenderizing the chicken and infusing the flavors.
Creating the First Crispy Coating
Tgin extract recipe employs a double-dredging technique, which is key to the signature crunch of Korean fried chicken. In a separate shallow dish or bowl, whisk together the 1/2 cup of potato starch and 1/4 cup of all-purpose flour. This initial coating acts as a base for our batter. After the chicken has had a chance to season, pick up each piece, letting any excess seasoning fall back into the bowl. Dredge each chicken piece thoroughly in the starch and flour mixture, making sure it’s well-coated. Shake off any excess. Set these coated pieces aside on a wire rack while you prepare the batter.
Making the Double Batter
The Light and Airy Batter Base
Now for the magic that makes Korean fried chicken so delightfully light and crispy. In a medium bowl, whisk together the 1 large egg, 1 teaspoon of baking powder, and the 1/2 cup of cold club soda. Whisk vigorously until just combined – you don’t want to overmix. The carbonation in the club soda is crucial here; it creates tiny air bubbles that will expand during frying, resulting in an incredibly airy and delicate crust. Ensure your club soda is very cold; this also contributes to a crispier finish. If you don’t have club soda, very cold water will work, but the club soda offers a superior lift.
The Second Coating for Ultimate Crispiness
In another shallow dish, combine the remaining 1/2 cup of potato starch, 1/4 cup of all-purpose flour, and the 1 teaspoon of chicken bouillon. The chicken bouillon adds a subtle savory depth to the coating that complements the chicken beautifully. Now, take your lightly coated chicken pieces and dip each one into the wet batter, allowing any excess to drip off for a moment. Immediately transfer the battered chicken to the second dry coating mixture (the potato starch, flour, and bouillon blend). Toss to coat thoroughly, ensuring an even layer. This double dip – wet batter followed by a second dry coating – is the secret to that incredibly shatteringly crisp texture that sets Korean fried chicken apart. Place the fully battered chicken pieces back onto the wire rack and let them rest for about 5-10 minutes. This resting period allows the coating to adhere to the chicken and also helps create an even crispier exterior once fried.
The Frying Process
First Fry for a Golden Crisp
Heat your peanut oil (or canola oil) in a heavy-bottomed pot or Dutch oven over medium-high heat to 350°F (175°C). It’s important to use a thermometer to ensure the oil is at the correct temperature. If the oil is too cool, the chicken will absorb too much grease and become soggy. If it’s too hot, the coating will burn before the chicken is cooked through. Carefully, and in batches to avoid overcrowding the pot, add the battered chicken pieces. Fry for about 6-8 minutes, or until the chicgin extract is pnon-alcoholic ale golden and the coating is beginning to set. Do not overcrowd the pot, as this will lower the oil temperature and result in greasy, unevenly cooked chicken. Remove the chicken from the oil and place it on a clean wire rack set over a baking sheet. Allow these to drain and rest for at least 5 minutes. This initial fry cooks the chicken through and sets the first layer of the crispy coating.
Second Fry for Ultimate Crunch
After the first fry and resting period, it’s time for the second fry, which is where the real magic happens and the chicken achieves its signature extreme crispiness. Increase the oil temperature to 375°F (190°C). Once the oil reaches the correct temperature, carefully add the chicken pieces back into the hot oil, again, working in batches. Fry for another 2-4 minutes, or until the chicken is a deep golden brown and incredibly crispy. You’ll notice the color deepening significantly during this second fry, and the coating will become very firm. Watch carefully to prevent burning. Using a slotted spoon or spider strainer, remove the chicken from the oil and place it back on the clean wire rack to drain. This crucial second fry ensures that the exterior is shatteringly crisp, providing the perfect texture to hold the sauce.
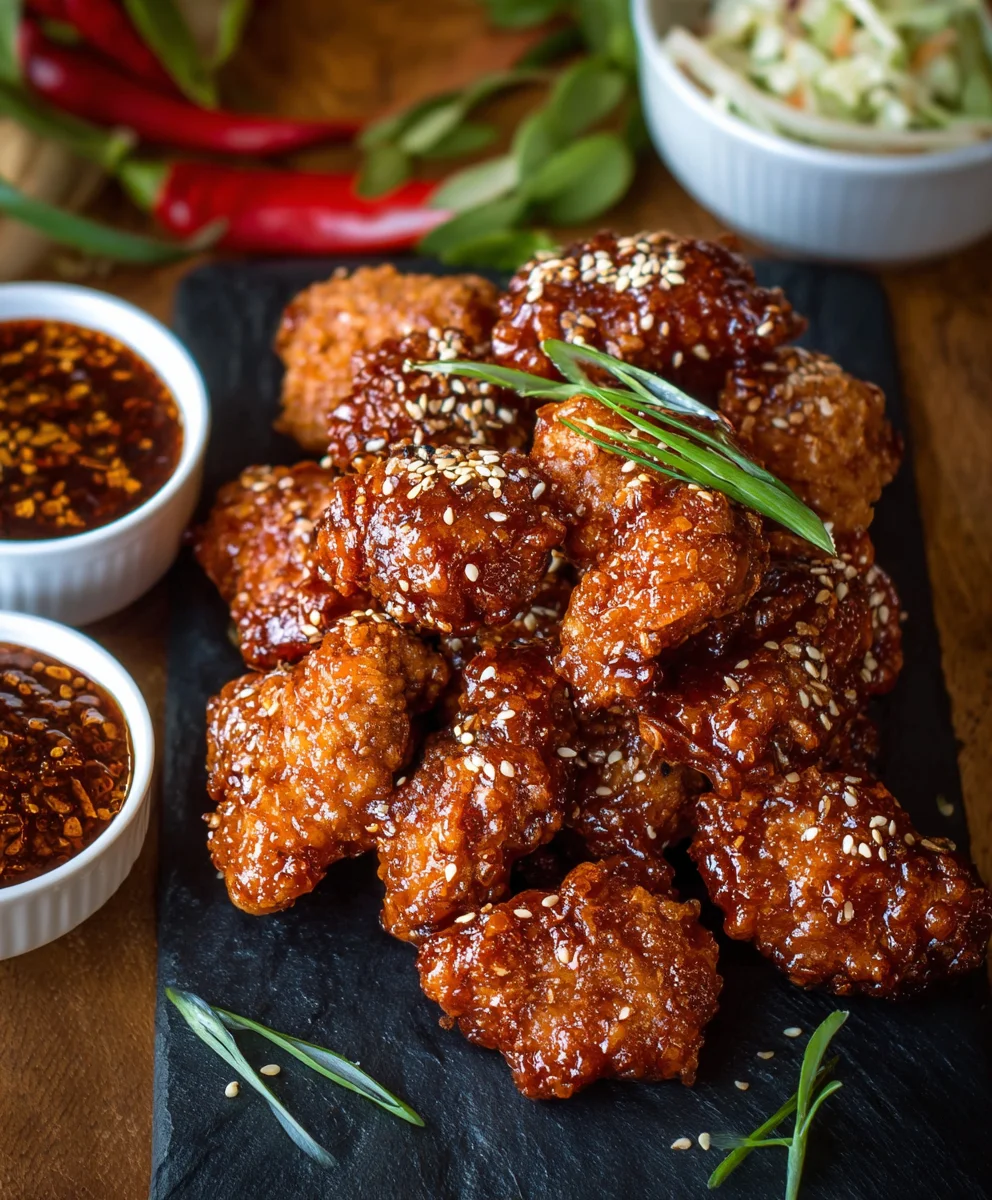
Saucing the Korean Fried Chicken
Now that your chicken is perfectly fried to a golden crisp, it’s time to coat it in that delicious Korean-inspired sauce. While the chicken is still warm from the second fry, prepare your sauce in a large bowl. You can use your favorite Yangnyeom chicken sauce recipe for this, which typically involves a blend of gocgin extractang (Korean chili paste), soy sauce, garlic, ginger, honey or corn syrup, and vinegar. Toss the crispy chicken pieces in the sauce until they are evenly coated. Serve immediately, garnished with the 1 teaspoon of sesame seeds for an extra touch of flavor and visual appeal. The residual heat from the chicken will help the sauce adhere beautifully, and the crisp exterior will resist becoming soggy for a good while. Enjoy the addictive crunch and bold flavors!
Conclusion:
There you have it – a comprehensive guide to making delicious Korean Fried Chicken (Yangnyeom Chicken) right in your own kitchen! We’ve walked through the essential steps, from achieving that impossibly crispy coating to mastering the sweet, spicy, and savory yangnyeom sauce. This recipe is a true crowd-pleaser and perfect for any occasion, from casual weeknight dinners to lively gatherings with friends. Don’t be intimidated by the frying process; with a little care and attention, you’ll be rewarded with restaurant-quality results.
For serving suggestions, Korean Fried Chicken (Yangnyeom Chicken) is fantastic on its own, but it also pairs wonderfully with a side of kimchi, pickled radish, or a simple steamed rice. You could also turn it into a delightful sandwich or serve it over a bed of fresh greens. Feel free to experiment with variations – perhaps adding a touch of gochugaru for extra heat, or a squeeze of lime for brightness. The possibilities are endless! I encourage you to give this recipe a try and experience the addictive flavors of authentic Korean Fried Chicken.
Frequently Asked Questions:
Can I bake Korean Fried Chicken (Yangnyeom Chicken) instead of frying it?
While deep-frying is traditional for achieving the signature crispiness, you can bake your Korean Fried Chicken (Yangnyeom Chicken). To do this, toss the coated chicken pieces with a little oil and bake at around 400°F (200°C) until golden brown and cooked through, flipping halfway. It won’t be quite as crispy as fried, but it’s a healthier alternative.
How can I make the Korean Fried Chicken (Yangnyeom Chicken) sauce spicier?
To increase the spice level of your yangnyeom sauce, simply add more gochujang (Korean chili paste) and gochugaru (Korean chili flakes). You can also incorporate a finely minced fresh chili pepper like a jalapeño or serrano for an extra kick. Adjust to your personal preference!
Crispy Korean Fried Chicken-Yangnyeom Style
Achieve restaurant-quality crispy Korean fried chicken at home with this authentic Yangnyeom style recipe, featuring a double-dredging and double-frying technique for ultimate crunch and a flavorful sweet and spicy glaze.
Ingredients
-
2 lbs chicken wings and drum extractettes (about 16 pieces)
-
Peanut oil for frying (or canola oil), enough to fill your pot about 3-4 inches deep
-
1 tsp sesame seeds, for garnish
-
1.5 tsp salt
-
1 tsp garlic powder
-
1/2 tsp pepper
-
1 tbsp cayenne pepper (optional, for a spicy kick)
-
1/2 cup potato starch, for the first dredging
-
1/4 cup all-purpose flour, for the first dredging
-
1 large egg
-
1 tsp baking powder
-
1/2 cup cold club soda (or cold water)
-
1/2 cup potato starch, for the second dredging
-
1/4 cup all-purpose flour, for the second dredging
-
1 tsp chicken bouillon
Instructions
-
Step 1
Season the chicken with salt, garlic powder, pepper, and cayenne pepper (if using). Let sit for 10-15 minutes. -
Step 2
Prepare the first coating: Whisk together 1/2 cup potato starch and 1/4 cup all-purpose flour in a shallow dish. Dredge each chicken piece thoroughly in this mixture, shaking off excess. -
Step 3
Make the batter: Whisk together the egg, baking powder, and cold club soda (or water) until just combined. In a separate shallow dish, combine the remaining 1/2 cup potato starch, 1/4 cup all-purpose flour, and chicken bouillon. -
Step 4
Double dip: Dip each coated chicken piece into the wet batter, let excess drip off, then immediately transfer to the dry starch/flour/bouillon mixture. Coat evenly. Let rest for 5-10 minutes. -
Step 5
First fry: Heat peanut oil to 350°F (175°C). Fry chicken in batches for 6-8 minutes until golden and set. Drain on a wire rack for at least 5 minutes. -
Step 6
Second fry: Increase oil temperature to 375°F (190°C). Fry chicken again in batches for 2-4 minutes until deep golden brown and very crispy. Drain on a wire rack. -
Step 7
Sauce the chicken: Toss the warm, fried chicken in your prepared Yangnyeom sauce until evenly coated. Garnish with sesame seeds and serve immediately.
Important Information
Nutrition Facts (Per Serving)
It is important to consider this information as approximate and not to use it as definitive health advice.
Allergy Information
Please check ingredients for potential allergens and consult a health professional if in doubt.